System Setting
Screen Context Menu
Classic Menu
One Touch Method
Back
Home
Done
Info
Run
Edit
Delete
New
Save
Add Stage
Remove Stage
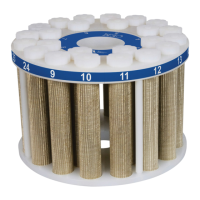
Fiberoptic
Infrared
DuoTemp
Turntable
Blower
Print
Temperature
Pressure
Power
Sub
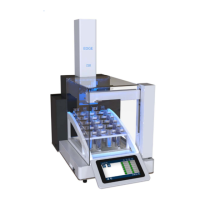
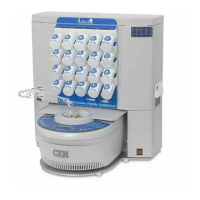
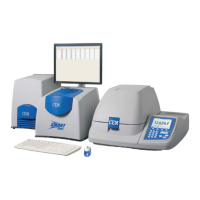
Congratulations on your
purchase of a CEM MARS 6.
The MARS 6 that you have chosen will be a valuable addition to
your laboratory.
To prepare for installing your system, a designated area with a sturdy
workbench should be arranged to allow the MARS 6 unit to be
conveniently located near a hood or other suitable fume disposal
mechanism. The system must be located within 8 feet of a hood or
exhaust line for proper ventilation.
Do not place the instrument within a fume hood. The system
comes with 8 feet of exible exhaust hose (3 1/8” OD x 2 13/16” ID).
The built-in exhaust system will push fumes through the hose at
125 CFM. To properly vent the MARS 6, your hood or exhaust line
must draw at least 125 CFM at the point of connection.
Preparing an Installation Location
1. Provide at least 8 inches space on each side and 6
inches space in the rear for proper ventilation.
Dimensions:
21 in W x 25 in D x 25 in H
Weight 140 lbs without vessels
2. Allow adequate bench space for sample handling
3. Ensure the area is free from the vibration of large
equipment and/or walk-through tra c.
4. Ensure the area is away from the primary laboratory
exits and walk-through tra c.
5. Location should have a temperature range of
41
o
F (5
o
C) to 104
o
F (40
o
C).
6. Location should permit the instrument to be
connected to a dedicated, grounded outlet.
The MARS 6 unit requires 208/230 VAC, 60 Hz, 15A @ 230 VAC, or
200/220/240 VAC, 50 Hz, 15A@ 240 VAC, single phase power. It
requires a 250 volt-15 Amp rated receptacle (NEMA 6-15R or a 250
volt- 20 Amp rated receptacle (NEMA 6-20R). It is non-locking.
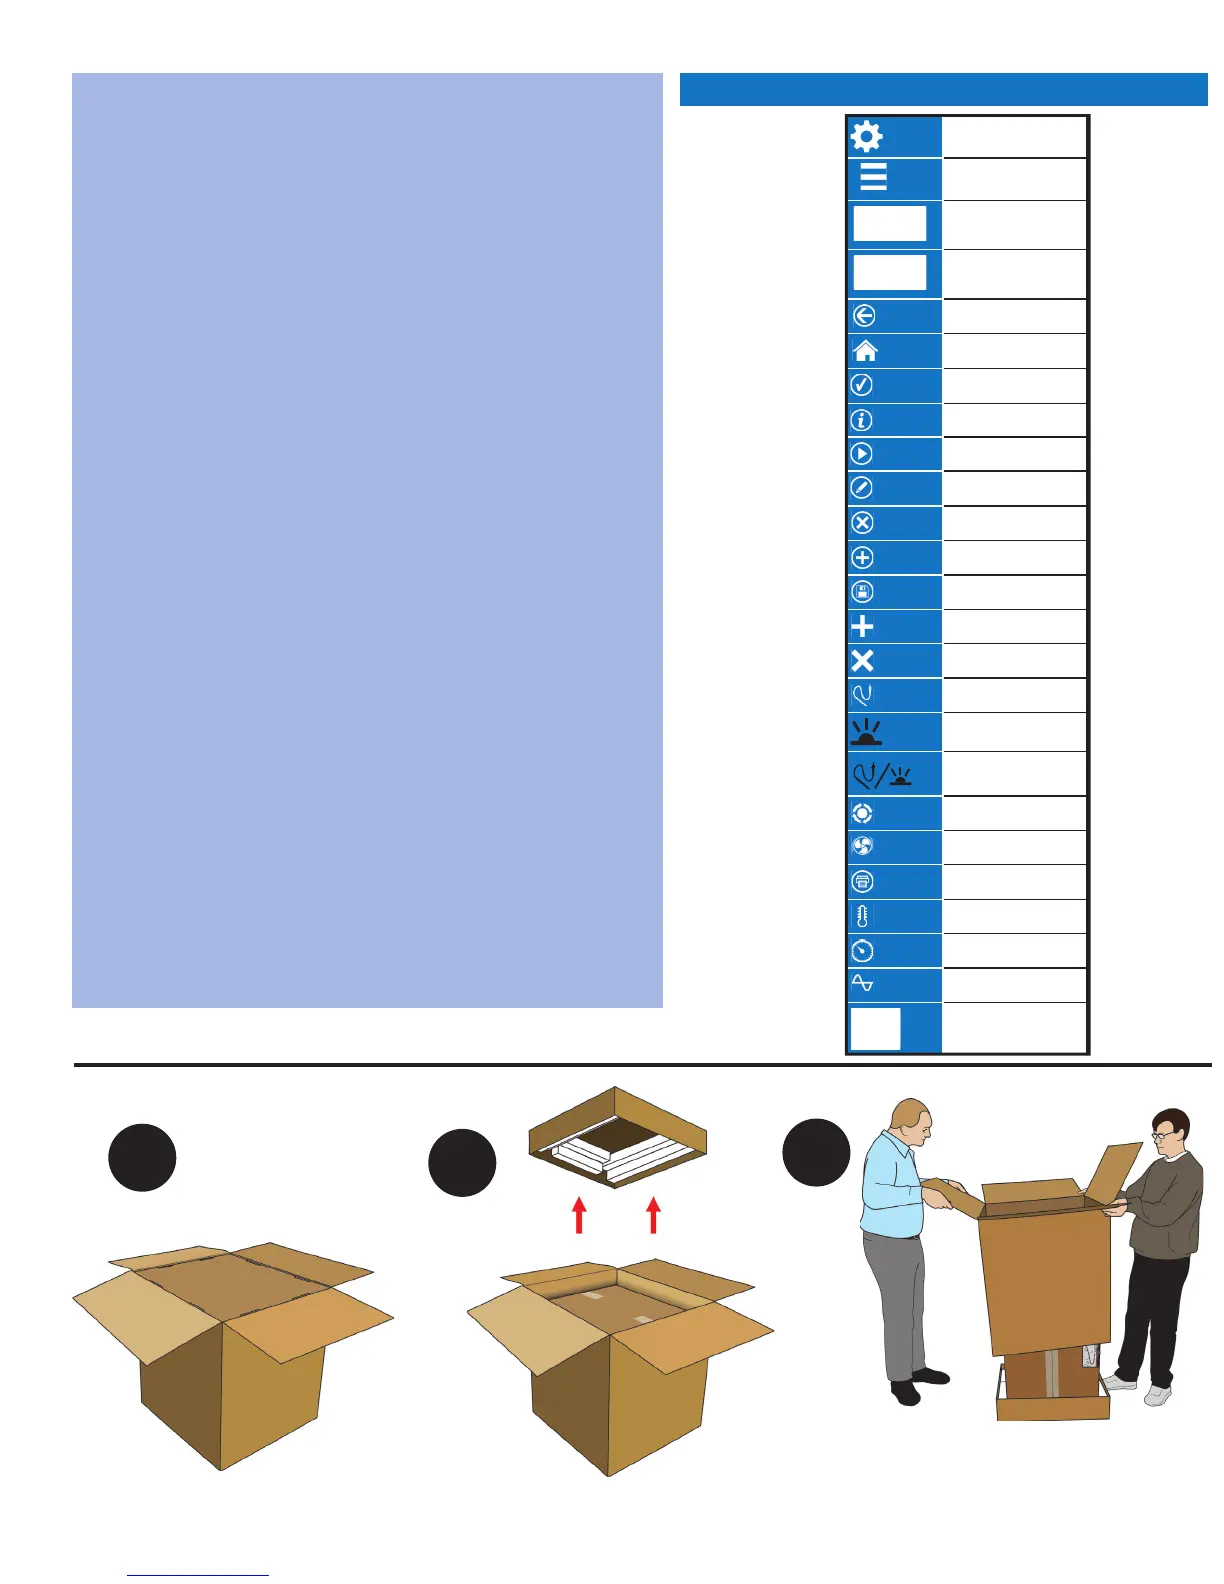
Open box. Remove foam stabilizers.
Remove outer box and locate hand hold
cutouts on either side of the inner box.
Remove inner box and place
on oor in front of bench.
Open inner box and remove packing materials.
Lift MARS 6 onto bench top near
exhaust service.
Remove contents from cavity.
Push power button to turn unit on.
Attach exhaust hose and connect
to exhaust. Plug power cord into
MARS 6 and outlet.
Note: Unit requires 26” of space between
the benchtop and upper cabinets
and 6” of clearance on the sides.
1
2
3
4
5
6
7
8
9
10
Unpacking Instructions:
1. Determine whether the line
voltage in your lab is 208V or 230V.
2. Set line voltage on the MARS 6.
Restart system for the setting to activate.
Watch the Welcome Video. Select
the “Settings” menu, then
“Video”, then “Welcome” for a short
introduction to your new MARS 6.
12
11
Icon Reference Guide