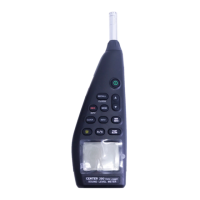
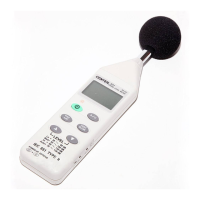
Sound Level Meter
7
DC Signal
AC Signal
Ground
○
15
AC/DC signal output jack:
Connect the AC/DC output on the bottom of the unit to the level recorder.
AC: 1 Vrms Corresponding to 130dB.(with frequency weighting)
DC: Output: 10mV/dB
○
16
External DC 9V power supply jack:
Connect the AC adapter.
○
17
Tripod mounting thread:
For long-term measurements, the unit can be mounted on a camera tripod.
Proceed carefully, to avoid dropping the unit
○
18
Battery Compartment.
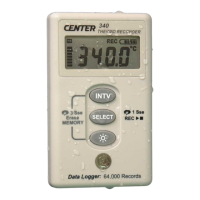
6. DATA LOGGER & INTERVAL SETUP
How to store data in memory and how to recall data from memory.
There are two different ways of storing data.
6.1 Auto store:
Auto store Interval time setup:
(1) Press button, “ Int ” appears for interval, as well as a flashing second
display.
(2) Now set the desired recording interval in minutes and seconds. Press
or to increase or decrease number, Max 1 minute can be set. The
minimum value is limited to “00:01”(=1s). After setting has been performed,
actuate the press button once, to get back to the display of the
instantaneously measured values. If you want abort during a setup process,
press button to cancel.
When one presses the button starts saving the measured values .The
values are stored in a memory location. Press button again will stop
recording.
Note:
During recording period, most of the buttons such as
the , , , , are inoperative. All other settings must
be made before starting the record operation.
LCD will show FULL symbol when 31000 recorders are stored in memory.