Page 9;&(%$*4.8"4,7%<'*#$"&8#=%/7*,#*%4,77%>?@@@?@AA?BCDC1Item 93657
EF;6GHIJ6KFGLIMNFLMG6MFMO6 E6GPJ
O&5/(*##&(%E*$'/
GI%JK6!6MG%E6KLIPE%LMhPKH%;KIN%FOOLU6MGFT%IJ6KFGLIM-%
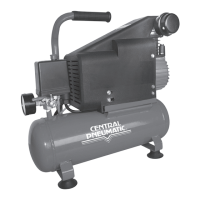
G'(8%$.*%J&)*(%E)"$4.%iI;;j%,89%'8/7'3%$.*%O&5/(*##&(%2(&5%"$#%*7*4$("4,7%
&'$7*$%+*2&(*%,##*5+7"83%&(%5,X"83%,8V%,9['#$5*8$#%$&%$.*%O&5/(*##&(1
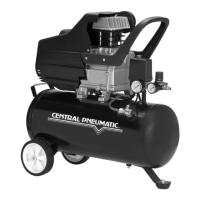
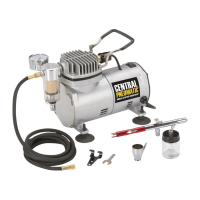
1. Designate an area that is clean and
well-lit. The work area must not
allow access by children or pets to
prevent distraction and injury.
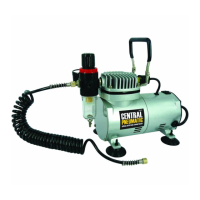
2. Before operating, make sure Compressor
is set up in a well-ventilated area, on a
flat, level, solid surface well away from
any flammable objects, such as drapes.
3. Keep at least 12″ of space around
Compressor to allow for air circulation.
4. Route Power Cord from Compressor to
grounded wall outlet, along a safe path,
without creating a tripping hazard or exposing
the Power Cord to possible damage.
5. Insert Power Cord into grounded outlet.
6. Connect one end of Air Hose to
Air Outlet of Compressor.
7. Connect other end of Air Hose to Air
Inlet of Airbrush (not included).
8. Turn on Power Switch and inspect
air connections for leaks.
9. Turn off and unplug Compressor,
then repair any leaks found.