Do you have a question about the Chamberlain 248739M and is the answer not in the manual?
Explains the meaning of safety symbols and signal words used in the manual.
Steps to prepare the garage door for opener installation, checking balance and locks.
Lists the required tools for assembling and installing the garage door opener.
Guidance on assessing garage space and door type for opener installation.
Lists all parts included in the carton and necessary hardware for assembly.
Guides on assembling the garage door opener rail and installing the trolley.
Instructions for attaching the rail assembly to the motor unit using a bracket.
Details on how to install the idler pulley into the rail assembly.
Instructions for installing the drive belt and securing the belt cap retainer.
Steps to set the belt tension using the nut ring and trolley.
Guides on finding the correct position for the header bracket based on door type.
Instructions for securely fastening the header bracket to the wall or ceiling.
Steps for connecting the assembled rail to the installed header bracket.
Guidance on placing the motor unit and rail assembly correctly for installation.
Instructions for securely mounting the opener unit to the ceiling or brackets.
Steps for mounting the wall-mounted door control and wiring it.
Details on installing and aligning the safety reversing sensors for safe operation.
Instructions for attaching the door bracket to the garage door.
Guides on connecting the door arm sections and attaching them to the trolley.
How to set the door's stopping points when opening or closing.
Procedures for setting the opening and closing force for the opener.
Ensures the opener reverses upon contact with an obstruction.
Verifies the functionality of the safety reversing sensors.
Critical safety guidelines for operating the garage door opener.
How to operate the opener using remotes, door controls, and keypads.
Details on the functions of the multi-function door control panel.
Tips for maintaining the opener and a schedule for checks.
Common issues and solutions for garage door opener operation.
Explains LED flash codes for troubleshooting opener issues.
Instructions for pairing remotes with the garage door opener.
How to reset all programmed remotes and keyless entries.
Steps for setting up or modifying the PIN for keyless entry access.
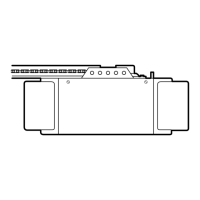
Lists and illustrates parts for the garage door opener rail assembly.
Lists and illustrates various parts used during the installation process.
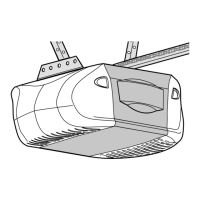
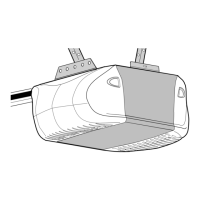
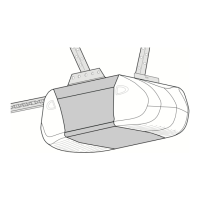
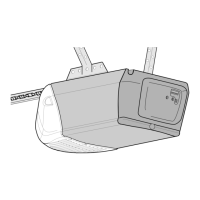
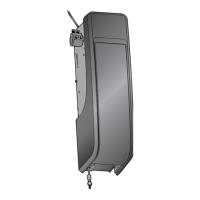
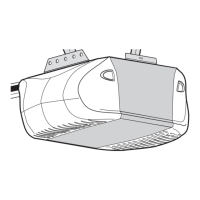
Identifies and illustrates the components of the opener's motor unit.
Details available accessories like extra remotes, keyless entry, and lighting controls.
Contact details for service and the terms of the limited warranty.
| Horsepower | 1/2 HP |
|---|---|
| Voltage | 120 V |
| Drive System | Chain Drive |
| Security | Rolling Code |
| Battery Backup | No |
| Drive Type | Chain Drive |