Do you have a question about the Chamberlain HD520EV and is the answer not in the manual?
| Brand | Chamberlain |
|---|---|
| Model | HD520EV |
| Category | Garage Door Opener |
| Language | English |
Review of safety symbols and signal words used in the manual.
Instructions for checking door balance, binding, and sticking before installation.
Lists necessary items and tools for installation.
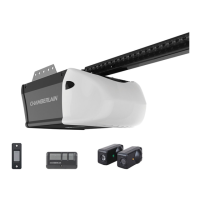
Details the parts included in the opener's carton.
Lists all hardware required for assembly and installation.
First step in assembling the garage door opener rail and trolley.
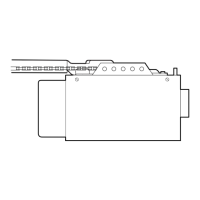
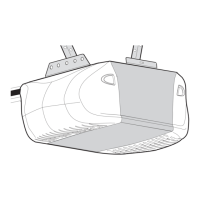
Connects the assembled rail to the motor unit.
Installs the idler pulley onto the rail assembly.
Guides the belt around pulleys and connects it to the trolley.
Adjusts the belt tension for optimal operation.
Secures the sprocket cover to the motor unit.
Crucial safety warnings and general installation guidelines.
Locating and marking the header bracket position on the wall or ceiling.
Mounting the header bracket to the wall or ceiling structure.
Connecting the opener rail to the installed header bracket.
Placing the opener unit onto a ladder or support.
Securing the opener unit to the ceiling or wall supports.
Inserting light bulbs into the opener's end panel.
Installing the manual release rope and handle.
Mounting the bracket to the garage door.
Completing the door bracket installation for one-piece doors.
Specific instructions for one-piece garage doors.
Attaching the door arms to the trolley and door bracket.
Specific instructions for sectional garage doors.
Completing door arm connection for one-piece doors.
Specific instructions for one-piece garage doors.
Mounting the wall-mounted door control.
Connecting the door control wires to the opener.
Applying safety and warning labels to the opener and door.
Mounting the safety reversing sensors.
Mounting sensors to the garage door track.
Mounting sensors to wall or floor.
Mounting sensors to the garage wall.
Mounting sensors to the garage floor.
Connecting sensor wires to the garage door opener.
Wiring sensors without existing pre-wiring.
Wiring sensors with pre-installed wires.
Connecting sensors to pre-existing wires.
Connecting the garage door opener to a power source.
Aligning sensors for proper obstruction detection.
Verifying correct wiring of the door control panel.
Overview of opener adjustments and safety considerations.
Notes for adjusting one-piece garage doors.
Locating and identifying the opener's programming buttons.
Setting the open and close travel limits for the door.
Verifying the door reverses on contact with an obstruction.
Testing the safety sensors' obstruction detection.
Critical safety warnings for operating the garage door opener.
Covers MyQ, TTC, Remote Controls, and general features.
Covers Protector System, Energy Conservation, and Lighting features.
How to activate the opener via various controls.
Describes buttons and functions of the control panel.
Pairing the wall control with the opener.
Using the lock feature and programming remotes/keyless entry.
Instructions for using and programming remote controls.
Adding remotes using the learn button.
Disconnecting and reconnecting the trolley for manual use.
Clearing all programmed codes from the opener.
Tasks to perform monthly for opener maintenance.
Annual lubrication and remote battery replacement.
Codes and symptoms for troubleshooting opener issues.
Addresses issues like remote control not working or lights not turning off.
Lists optional accessories for the garage door opener.
Details the warranty period and coverage for the opener.
Part numbers for rail assembly components.
Part numbers for installation hardware and components.
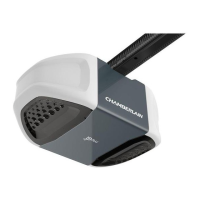
Part numbers for the main garage door opener unit components.