CHAPIN INTERNATIONAL, INC. P.O. BOX 549 700 ELLICOTT ST. BATAVIA, NY 14021-0549 www.chapinmfg.com 800-950-4458
ASSEMBLY INSTRUCTIONS
Suggested Tools:
Wrench and/or Ratchet Set
Approximate assembly time is 5-10 minutes
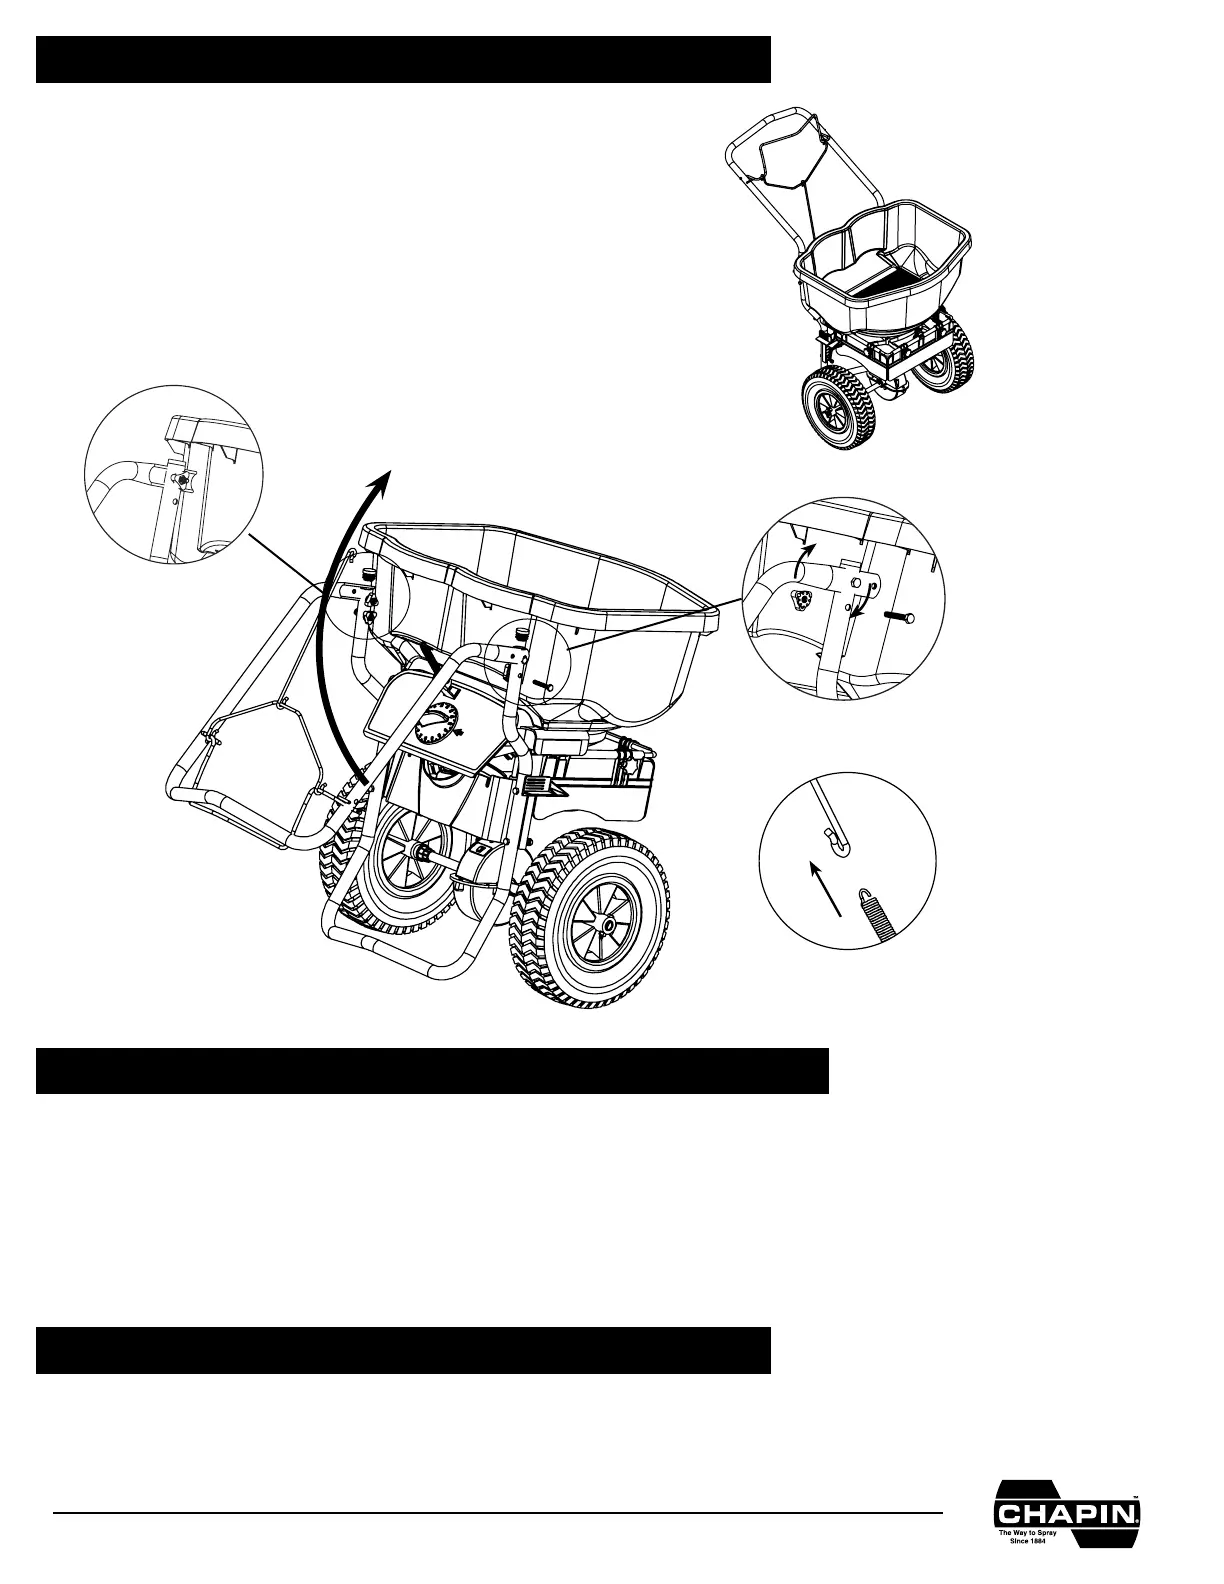
• Remove bottom bolt from each side of handle (below thumb nuts Figure A).
• Loosen thumb nuts on top bolts (Figure B) and ip up handle.
• Replace bolts below thumb nuts and tighten down.
• Tighten all 4 thumb nuts completely.
• Be sure gate control is in the closed position (do not hold bail down when lling)
• Determine appropriate setting for material being used by reading the suggested setting on the material’s bag AND/OR by referencing the
application chart on your spreader’s control panel (Charts provided are only guidelines. Be sure to read the instructions on the bag/box of the
material you’re spreading to identify accurate setting needed)
• Set the dial to the desired setting Important Note: Do not adjust dial while holding bail down and gate is open. is will alter the accuracy
of gate settings and cause parts to break.
• To begin spreading, start walking (about 3 mph pace) and pull the bail system down to open gate
• To stop spreading simply let go of the bail and the gate will close
GENERAL OPERATING INSTRUCTIONS
* Note: If spring detaches from bail assembly, simply re-attach (see Figure C).
BAFFLE OPERATING INSTRUCTIONS
• Adjust bae by hand to block distribution accordingly.
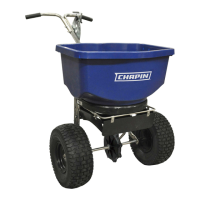
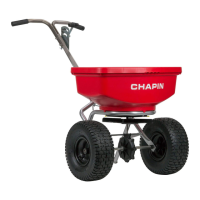
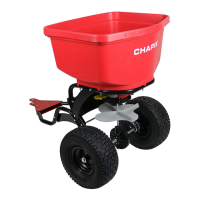
Completed
Assembly
Figure C
Figure B
Figure A