5
First Time Use
Read your product guide and ensure the grill is put together properly.
Remove all Point-of-Purchase advertising material from all grill surfaces
before rst use. We recommend letting your grill cook on it’s highest
setting for 15 to 20 minutes prior to your rst use. (This is not needed
for the side burner area.) This aids in removing the oils used during
manufacturing.
Attaching your LP tank (check your product guide for complete
info):
1. LP cylinder must be properly secured onto grill. (Refer to assembly
section.)
2. Turn all control knobs to the OFF position.
3. Turn LP cylinder OFF by turning hand-wheel clockwise to a full stop.
4. Remove the protective cap from LP cylinder valve. Always use cap and
strap supplied with valve.
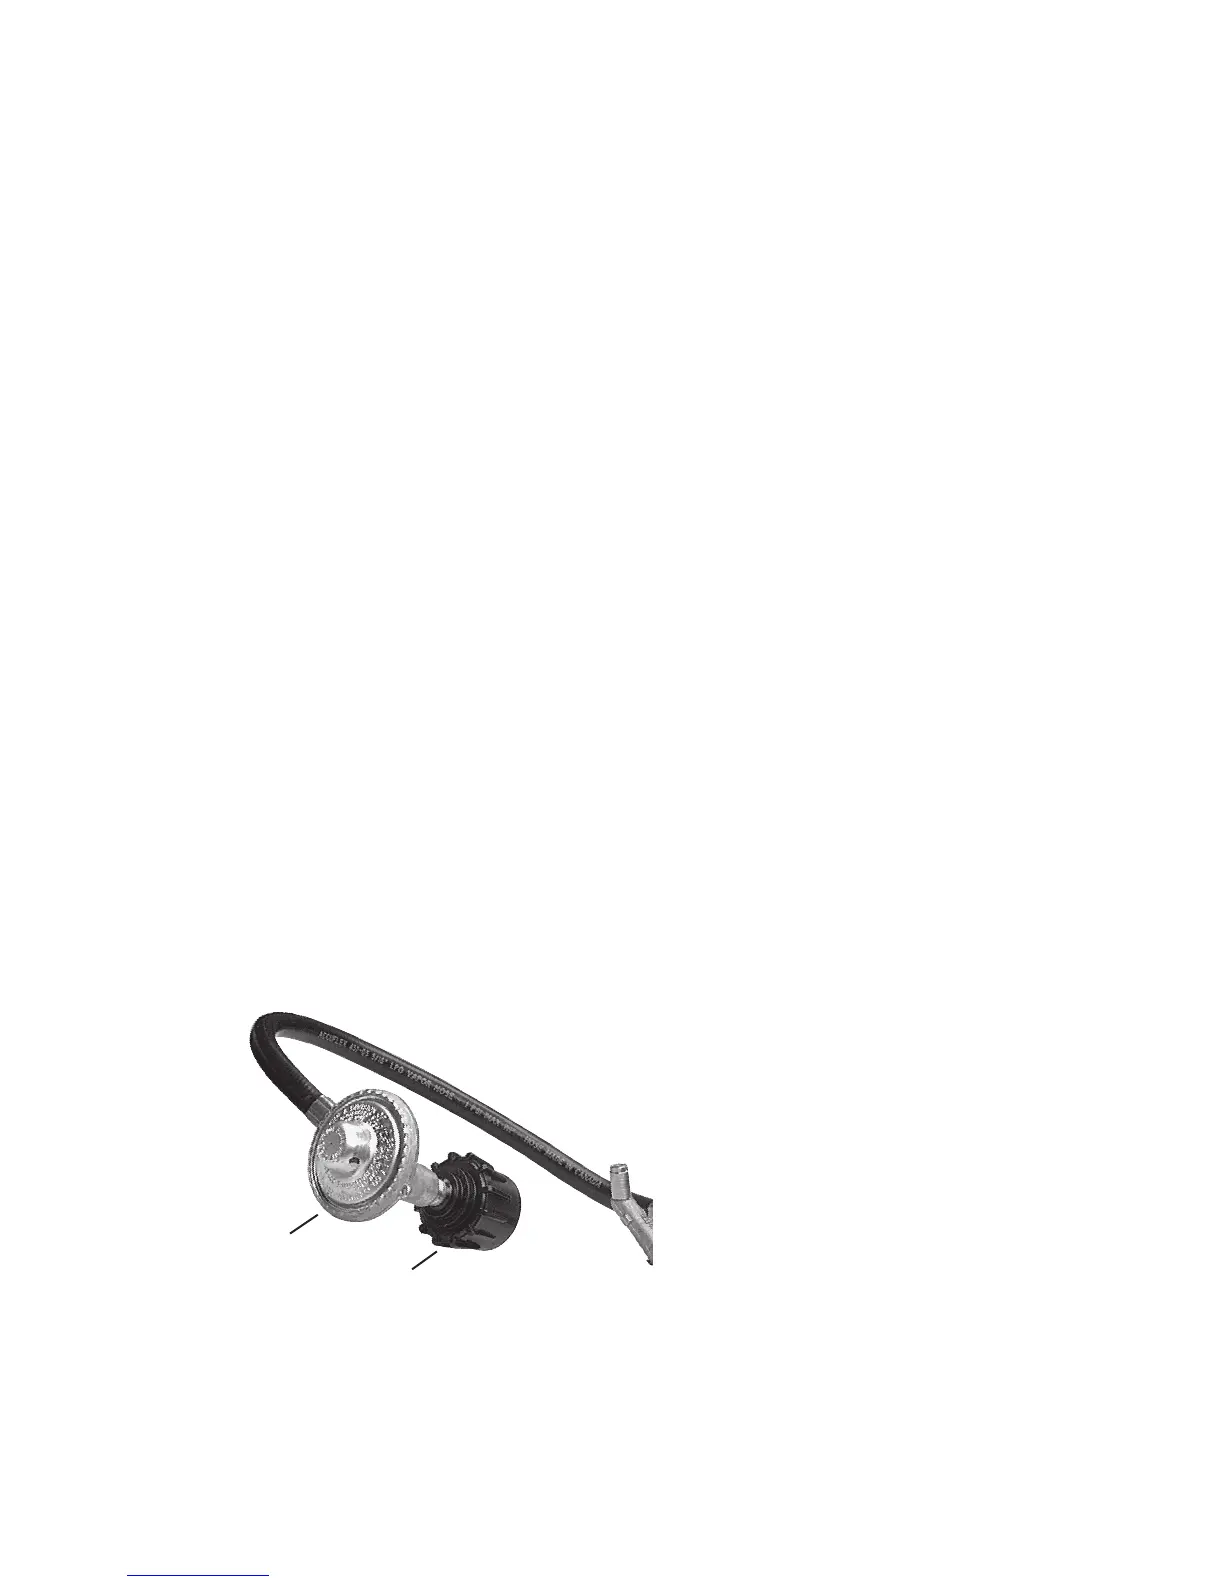
5. Hold regulator and insert nipple into LP cylinder valve. Hand tighten
the coupling nut, holding regulator in a straight line with LP cylinder
valve so as not too cross-thread the connection.
6. Turn the coupling nut clockwise and tighten to a full stop. The regula-
tor will seal on the back-check feature in the LP cylinder valve, result-
ing in some resistance. An additional one-half to three-quarters turn is
required to complete the connection. Tighten by hand only – do not use
tools.
Since 1995, all regulators (the
part that attaches to the gas tank
to regulate the flow of gas) have
included a safety feature that re-
stricts the gas flow in the event of
a gas leak. You can inadvertently
activate this safety feature with-
out having a gas leak. This typi-
cally occurs when you turn on the
gas using the grill control knob
before you turn on the gas on LP
tank valve. If the gas regulator
safety feature activates, the grill
will only reach temperatures be-
tween 250°F and 300°F even with
all burners on the high setting.
Getting started