17
Customizing your Welcome Screen
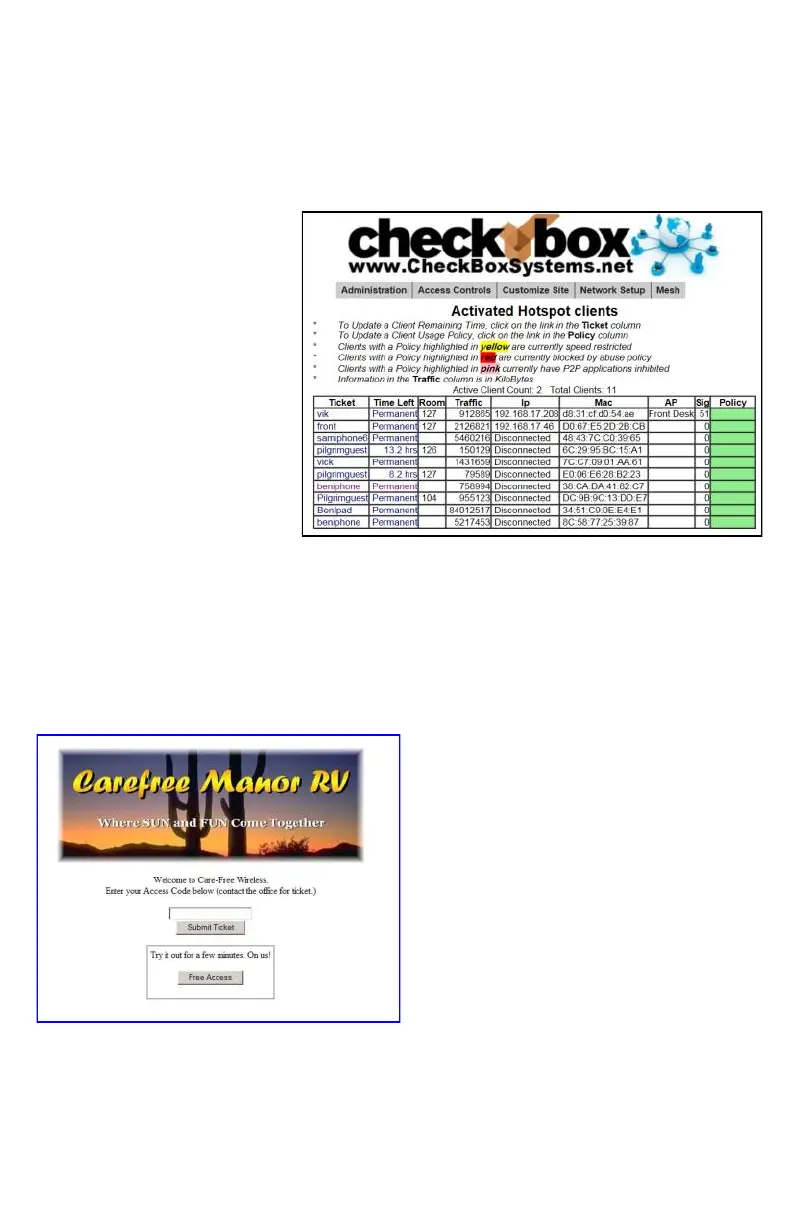
As you enable access methods the system will add the appropriate buttons and boxes to
your welcome screen. You can customize the look of your welcome screen by uploading a
picture or logo in .JPG format.
To upload an image click on Customize Site
in the top menu and then select Update Site
Logo on the drop down. If you have two
Guest Networks make sure you select the
Guest Network you want to create tickets for.
To change the message your guests see on
the welcome page select Customize Site
and then Edit Logon Text from the drop
down menu. In this box you will see some
html tags and then the default text. You can
change the text to your own message, and if
you are familiar with html you can customize
fonts and colors with the html tags.
After your guests successfully login they will see a Welcome Message. If their ticket num-
ber is invalid they will see a Failed Login Message. These messages can also be custom-
ized by selecting the options in the drop down menu under Customize Site.
a second box, and the information that they enter will be listed in the Active Clients table.
Although your CheckBox can not validate any of the information provided by guests, the
guests will be required to enter information, and if your staff sees invalid information listed
under Active Clients (bogus room numbers or locations) they can simply disable the user.