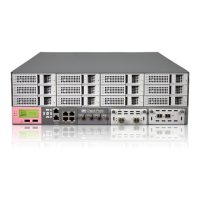
Procedure for Smart-1 600-M Appliances
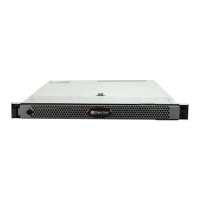
Quantum Smart-1 600-M/6000-L/6000-XL Appliances Replacing Line Cards|11
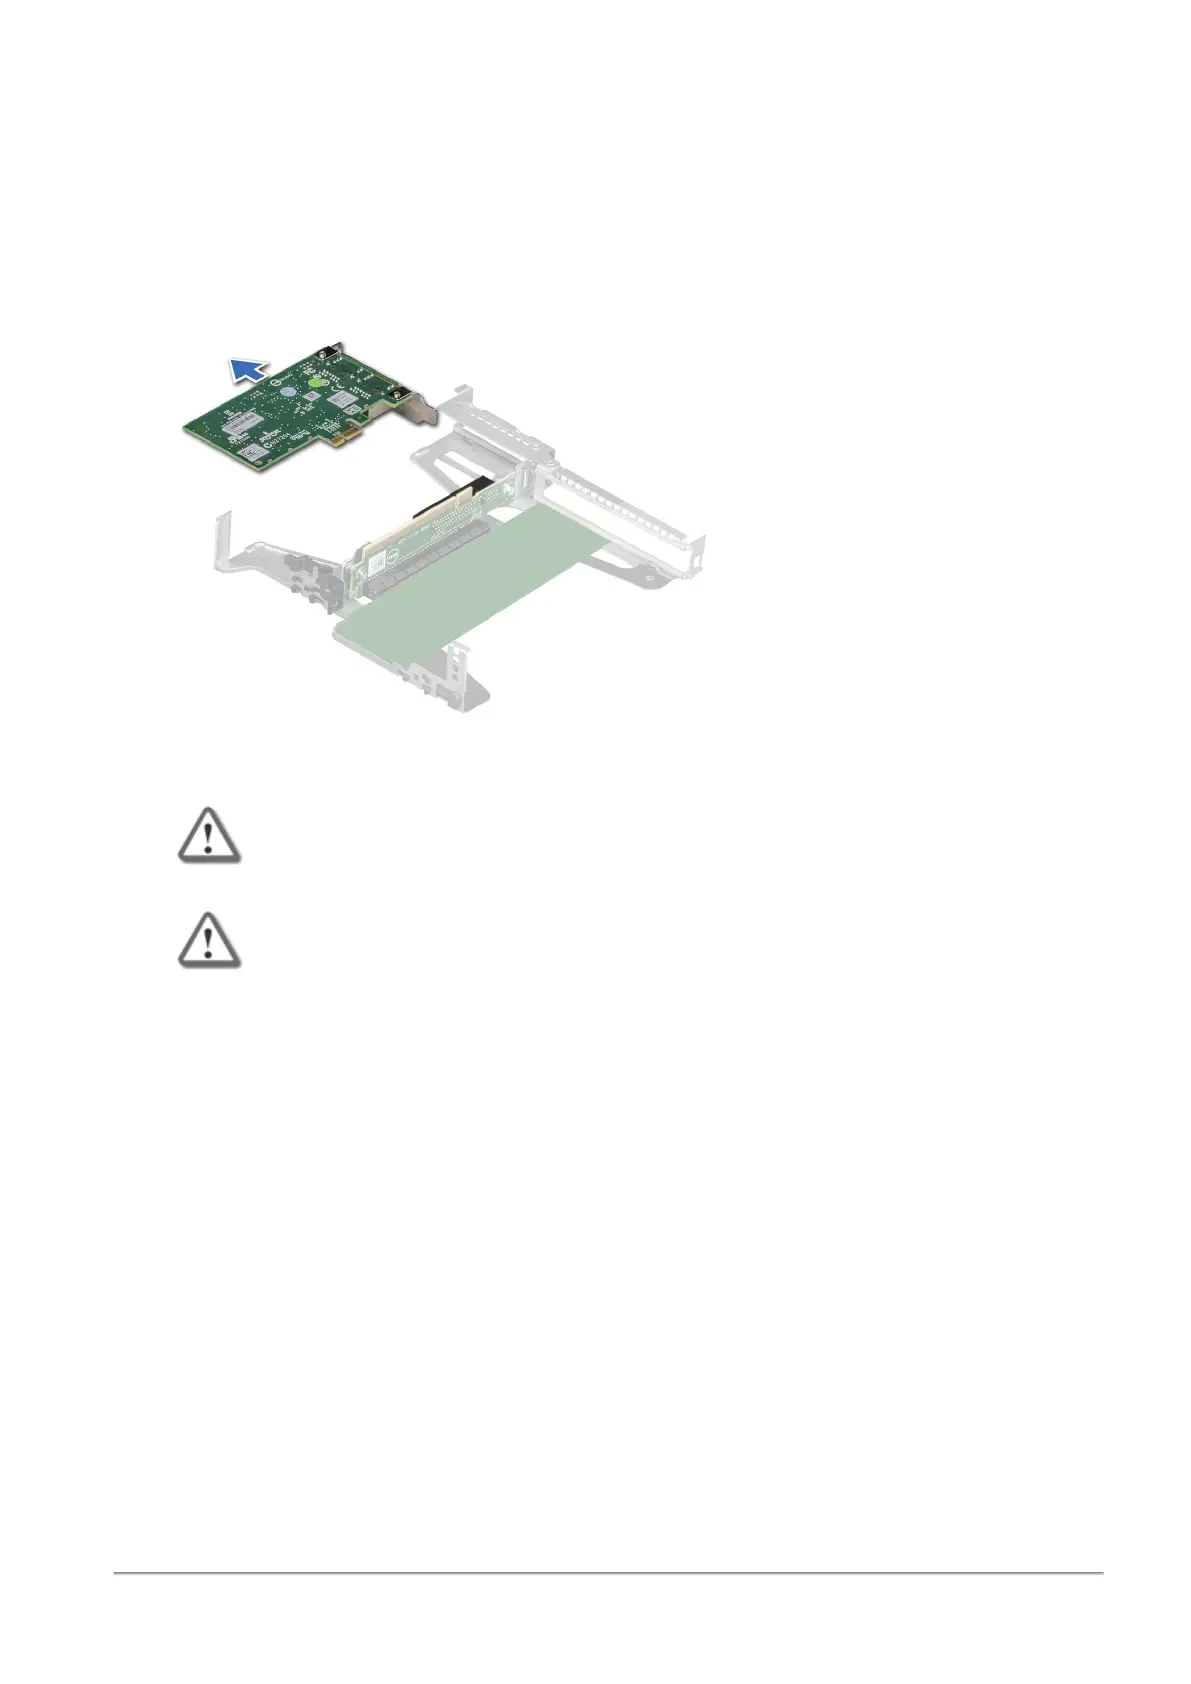
Removing an Expansion Line Card from the Riser
1.
Disconnect any cables that are connected to the expansion card or riser.
2.
Remove the riser.
3.
Flip the riser to locate the connectors on the riser.
4.
Holding the card by its edges, remove the expansion card from the riser.
5.
If you are removing the card permanently, install a filler bracket in the empty expansion card slot.
Important - Do not remove the integrated onboard NIC as warranty will be void.
Important - Install a filler bracket over an empty expansion card slot to maintain
Federal Communications Commission (FCC) certification of the system. The
brackets also keep dust and dirt out of the system and aid in proper cooling and
airflow inside the system. A filler bracket is not supplied when purchasing a pre-
installed appliance.
Installing an Expansion Line Card into the Riser
1.
Unpack the expansion line card and prepare it for installation.
2.
Remove the riser.
3.
If you are installing an expansion line card for the first time, remove the filler bracket from the empty
expansion slot and store it.
4.
Locate the expansion line card connector on the riser.
5.
Holding the expansion line card by its edges, position the card so that the card connector aligns with
the connector on the riser.