7. Carefully lower the stick of the boom into the
adapter.
WARNING Moving parts can crush
and cut
► Never check bores or passages with hands or
fingers.
An assistant should direct the movement of the
dipper arm until the bores in the dipper arm are
flush with those in the adapter.
Agree with the assistant on clear hand signals
for use during the mounting procedure.
8. Insert the pin and lock
9. Lift up the hydraulic breaker using the boom.
10. Extend the bucket cylinder until the bore in the
toggle is flush with those in the adapter. Insert
toggle pin and lock.
11. After mounting the breaker, carefully extend and
retract the bucket cylinder to its full extent in
each direction. It is important that the cylinder
can be fully extended and retracted without any
difficulty.
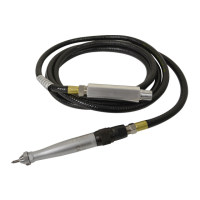
Connecting the hydraulic hose
12. Circulate the hydraulic oil before connecting the
hydraulic breaker. This is to make sure that the
hydraulic oil is clean. Use the same routine when
changing the hydraulic oil hose. For further
information see "The hydraulic oil".
13. Connect the pressure and return hose.
14. Run the hydraulic oil through the carrier's oil
filter for approximately 3 minutes to make sure
that the hoses are clean.
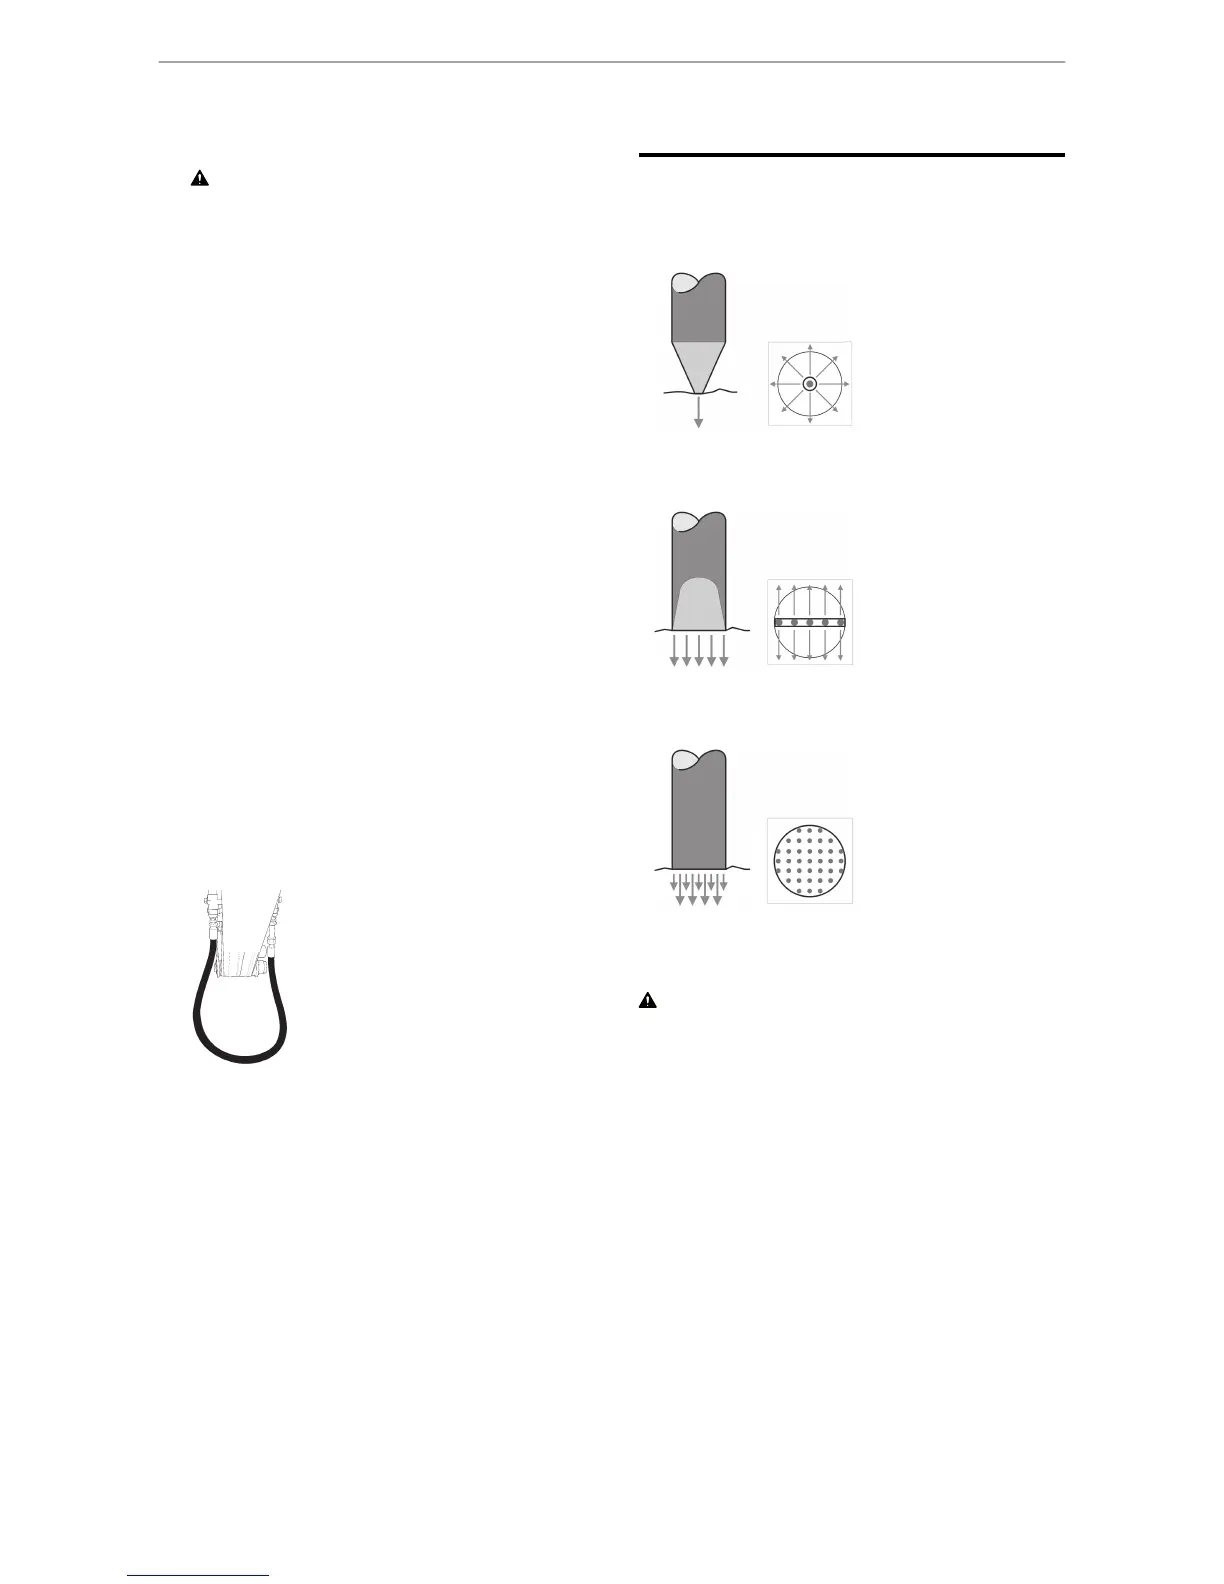
Insertion tool
Selecting the right insertion tool
Conical moil point
> Very good penetration
> Regular spread of wedge
action
> No torsion effect
Chisels and spades
> Very good spread of wedge
action
> Good penetration
> Torsion effect
Blunt tool
> Very good energy
application
> Optimum breaking effect
> No torsion effect
Mounting and dismounting the working
tool
WARNING Running engine
Changing the working tool or accessories while the
carrier's engine is running can cause serious injury.
► Secure the carrier against involuntary activation.
Before you start mounting or dismounting the
working tool, do the following:
1. Place the hydraulic breaker on timber support
blocks. The boring on the back side of the
hydraulic breaker has to remain free.
2. Shut off the carrier's engine.
3. Remove two plugs from the hammer box, the
first at the split pin and the second at the retainer
pin.
159800 1050 01f | Original instructions
Safety and operating instructionsRX 2, 3, 4, 6, 8
 Loading...