EasyManua.ls Logo

Christie GS Series User Manual

Christie GS Series
80 pages
To Next Page IconTo Next Page
Page #1 background imageLoading...
Page #1 background image
Christie GS Series
DWU1082-GS
User Manual
020-001800-01

Table of Contents

Other manuals for Christie GS Series

Questions and Answers:

Christie GS Series Specifications

General IconGeneral
3D CapableYes
Light SourceLaser phosphor
Lens OptionsMultiple options available
InputsHDMI, DVI
Lamp Life20, 000 hours
Throw RatioVaries depending on lens option
Warranty3 years

Summary

Introduction

General Hazards

Hazard warnings also apply to accessories once they are installed in a Christie product that is connected to power.

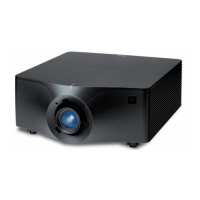
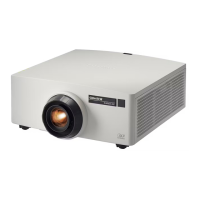
Projector Components

Built-in Keypad

Input/Output (I/O) Panel

IR Remote Keypad

Installation

Connecting to a Computer

Learn what cables/connectors that may be used to connect to various devices.

Connecting to Video Equipment

Learn what cable/connectors may be used to connect to various devices.

Turning the Projector On

The projector cables must be securely connected before turning the power on.

Turning the Projector Off

Power off the projector in preparation for inspection or maintenance.

Adjusting the Projector Position

When you select a position for the projector, consider the size and shape of your screen, the location of your power outlets, and the distance between the projector and the rest of your equipment.

Calculating the Lens Offset

Adjust the offset to align the image on the screen with half image size.

Removing and Installing the Lens

When handling the projector after lens installation, make sure the front lens cap is placed on the lens to protect the lens surface from potential damage.

Installing the Ceiling Mount

Mount the projector with a Christie-approved mount, using the four mounting points on the underside of the projector.

Installing the Projector in the Rigging Frame

Install the projector in a Christie-approved rigging frame, using the four mounting points on the underside of the projector.

Setup, Alignment and Test Procedures

Follow the steps for the initial setup, alignment and test procedures.

Operation

Size and Position Menu

The Size and Position menu determines the size and position of the image on the screen.

Geometry Correction

Geometry correction provides two ways for warping control.

Image Settings Menu

The Image Settings menu sets the brightness, contrast, and other settings for images.

Using Web User Interface

The web user interface provides an alternate way to access the menu functionality on the projector.

Troubleshooting

No Image Appears on Screen

The image does not appear on the screen.

Specifications

Related product manuals