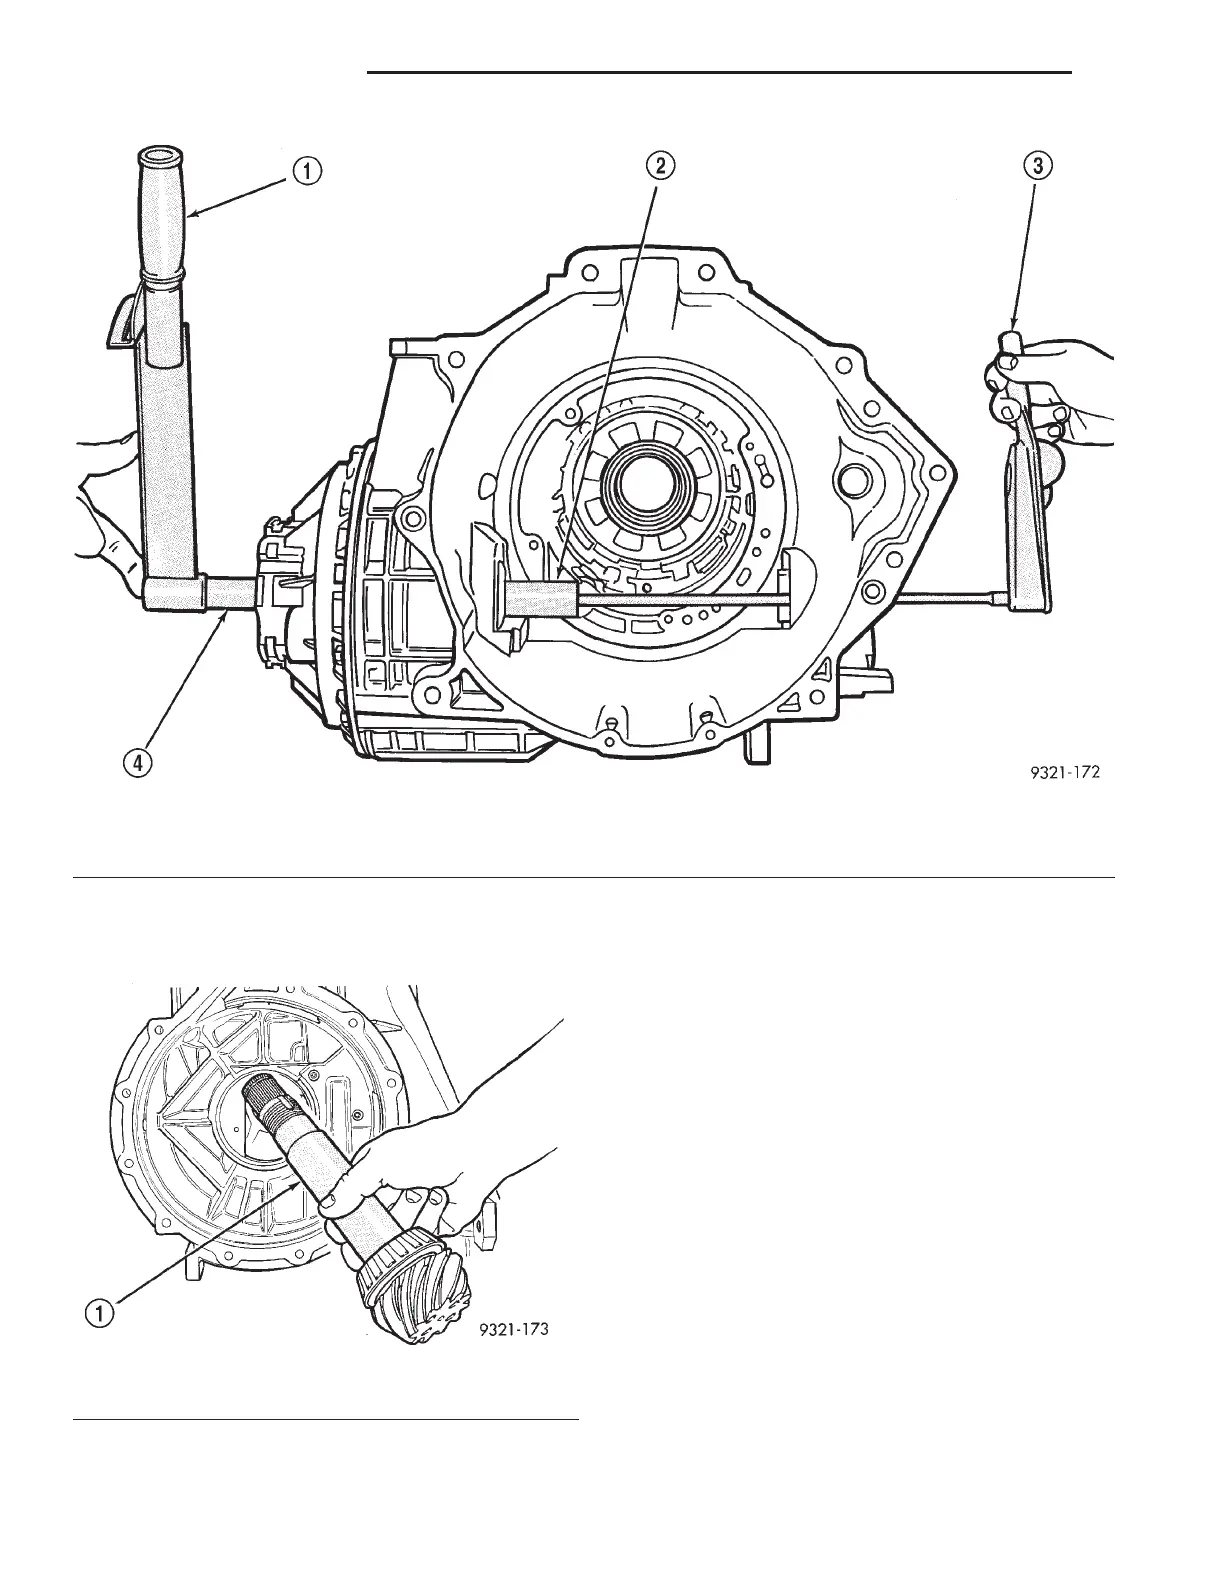
(33) Install transfer shaft into transaxle case (Fig.
411).
CAUTION: Bottom of support fixture must be flush
with face of bell housing. If the support fixture is
not flush, the seals and rear transfer shaft bearing
cup will be pressed in cocked.
(34) Install transfer shaft support fixture (special
tool 6595) (Fig. 412).
(35) Install transfer shaft seal protector (special
tool 6592) (Fig. 413). Apply thin film of gear oil to
protector.
(36) Apply a small amount of lube to seal lips and
install front transfer shaft seal. The serrated edges
must face toward the rear of the transaxle (Fig. 414).
(37) Install seal with special tool 6567A (Fig. 415).
Use a press to install seal. The installation tool will
set the seal depth. Do not use a hammer to install
seal. The seal may be damaged if installed with a
hammer.
(38) Install rear transfer shaft seal. The seal must
be installed so that the spring side of the seal faces
the installation tool (Fig. 416). Use the same special
tool (6567A) to install the seal. The installation tool
will set the seal depth. Use a press to install this
seal. Do not use a hammer.
Fig. 410 Determining Turning Torque
1 – FT. LBS. TORQUE WRENCH
2 – SPECIAL TOOL 6548
3 – IN. LBS. TORQUE WRENCH
4 – SPECIAL TOOL 6503
Fig. 411 Transfer Shaft Installation
1 – TRANSFER SHAFT
21 - 132 42LE TRANSAXLE LH
DISASSEMBLY AND ASSEMBLY (Continued)