NOTE: ADHESIVE MUST BE APPLIED UNIFORMLY
IN 10 mm (0.39 INCHES) BEADS. TOO MUCH OR
TOO LITTLE ADHESIVE WILL CAUSE ROOF PANEL
TO WARP AS ADHESIVE CURES.
(3) Apply a 25 mm (1.0 inch) diameter hot glue
spot to each location where the glue bond between
the headliner and structural membrane had previ-
ously been broken free. This bond is not critical to
performance but allows the membrane to remain in
place while the headliner is installed.
(4) Place the structural membrane, adhesive side
up, onto the headliner over the glue spots to attach
the membrane to the headliner.
(5) Install headlining in proper position in vehicle.
NOTE: IT IS NOT NECESSARY TO APPLY LOCAL
PRESSURE IN THE AREA OF THE STRUCTURAL
MEMBRANE, THE SHAPE AND STIFFNESS OF THE
HEADLINER WILL PROVIDE PROPER PRESSURE
TO ALLOW THE ADHESIVE TO CURE PROPERLY.
REAR SHELF TRIM PANEL
REMOVAL
(1) Remove seat cushion and back.
(2) Remove quarter trim lower and upper trim
panels.
(3) Remove push in fasteners.
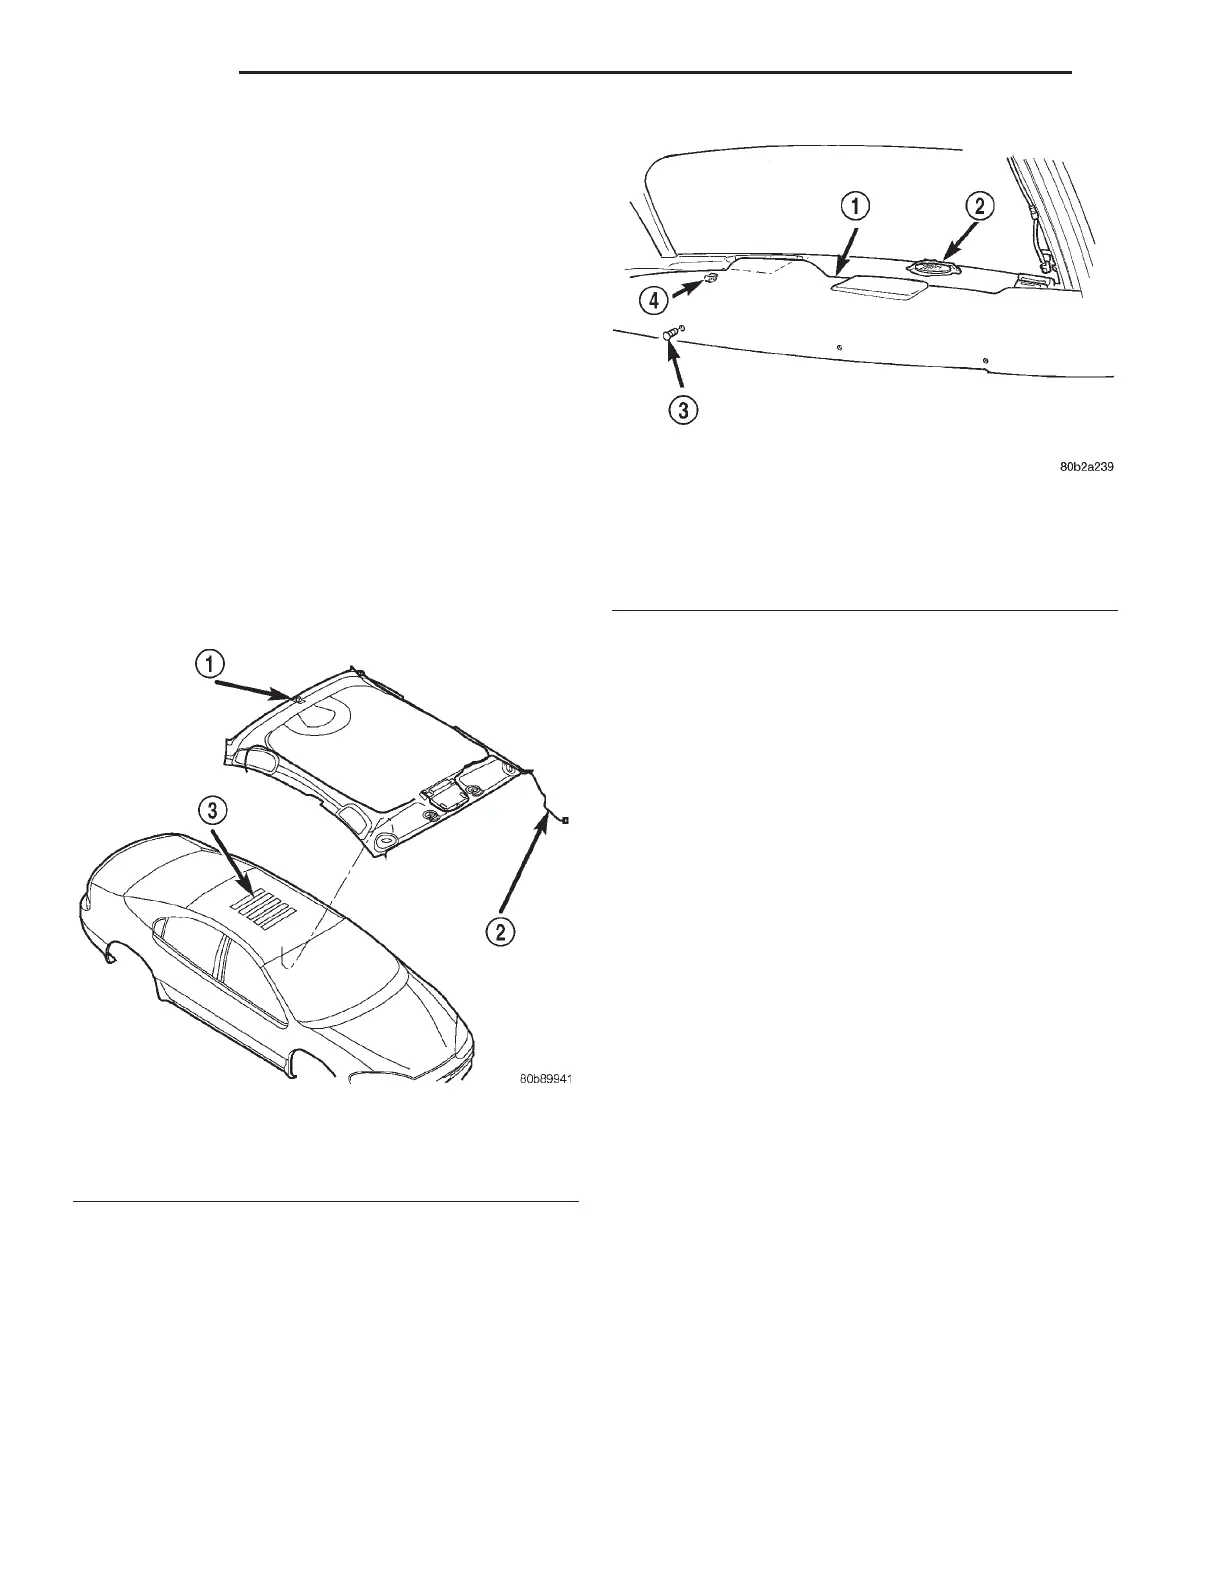
(4) Pull rear shelf trim panel away from rear glass
to disengage clips (Fig. 93).
(5) Disengage CHMSL wire connector, if equipped.
(6) Remove rear shelf trim panel from vehicle.
INSTALLATION
(1) Place rear shelf trim panel in position in vehi-
cle.
(2) Connect CHMSL wire connector.
(3) Push parcel shelf trim rearward toward rear
glass and engage clips.
(4) Insert push in fasteners into position.
(5) Install quarter trim lower and upper panels.
(6) Install seat back and cushion.
CHILD TETHER ASSEMBLY CUP
REMOVAL
(1) Remove rear shelf trim panel from vehicle.
(2) Turn shelf panel over so that the bottom side is
upward to access Child Tether Assembly Cup locks.
(3) With a flat tool, push attachment locks toward
center of cup to release the Child Tether Assembly
Cup from the rear shelf panel.
(4) Remove Child Tether Cup.
INSTALLATION
(1) Place Child Tether Assembly Cup into position
on top of the rear shelf trim panel.
(2) Press rearward until cup engages into rear
shelf trim panel.
(3) Push front of cup down into rear shelf trim
panel.
(4) Install rear shelf panel.
CHILD TETHER ASSEMBLY CUP COVER
REMOVAL
(1) Open Child Tether Assembly Cup Cover to the
full open position.
Fig. 92 Membrane Strips
1 – REAR CLIP
2 – WIRE HARNESS
3 – STRUCTURAL MEMBRANE
Fig. 93 Parcel Shelf Trim Panel
1 – REAR SHELF TRIM
2 – REAR SPEAKER
3 – PUSH-IN FASTENER
4 – CLIP
23 - 74 BODY LH
REMOVAL AND INSTALLATION (Continued)