(2) Push cover towards rear of the vehicle until
cover detaches from cup.
INSTALLATION
(1) Place Child Tether Assembly Cup cover into
position on top of the rear shelf trim panel.
(2) Push downward on Child Tether Assembly Cup
Cover till it locks into position (will hear part click).
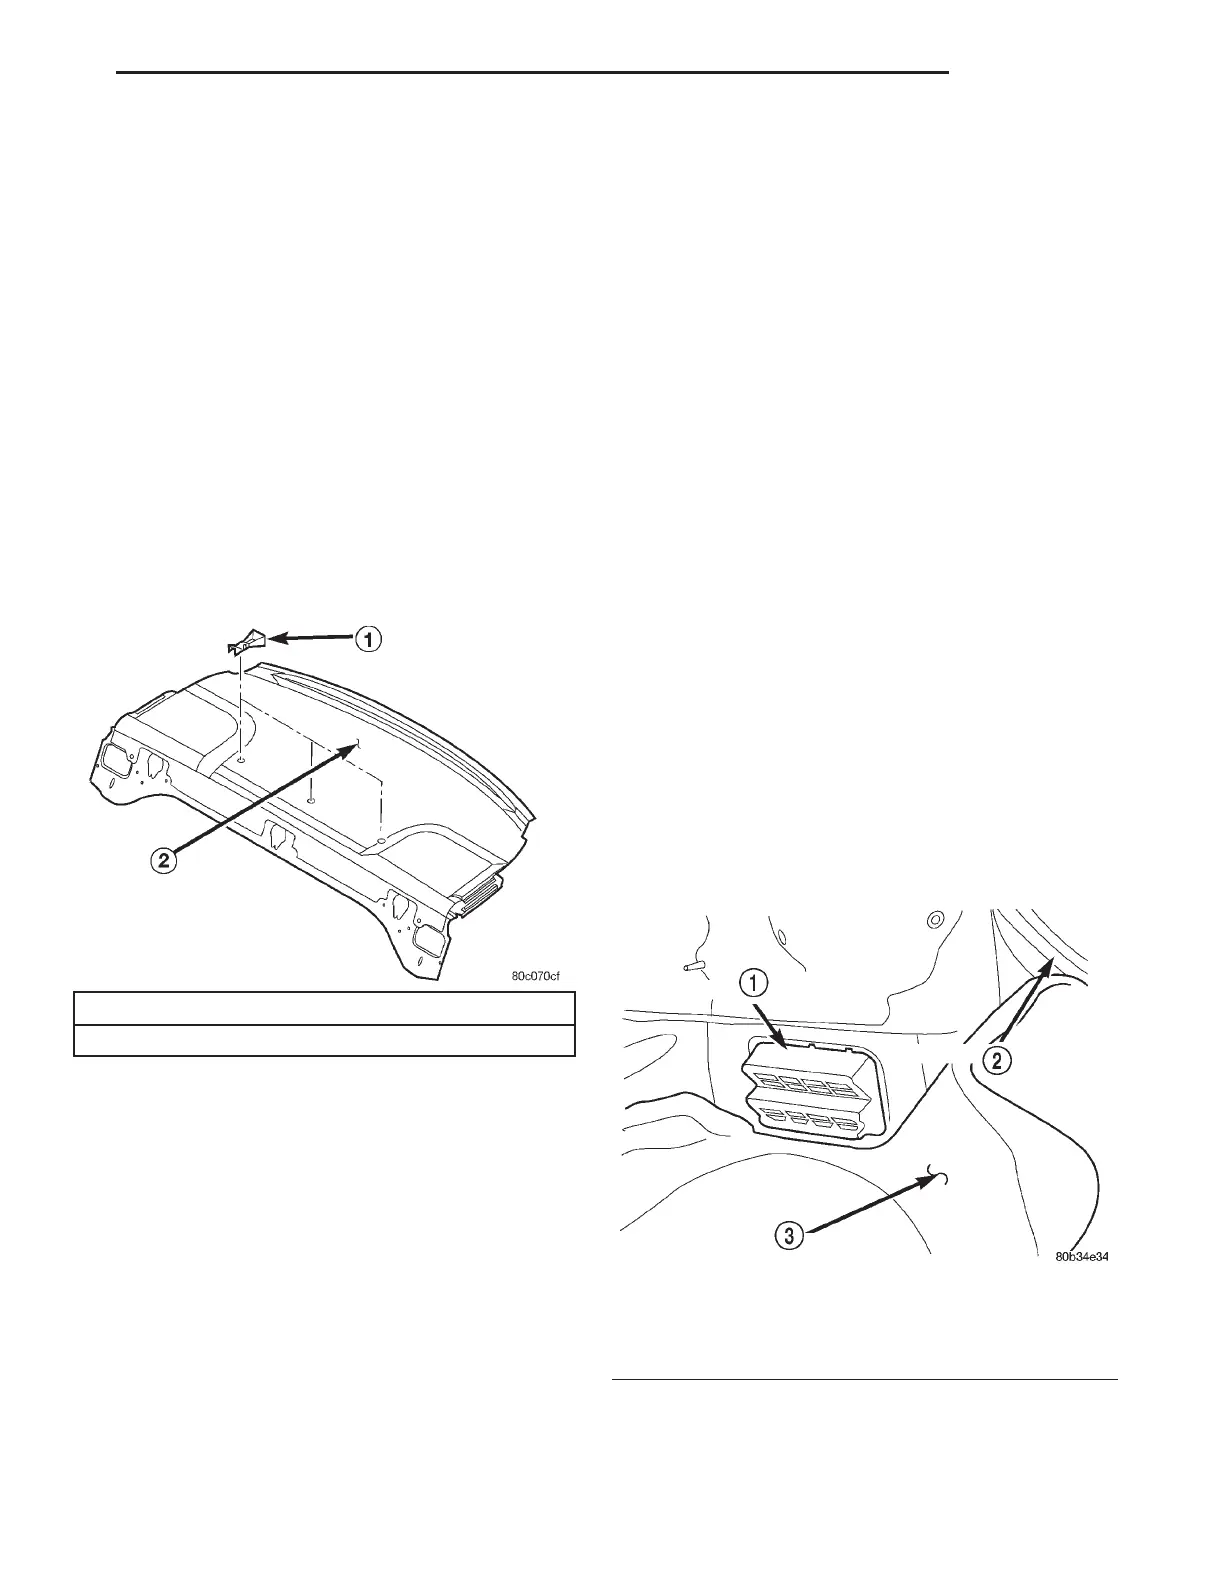
CHILD TETHER ASSEMBLY
REMOVAL
(1) Open the Child Tether Cap to allow access to
the Child Tether Assembly bolt.
(2) Remove bolt attaching Child Tether Assembly
to vehicle (Fig. 94)
(3) Remove Child Tether Assembly (bolt, anchor
plate, cap and spacer) from vehicle.
INSTALLATION
(1) Place Child Tether Assembly into position on
the rear shelf panel with the cap open.
(2) Insert the dog point into the hole if the sheet
metal
(3) Hand start bolt.
(4) Tighten bolt(s) to 20 N·m (15 ft. lbs.) torque.
(5) Close Child Tether Assembly Cap.
TRUNK CARPET
REMOVAL
(1) Remove rear seat cushion and back.
(2) Remove fasteners at forward edge along wheel-
housing
(3) Remove spare tire board, jack, and tire.
(4) Remove fasteners at back panel and sides.
(5) Remove carpet.
INSTALLATION
(1) Fold carpet and load into position in the trunk.
(2) Install fasteners at back and sides panel.
(3) Install spare tire board, jack, and tire.
(4) Install fasteners at forward edge along wheel-
housing
(5) Install rear seat back and cushion.
AIR EXHAUSTER VENT
REMOVAL
(1) Open decklid.
(2) Move trunk carpet to access the air exhauster
in the right/left rear corner of the trunk (Fig. 95).
(3) From inside trunk push the air exhauster out-
ward to release clips.
(4) Reach under fascia and pull air exhauster out-
ward from trunk side panel.
(5) Remove air exhauster from vehicle.
INSTALLATION
(1) Place air exhauster in position. Ensure that the
locator tab is aligned.
(2) Engage the upper half of the air exhauster
then push the lower half in until the clips click into
place.
(3) Install trunk carpet into position.
CHILD TETHER ASSEMBLY
1. Child Tether
2. Rear Shelf Panel
Fig. 94
Fig. 95 Air Exhauster
1 – AIR EXHAUSTER
2 – REAR TRUNK FENCE
3 – TRUNK CARPET
LH BODY 23 - 75
REMOVAL AND INSTALLATION (Continued)