
R
Robert JohnsonAug 1, 2025
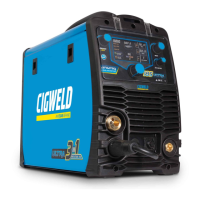
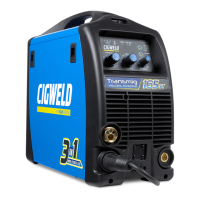
What to do if CIGWELD Transmig 165ST Welding System produces porosity due to dirty metal?
- ZZachary JohnsonAug 2, 2025
To address porosity issues when welding with your CIGWELD Welding System, make sure to thoroughly clean any contaminants such as dirt, oil, paint, oxidation, or grease from the workpiece before welding.