EasyManua.ls Logo

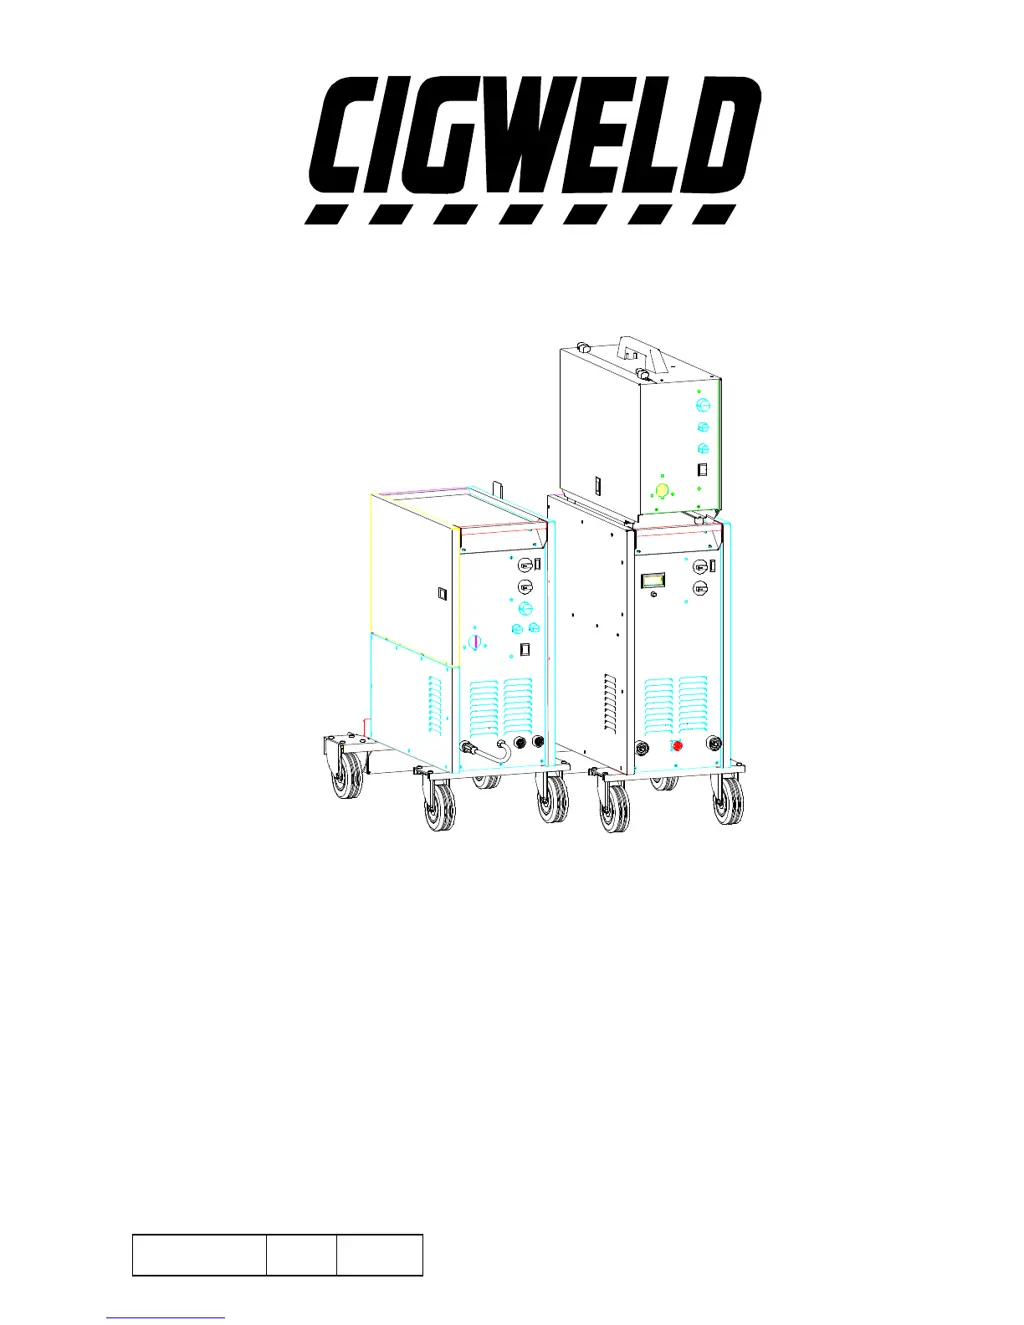
CIGWELD Transmig 210 - User Manual

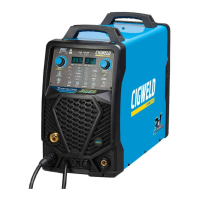
CIGWELD Transmig 210
30 pages
Print Icon
To Next Page IconTo Next Page
Loading...
MIGTRN0001 Issue 2 14/09/98
Operating Manual
TRANSMIG 210 Compact Power Source 704832
Remote Power Source 704808
TRANSMIG 250 Compact Power Source 704833
Remote Power Source 704809
2R TRANSMIG 210/250 Wirefeeder 704975
TRANSMIG 310 Compact Power Source 704836
TRANSMIG 330 Remote Power Source 705085
2R TRANSMIG 330 Wirefeeder 704841

Table of Contents

Questions and Answers

  • P
    pcastilloAug 19, 2025
    How to fix porosity in CIGWELD Transmig 210 Welding System?
    • R
      rossdonnaAug 19, 2025
      To address porosity in your weld, start by cleaning any contaminants from the workpiece. Keep the MIG torch nozzle as close as possible to the workpiece. Make sure the gas holes are clear and gas is flowing from the torch nozzle. Protect the weld area from wind, or increase the gas flow. Verify that the gas cylinder isn't empty and the flow meter is correctly set to 15 liters per minute. Check for gas leaks from the regulator/cylinder connection to the gas hose at the power source. Finally, ensure the hose from the solenoid valve to the torch adapter is intact and properly connected.
  • D
    donald25Aug 25, 2025
    Why CIGWELD Transmig 210 Welding System has excessive spatter?
    • F
      fitzgeraldvalerieAug 25, 2025
      Excessive spatter can occur if the arc voltage is too high or too low. To fix this, lower the voltage by reducing the Voltage Control switches positions or turn the Wirespeed control knob clockwise if the voltage is too high. If the voltage is too low, raise the voltage by increasing the Voltage Control switches or turn the Wirespeed control knob anti-clockwise.
  • J
    Julia JacksonAug 26, 2025
    How to resolve undercut in CIGWELD Transmig 210?
    • M
      melissa41Aug 26, 2025
      If you're experiencing undercut, it could be due to several factors. If the welding arc voltage is too high, reduce it by adjusting the Voltage Control switches positions or turn the Wirespeed control knob clockwise. Also, ensure your torch angle is correct and adjust it if necessary. Finally, if there's excessive heat input, increase the torch travel speed or reduce welding current by reducing the Voltage Control switches positions and turn the Wirespeed control knob anti-clockwise.
  • D
    Donna BlairAug 27, 2025
    What causes lack of penetration in CIGWELD Welding System and how to fix it?
    • L
      Logan GreeneAug 27, 2025
      Lack of penetration can be caused by a welding current that is too low. Increase welding current by increasing turn the Wirespeed control knob clockwise and increasing Voltage Control switch positions. It can also happen if the joint preparation is too narrow or the gap is too tight, so increase the joint angle or gap. Finally, the shielding gas may be incorrect, so change to a gas which gives higher penetration.
  • J
    Johnny BoydAug 29, 2025
    How to fix irregular weld shape in CIGWELD Transmig 210 Welding System?
    • B
      Brenda LeeAug 29, 2025
      An irregular weld shape may be due to incorrect voltage and current settings; adjust these using the Voltage Control switches positions and the Wirespeed control knob. Another cause may be that the wire is wandering, in which case you should replace the contact tip. The issue could also stem from incorrect shielding gas, so check your gas selection. Finally, insufficient or excessive heat input can also lead to this problem; adjust the Wirespeed control knob or the Voltage Control switches.
  • K
    Kathryn RamirezAug 31, 2025
    What to do if CIGWELD Transmig 210 Welding System has weld cracking?
    • J
      Jennifer CampbellAug 31, 2025
      Weld cracking can occur due to several reasons. If weld beads are too small, decrease torch travel speed. If weld penetration is narrow and deep, reduce current and voltage and increase the MIG Torch travel speed or select a lower penetration shielding gas. Excessive weld stresses can also be a factor, so increase weld metal strength or revise the design. If there's excessive voltage, decrease it by reducing the Voltage Control switches. Lastly, if the cooling rate is too fast, slow it down by preheating the part to be welded or cool it slowly.
  • M
    Michael RogersSep 3, 2025
    What to do if CIGWELD Welding System has lack of fusion?
    • K
      Kelly NelsonSep 3, 2025
      If you're experiencing a lack of fusion, this can be due to the arc voltage being too low. To resolve this, increase the arc voltage by increasing the Voltage Control switches position.
  • S
    Steven MorenoSep 4, 2025
    Why arc does not have a crisp sound in CIGWELD Welding System?
    • T
      Troy MccoySep 4, 2025
      If the arc in your CIGWELD Welding System doesn't have a crisp sound, it might be because the MIG torch is connected to the wrong voltage polarity on the front panel. To fix this, connect the MIG torch to the positive welding terminal (+) for solid wires and gas shielded flux cored wires.
  • R
    rmatthewsSep 6, 2025
    What causes cold weld puddle in CIGWELD Transmig 210 Welding System?
    • M
      michelevelezSep 7, 2025
      A cold weld puddle may be caused by several factors: * A faulty rectifier unit: Have an Accredited CIGWELD Service Agent test then replace the faulty component. * Loss of a phase in the Mains supply voltage: Check mains power. * Loose welding cable connection: Check all welding cable connections. * Low Mains supply voltage: Contact supply authority.
  • C
    Carla MedinaSep 8, 2025
    What to do if CIGWELD Welding System indicator light is ON but welding arc can not be established?
    • B
      buckleymarthaSep 9, 2025
      If the indicator light is on but a welding arc cannot be established, it might be because the Coarse Voltage Control switch is in the STANDBY position. Switch the Coarse Voltage Control switch to a welding setting.

Summary

Introduction

Duty Cycle

Explains the rated duty cycle of a welding Power Source and the 5-minute period.

Specifications

Transmig 210 and Transmig 250 Specifications

Details specifications for Transmig 210 and 250 models, including part numbers, mass, dimensions, and electrical ratings.

Transmig 310 and Transmig 330 Specifications

Details specifications for Transmig 310 and 330 models, including part numbers, mass, dimensions, and electrical ratings.

MIG Torch Specifications

Lists specifications for the TWECO MIG torch, including part number, type, and cable length.

Wirefeeder Specifications

Details specifications for the wirefeeder, including mass, dimensions, voltage, wire speed, and diameter compatibility.

Plant Contents

Lists the standard items included in the Transmig welding plant package for different models.

Optional Accessories

Lists various optional accessories available for the Transmig series and their compatibility.

Installation Recommendations

Environment

Guidelines for suitable operating environments, avoiding increased electrical shock hazards.

Location

Recommendations for placing the Power Source, considering moisture, temperature, dust, and ventilation.

Ventilation

Emphasizes the importance of adequate ventilation for welding fume removal.

Mains Supply Voltage Requirements

Specifies acceptable mains supply voltage tolerances and the need for proper plug fitting.

Alternative Mains Supply Voltage Requirements

Details required lead sizes and fuse ratings for different mains supply voltages.

Set Up for Compact Transmigs

Set Up for Remote Transmig with Wirefeeder

Power Source; 2 R Wirefeeder Controls, Indicators and Features

Indicator Light

Explains the function of the indicator light and its relation to mains voltage connection.

Standby;Coarse Voltage Control Switch and Fine Voltage Control Switch

Describes the operation of the coarse and fine voltage control switches.

Digital Ammeter and Voltmeter (Standard for Transmig 330 Only)

Explains the digital meter for monitoring welding current and voltage.

Torch Polarity Lead (Compact Models Only)

Details how to use the torch polarity lead for correct electrode wire polarity.

Positive and Negative Welding Terminals

Explains the importance of secure connections at the welding terminals.

Wirefeeder Control Socket (Remote Wirefeeder Models Only)

Describes the connection of the wirefeeder control cable.

Thermal Overload

Explains the thermal overload cutout device for machine protection.

Choice of Inductance Setting (Transmig 210 & 250 Only)

Guides on selecting inductance settings for different welding conditions.

Wirespeed Control (Compact Models & 2 R Wirefeeder Only)

Explains how the Wirespeed Control knob affects welding current.

Spot Timer (Compact Models & 2 R Wirefeeder Only)

Details the function of the Spot Timer control for spot and stitch welding.

Dwell Timer (Compact Models & 2 R Wirefeeder Only)

Explains the Dwell Timer control for stitch welding 'OFF' time.

Mode Selector Switch (Compact Models & 2 R Wirefeeder Only)

Describes the function of the Mode Selector switch for different welding modes.

Burnback Control (Compact Models & 2 R Wirefeeder Only)

Explains the adjustment of burnback control for electrode wire.

Wirefeeder Driver Roller Pressure Adjustment (Compact Models & 2 R Wirefeeder Only)

Guides on adjusting the driver roller pressure for optimal wire feed.

Wire Reel Brake (Compact Models & 2 R Wirefeeder Only)

Explains how to adjust the wire reel brake for proper wire tension.

Tweco MIG Torch (P;N 717578 where supplied)

Introduction

Introduces the TWECO 250A MIG torch and its benefits.

Torch Consumable Parts

Lists consumable parts for the MIG torch, specifically gas diffusers.

MIG Torch Components

Provides a pictorial and tabular breakdown of MIG torch components.

Installing A New Conduit Liner

Step-by-step guide for installing or removing a conduit liner.

MIG Torch Maintenance

Instructions for weekly maintenance of the torch conduit liner.

Basic Welding Technique

Setting of the Power Source & Wirefeeder

Explains how to set Wirespeed and Voltage controls for optimal welding.

Position of MIG Torch

Discusses the effect of torch angle on weld width.

Distance from the MIG Torch Nozzle to the Work Piece

Specifies the recommended electrode wire stick-out distance.

Travel Speed

Explains how travel speed affects weld width and penetration.

Stitch Welding Operation

Details how to set controls for stitch welding.

Spot Welding Operation

Guides on setting controls for spot welding operations.

Routine Maintenance & Inspection

Improved Current Accuracy Calibration Procedure for the Digital Meter

Procedure for calibrating the digital meter for accurate current readings.

Basic Troubleshooting

Solving Problems Beyond the Welding Terminals

Addresses common GMAW problems like porosity by checking gas and setup.

Welding Problems

Details common welding faults, their causes, and remedies.

Power Source Problems

Lists common power source faults, causes, and remedies.

Key Spare Parts

Lists essential spare parts for the Transmig series with part numbers.

CIGWELD Transmig 210 Specifications

General IconGeneral
BrandCIGWELD
ModelTransmig 210
CategoryWelding System
LanguageEnglish

Related product manuals