8
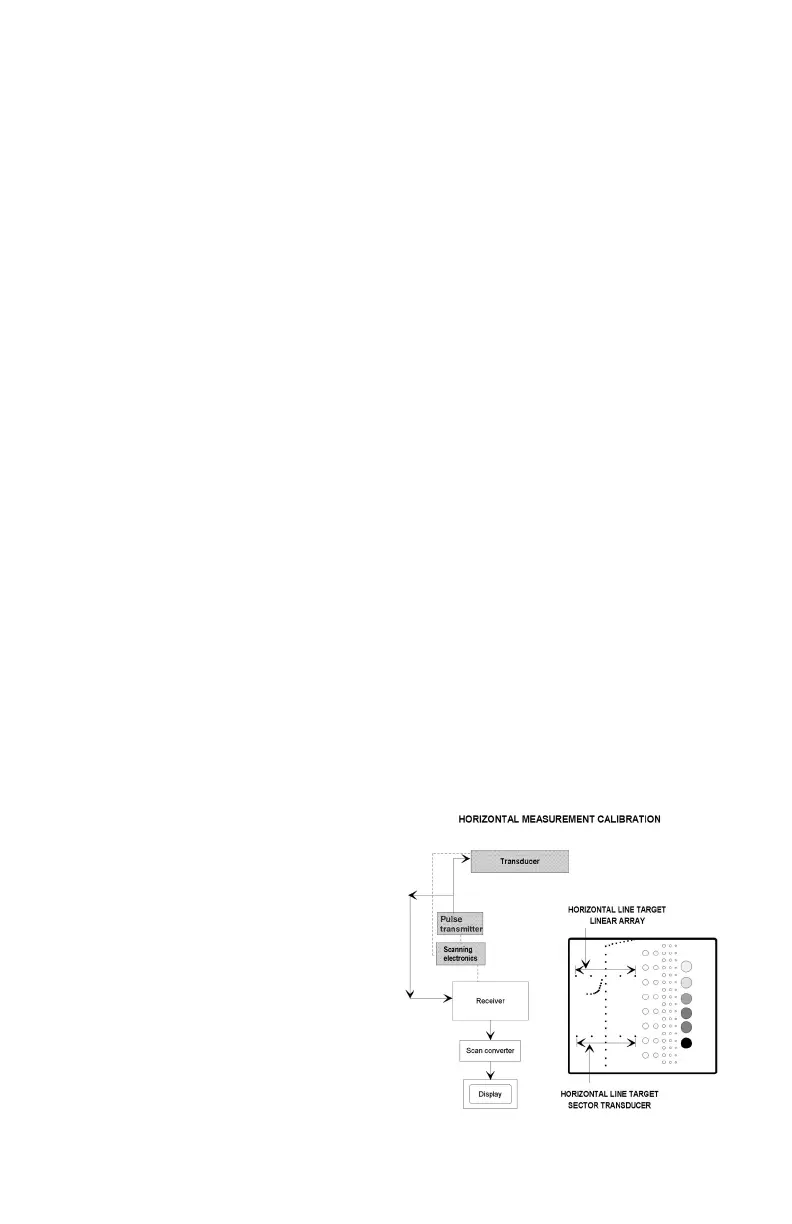
HORIZONTAL DISTANCE MEASUREMENTS
Horizontal distance measurements are obtained perpendicular to the axis of the
sound beam. Proper diagnosis is dependent upon the accurate representation of
the size and volume of a structure being examined. Most imaging systems use
distance markers and/or electronic calipers to obtain these measurements. The
phantom is scanned and a distance measurement obtained. The resulting mea-
surement is then compared to the known distance in the phantom. The accuracy
of the horizontal distance measurements is dependent upon the integrity of the
transducer, the output intensity and the resolution of the imaging system. Testing is
performed as follows:
Note: The Model ATS539 Multipurpose phantom provides two scanning surfaces
used to evaluate horizontal measurement calibration. Linear array scanning sys-
tems should use #1 scanning surfaces. Sector scanning systems should use #3
scanning surfaces.
1. Place the phantom on a clean, at surface
2. Apply an adequate amount of low viscosity gel or water to the scan surface. If
water is used, ll the scanning well slowly to avoid introduction of air bubbles.
3. Adjust the instrument settings (TGC, output, etc.) to establish baseline values
for "normal" scanning. If the bottom of the phantom is seen, adjust
the gain settings until the image goes entirely black. Record these settings
on the quality assurance record. These settings should be used for subsequent
testing.
4. Position the transducer over the horizontal group of line targets until a clear
image is obtained. Freeze the image.
5. Using the electronic calipers or the timing markers measure the greatest
distance that can be clearly imaged between line targets displayed.
Note: Some sector scanners have distance markers on the outside edges of the
sector image with no other indicators available. Hand-held calipers must be used
for distance measurements within the
image on the monitor.
6. Document all of the measurements
on the quality assurance record.
Results:
Interval Spacing: 2.0 cm ± 1 mm
Depths: 5.0 cm ±.1 mm (Scan surface
#1) 5.0 cm ±.1 mm (Scan surface #3)
 Loading...