10 Installing the Cisco RPS Adapter Plate in Cisco 2600 Series Routers
Installing the Redundant Power Supply Adapter Plate
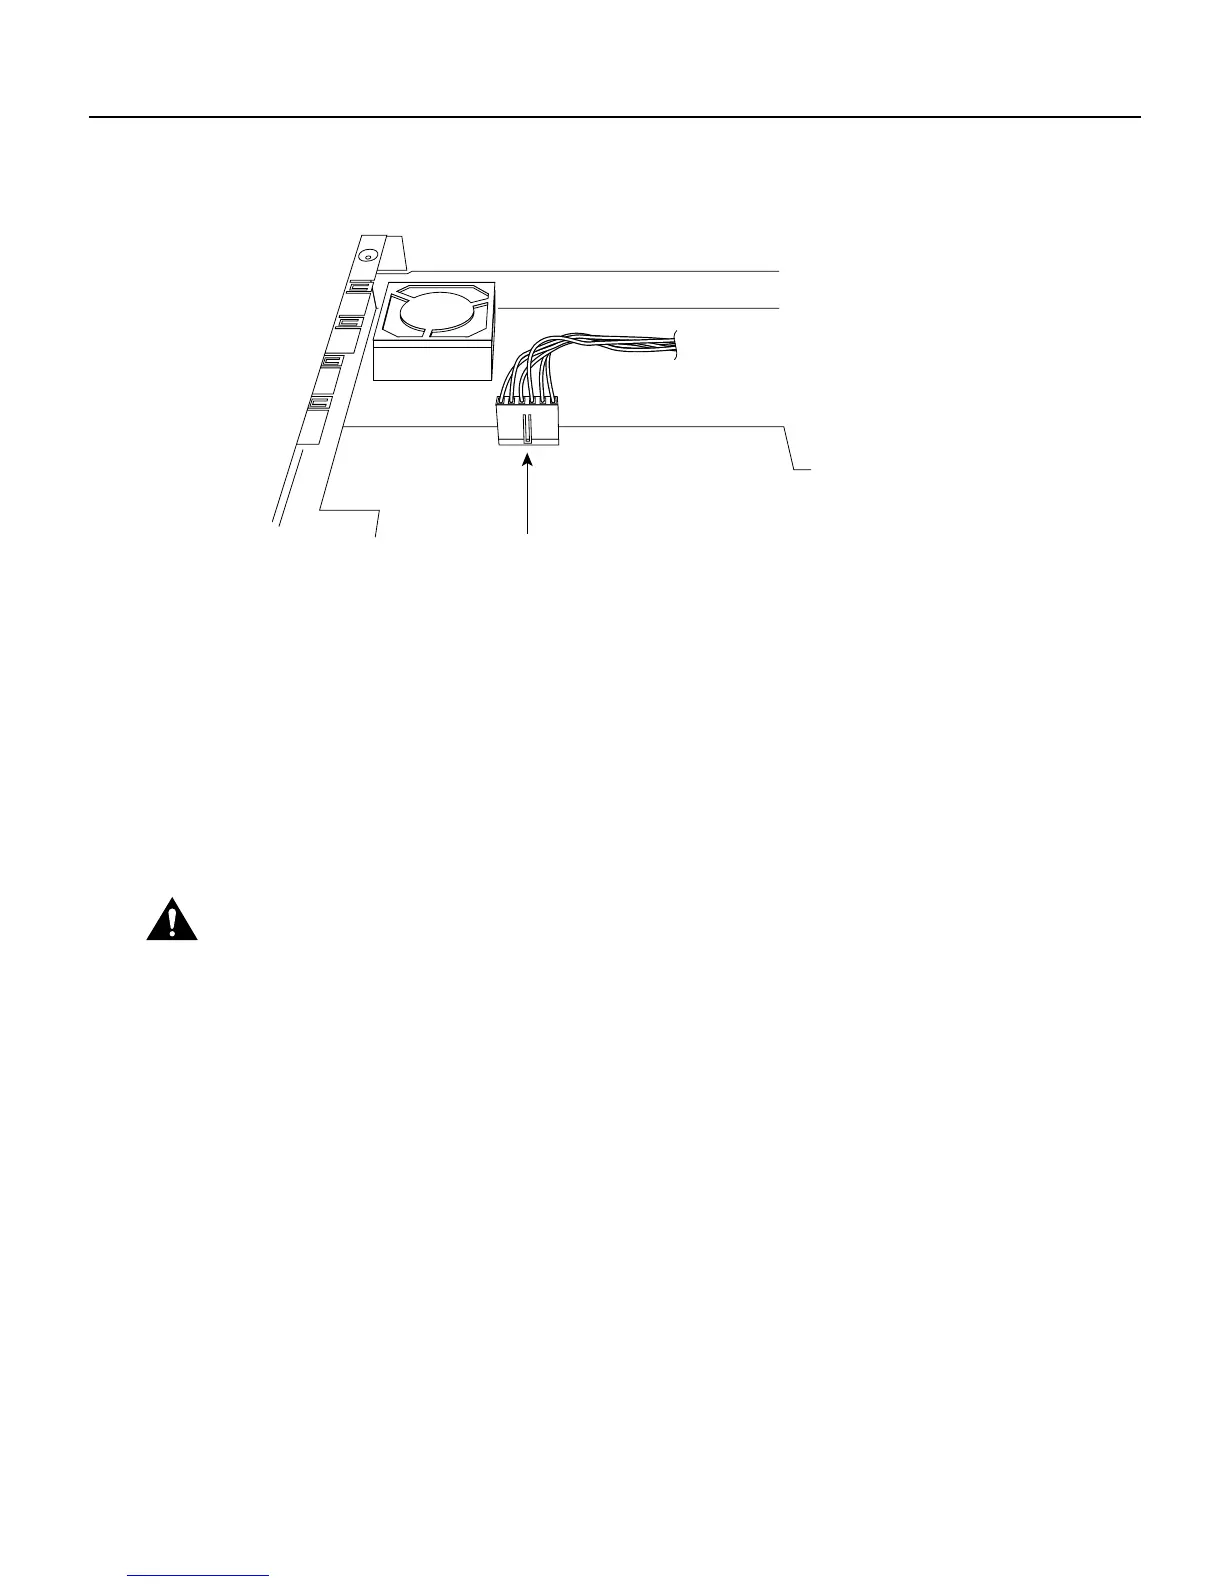
Figure 11 Reconnecting the Connectors
Replacing the Cover
Take the following steps to replace the cover:
Step 1 Position the two chassis sections, as shown in Figure 2.
Step 2 Referring to Figure 2, press the two chassis sections together and ensure the following:
• The top section fits into the rear of the bottom section. The bottom section fits into the
front of the top section.
• Each side of the top and bottom sections fits together.
Step 3 When the two sections fit together snugly, slide the chassis top so until it fits into the front
bezel.
Step 4 Replace the cover screws. Tighten the screws to no more than 8 or 9 inches/pound of
torque.
Step 5 Reinstall the chassis on the wall, rack, desktop, or table.
Step 6 Reconnect all cables.
Caution To fit the two sections together, it might be necessary to work them together at
one end and then the other, working back and forth; however, use care to prevent bending
of the chassis edges.
Six-pin
connector
10345
 Loading...