www.cisco.com.
Auto Provisioning Configuration
UAD Settings
STEP ONE: PBXware IP address.
1. Find out the IP address of PBXware server.
STEP TWO: Login into PBXware.
1. Open a new browser window and enter the IP address to access the PBXware administration
interface login screen.
Example: http://192.168.1.2
an example with IP address
2. Hit "Enter" on your keyboard.
3. Login to PBXware with your e-mail address and password.
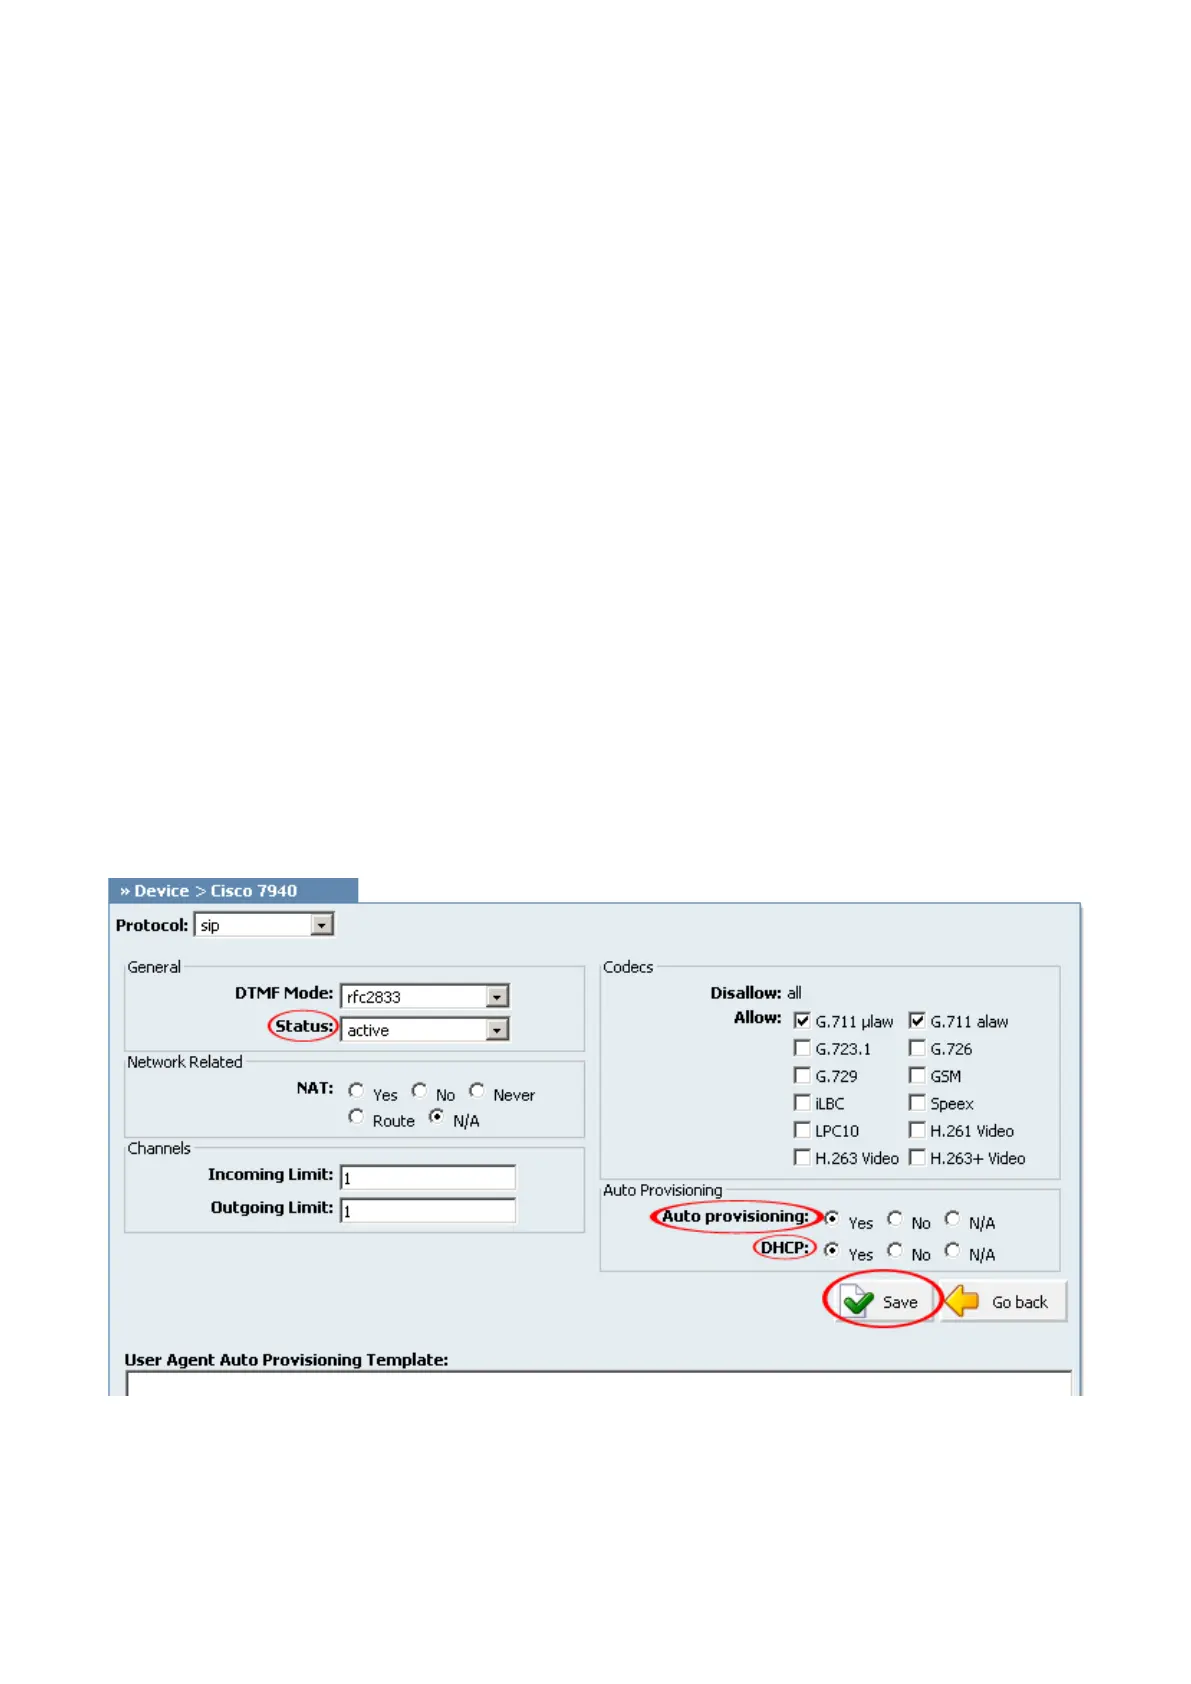
STEP THREE: UAD status.
1. Make sure the UAD is enabled. To check the UAD status navigate to "Settings:UAD", and click
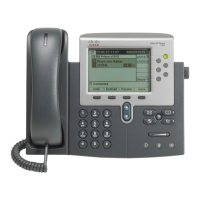
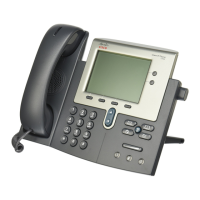
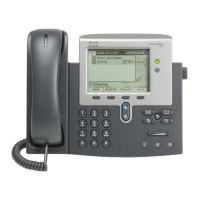
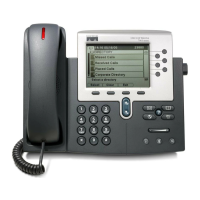
on the "edit" icon corresponding to "Cisco 7942G".
2. Make sure "Status" is set to "active", "Auto provisioning" is set to "Yes" and "DHCP" is set to
"Yes".
3. Click on the "Save" button to save changes.
Creating Extension
STEP ONE: Add Extension.
 Loading...