Step 2
Align the mounting holes in the bracket (and optional cable guide) with the mounting holes in the equipment rack.
Do not use interface module and power supply ejector handles to lift the chassis; using the handles to lift the
chassis can deform or damage the handles.
Caution
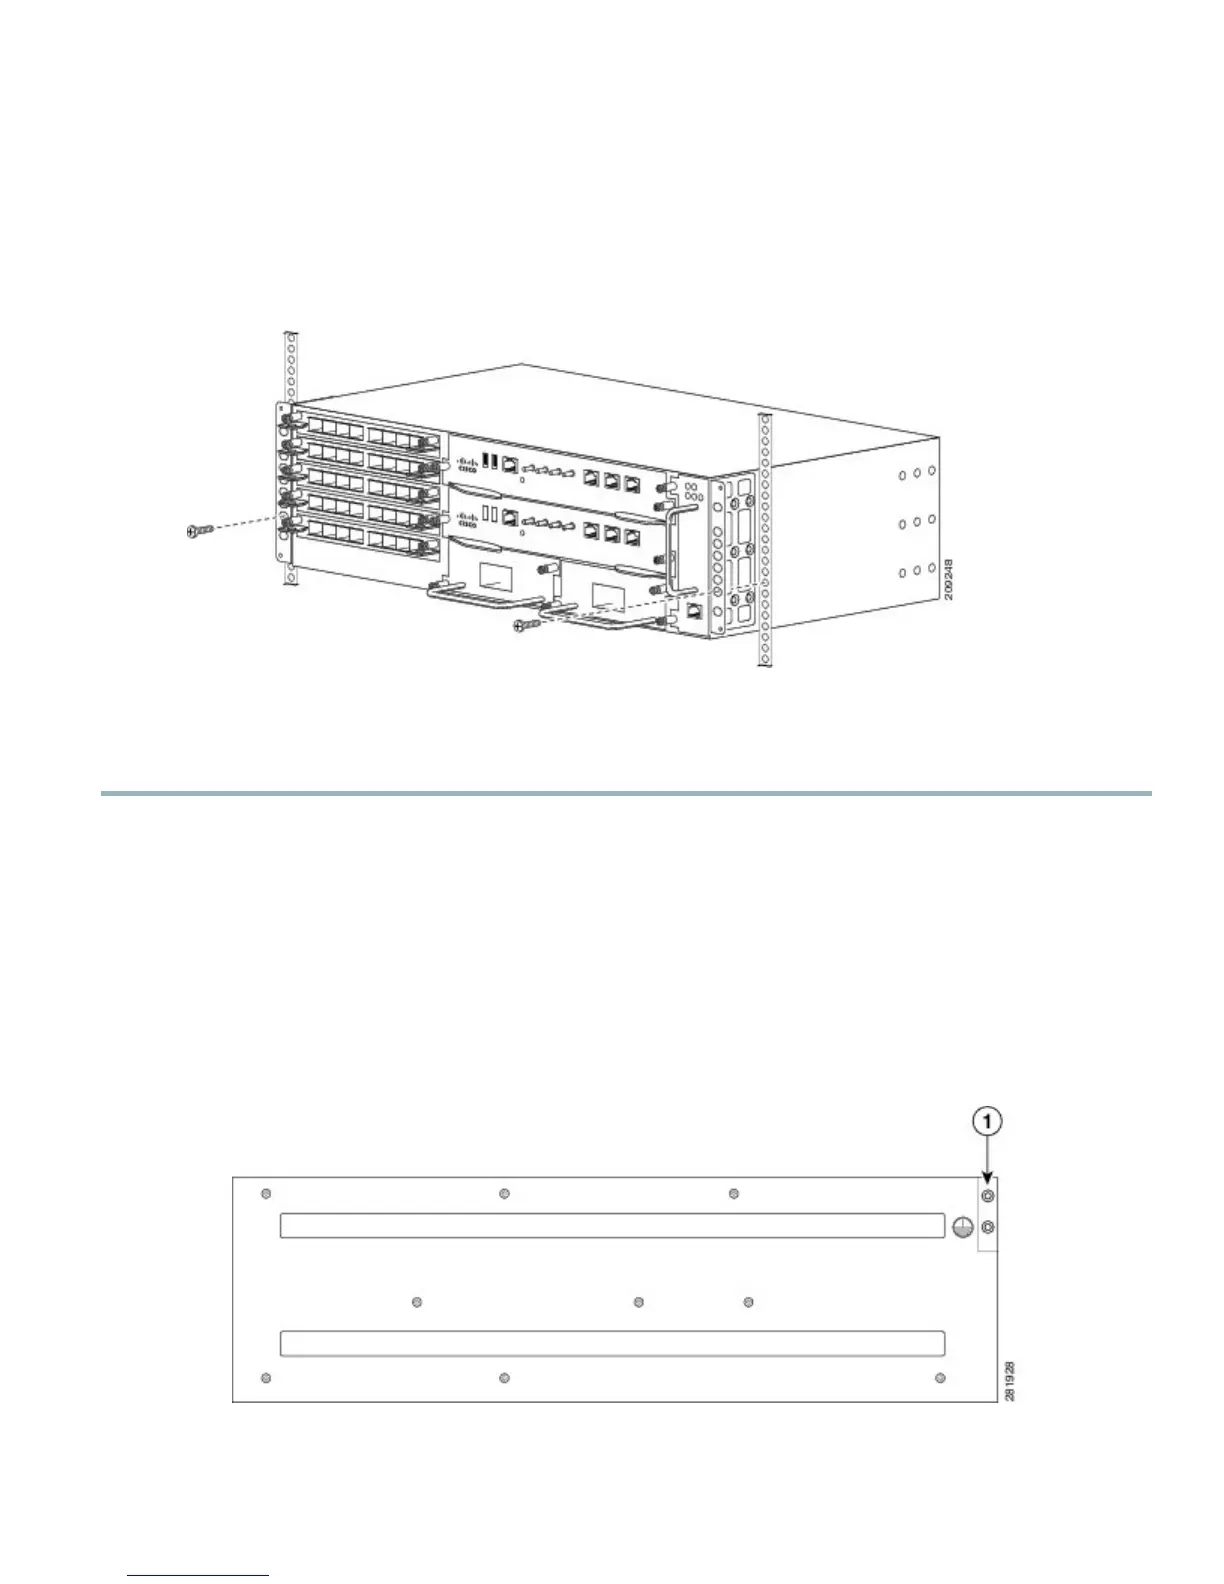
Figure 4: Installing the Chassis in a 19-inch EIA Rack
Step 3
Install the 8 or 12 (4 or 6 per side) 12-24 x 3/4-inch or 10-32 x 3/4-inch screws through the holes in the bracket and into
the threaded holes in the equipment rack posts.
Step 4
Use a tape measure and level to verify that the chassis is installed straight and level.
Installing the Chassis Ground Connection
Before you connect the power or turn on the power to the Cisco ASR 903 Router, you must provide an adequate chassis ground
(earth) connection to your router.
This section describes how to ground the Cisco ASR 903 Router chassis. The router provides two locations for attaching a 2-hole
grounding lug according to the rack-mounting brackets you use to install the router.
Figure 5: Attaching a Grounding Lug to the Rear of the Router in an EIA 19-inch Rack
9