SUMMARY STEPS
1.
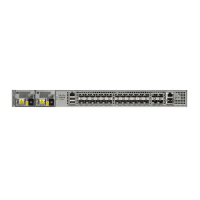
Using a No. 2 Phillips screwdriver or your fingers, loosen the captive installation screws that secures the
fan tray to the chassis. Figure 3-18 shows the front of the Cisco ASR-920-24SZ-IM Router fan tray,
including the captive installation screws. Figure 3-19 shows the front of the Cisco ASR-920-24SZ-M,
ASR-920-24TZ-M Router fan tray, including the captive installation screws.
2.
Pull the fan tray towards you, no more than 1 inch, to disengage it from the power receptacle on the
midplane.
3.
Wait at least 5 seconds to allow the fans to stop spinning. Then, pull the fan tray backward towards you
and out of the chassis.
DETAILED STEPS
Step 1
Using a No. 2 Phillips screwdriver or your fingers, loosen the captive installation screws that secures the fan tray to the
chassis. Figure 3-18 shows the front of the Cisco ASR-920-24SZ-IM Router fan tray, including the captive installation
Cisco ASR-920-24SZ-IM, ASR-920-24SZ-M, ASR-920-24TZ-M Aggregation Services Router Hardware Installation
Guide
74
Installing the Router
Removing the Fan Tray
 Loading...