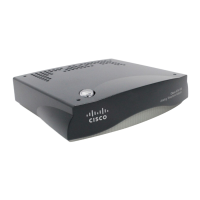
CafeFone Configuration Guide for the Cisco ATA186
announces, ”You entered ‘xxx.xxx.xx.xxx’ (where xxx.xxx.xx.xxx is your primary DNS server
address). To change, press 1; to review, press 2; to save, press 3; to review your saved value, press 4;
or press the pound key (#) to exit.”
17. Press 3 on the phone’s keypad to save the settings. The system announces, ”Value saved.
Configuration Menu…”
18. If there is a secondary DNS server on your network, press 917# on the phone’s keypad to access the
secondary DNS server menu. The system announces, “Enter value.”
19. To enter and save the secondary DNS server address, follow the instructions in steps 16 and 17.
20. Press 3 on the phone’s keypad to save the settings. The system announces, ”Value saved.
Configuration Menu…”
21. Place the phone’s handset back on the phone to hang up.
CONFIGURE THE ATA’S ACCOUNT AND NETWORK
SETTINGS
In order to be able to place calls, the ATA must be configured with the appropriate CafeFone account and
network settings.
To enter the configuration parameters via the Web Configuration page:
1. Pick up the handset of the phone connected to the ATA, and then press the button on top of the
ATA. The system announces, “Configuration Menu. Enter menu number followed by the # key…”
2. Press 80# on the phone’s keypad to hear the IP address. When the system announces the ATA’s IP
address, write it down.
3. Launch a Web browser, and in the Address bar, enter http:// + the ATA’s IP address + /dev.
For example, if the ATA’s IP address were 000.00.000.00, you would enter http://000.00.000.00/dev in
the browser’s Address bar.
4. Enter the information as it appears in the Cisco ATA 186 Web Configuration table below. When you
are finished, click the Apply button to save the settings. The ATA will reboot.
5. Click the Click here to reload link to display the updated settings on the Web page.
The ATA is now ready to place and receive calls.
Page 4

 Loading...


