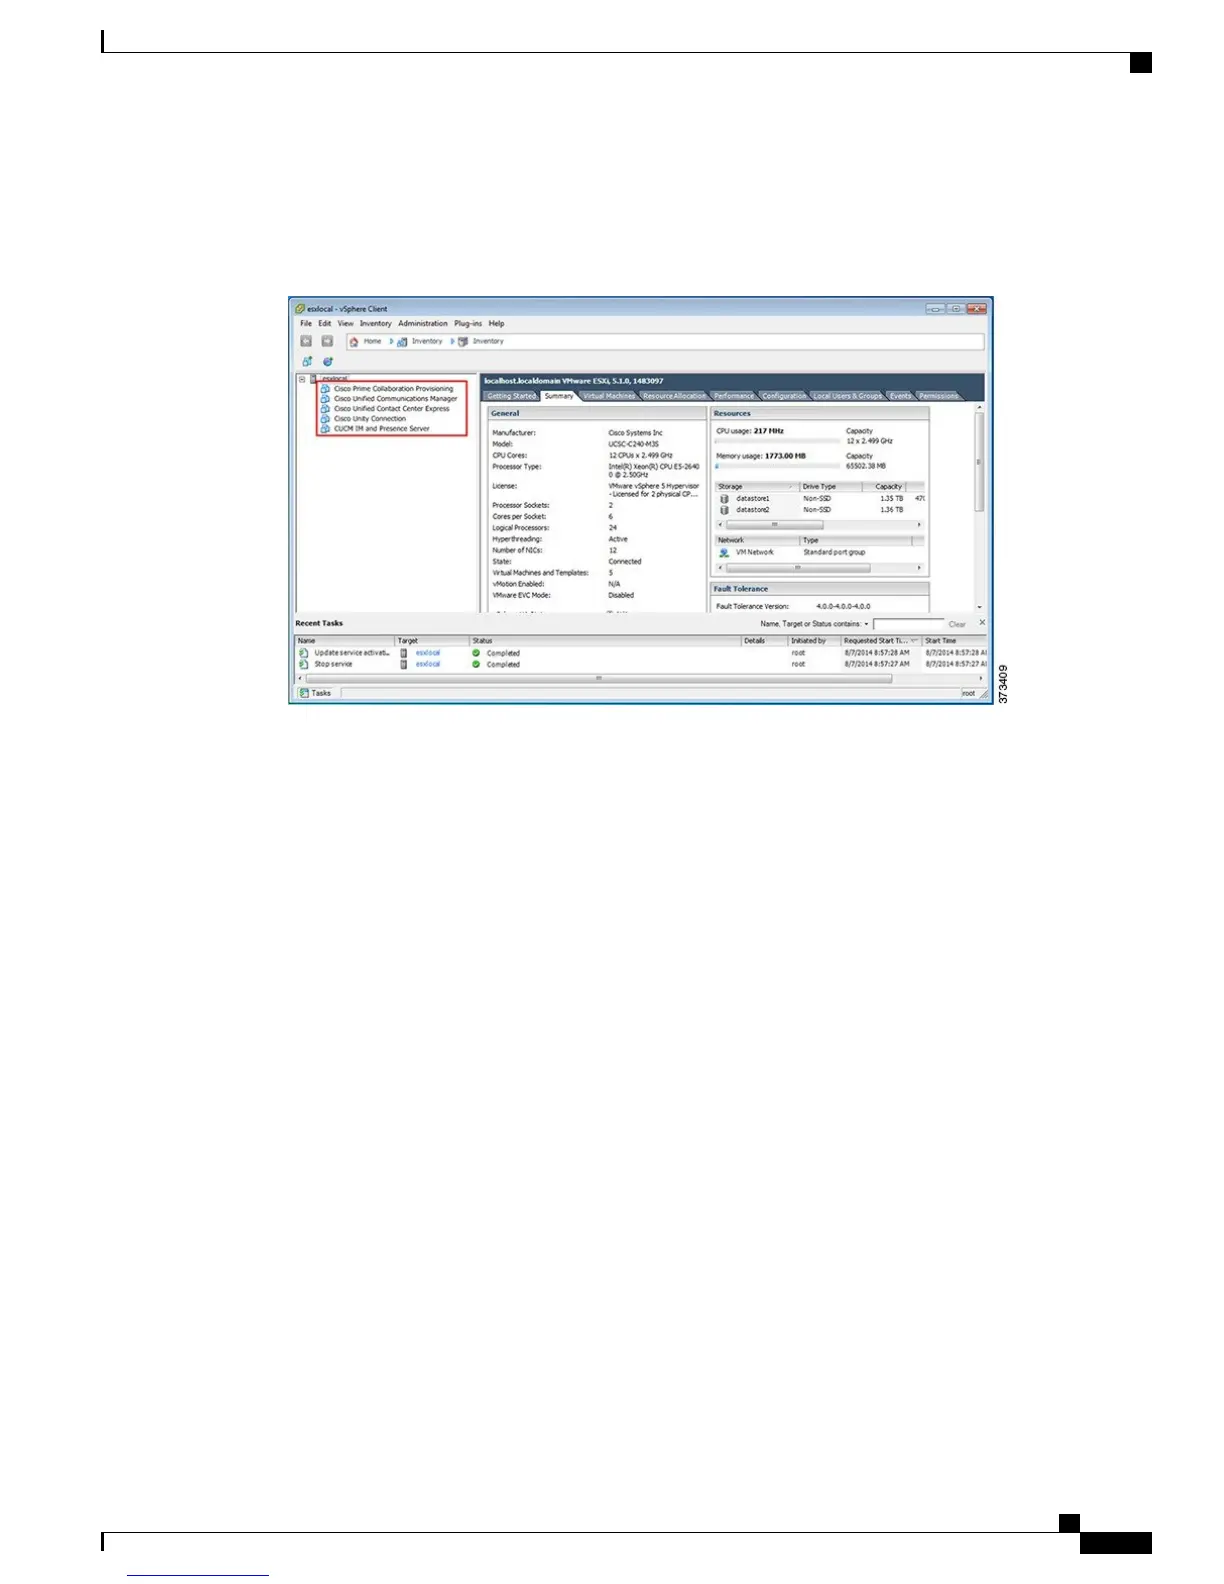
Notice the predeployed applications listed in the inventory pane of Figure
9.
Note
Figure 9: Configuring and Managing Hypervisor and Virtual Machines
Step 4
Configure NTP:
a) Navigate to Configuration > Software > Time Configuration.
b) Click Properties to launch the Time Configuration screen.
c) Update the Time Click Options... .
d) Select NTP Settings.
e) Click Add and type the IP address of NTP server. Repeat this step to add multiple NTP servers.
f) Click OK.
g) Select General > Start and Stop with Host.
h) Click Start button. Click OK to close the configuration screens.
Step 5
Configure network fault tolerance by using the NIC teaming feature in VMware:
a) Navigate to Configuration > Hardware > Networking.
b)
Click Properties for “Standard Switch: vSwitch0,” as shown in the figure below.
c) In the configuration screen vSwitch0 Properties, select the tab Network Adapters.
d) Click Add… to add the NIC that is connected to data network.
e) Follow the interactive configuration dialogs and close the configuration screens until you see two or more
NICs are added to vSwitch0, as shown in the figure below.
By default, only one NIC is enabled for the Hypervisor and identified as vmnic0.Note
Cisco Business Edition 7000 Installation Guide, Release 11.6
9
Installation
Access and Configure Hypervisor

 Loading...