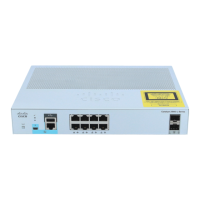
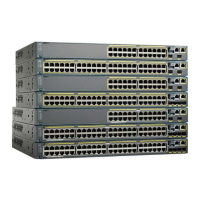
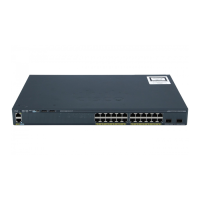
Four Number-8 Phillips flat-head screws
(48-2927-01)
9AC power cord2
One black Phillips machine screw
(48-0654-01)
10Four rubber-mounting feet (51-0089)3
(Optional) Console cable or USB cable11Compliance documentation
(78-100866-01)
4
(Optional) Power cord retainer12Two 19-inch mounting brackets5
Icon legend label (47-103380-01 for 1G
SFP modules and 47-103993-01 for 10G
SFP+ modules.)
13Cable guide6
Four Number-12 Phillips pan-head screws
(48-0523-01)
7
Tools and Equipment
Obtain these necessary tools:
• A Number-2 Phillips screwdriver to rack-mount the switch
Installation Guidelines
When determining where to install the switch, verify that these guidelines are met:
• Clearance to the switch front and rear panel meets these conditions:
• Front-panel LEDs can be easily read.
• Access to ports is sufficient for unrestricted cabling.
• AC power cord can reach from the AC power outlet to the connector on the switch rear panel.
• Cabling is away from sources of electrical noise, such as radios, power lines, and fluorescent lighting
fixtures. Make sure that the cabling is safely away from other devices that might damage the cables.
• Airflow around the switch and through the vents is unrestricted.
• Temperature around the unit does not exceed 113°F (45°C). If the switch is installed in a closed or
multirack assembly, the temperature around it might be greater than normal room temperature.
• Humidity around the switch does not exceed 90 percent.
• Altitude at the installation site is not greater than 10,000 feet.
• For 10/100/1000 fixed ports, the cable length from a switch to a connected device cannot exceed 328
feet (100 meters).
Switch Installation
5
Switch Installation
Tools and Equipment
 Loading...
