Procedure
Step 1 Set your terminal to these operational values: 115200 bps, 8 data bits, no parity, 1 stop bits (115200 8N1).
Step 2 Attach the terminal end of the cable to the interface port on the data terminal.
Step 3 Attach the other end of the cable to the console port.
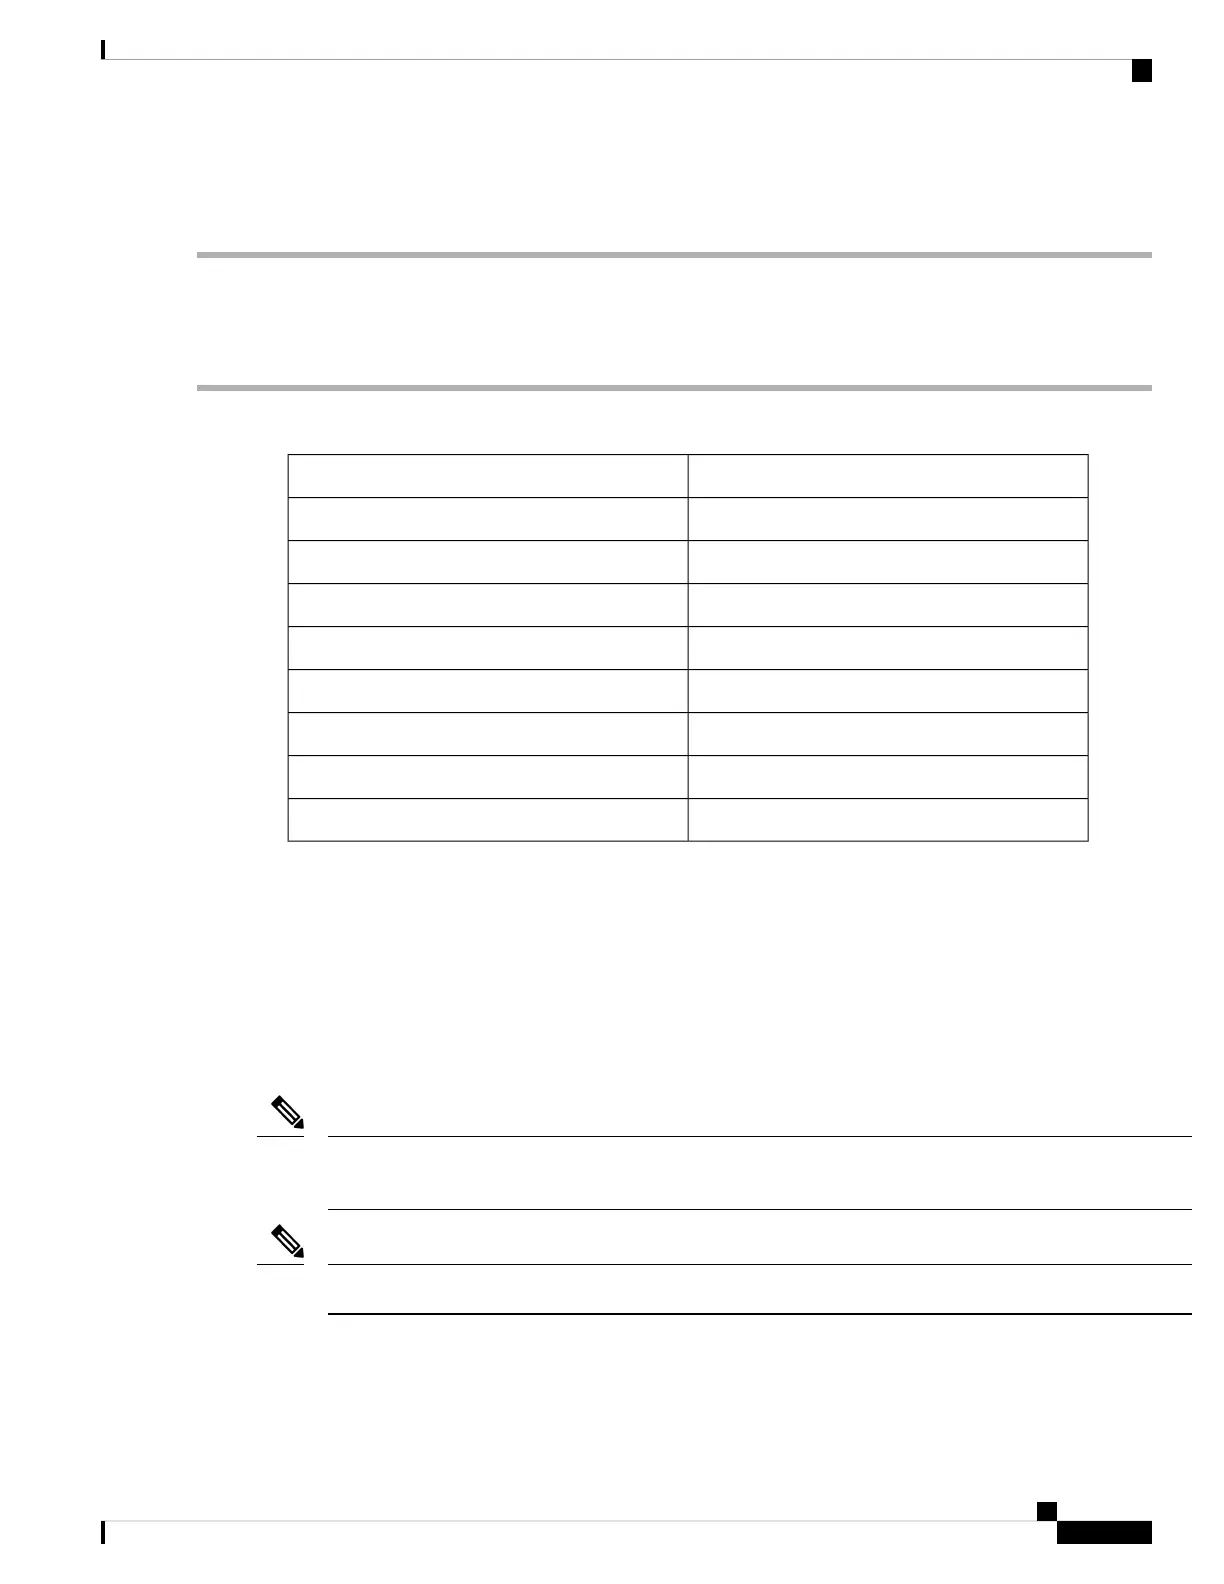
Table 1: RJ-45 Straight-through Cable Pin-outs
SignalRJ-45 Pin
—1
—2
Tx3
Ground (GND)4
GND5
Rx6
—7
—8
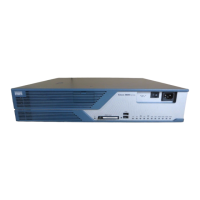
Create the Initial Router Configuration
You must assign an IP address to the router management interface so that you can then connect the router to
the network.
After you boot the router, follow the guided setup/prompts to configure the router. To enable you to connect
the router to the network, you can use the default choices for each configuration except for the IP address,
which you must provide.
These routers are designed to boot up in less than 30 minutes, provided the neighboring devices are in full
operational state.
Note
Note down the router's unique name. It helps to identify the router among the devices in the network.
Note
Before you begin
• Connect a console device with the router.
Connect Router to the Network
3
Connect Router to the Network
Create the Initial Router Configuration