moc.ocsic.www.cnI ,smetsyS ocsiC
Small Business Support
US: 1-866-606-1866 (Toll Free, 24/7)
Global: www.cisco.com/go/sbsc
Cisco and the Cisco Logo are trademarks of Cisco Systems, Inc. and/
or its aliates in the U.S. and other countries. A listing of Cisco's
trademarks can be found at www.cisco.com/go/trademarks . Third
party trademarks mentioned are the property of their respective
owners. The use of the word partner does not imply a partnership
relationship between Cisco a
nd any other company. (1005R)
Copyright © 2011 Cisco Systems, Inc. All rights reserved.
Phone Quick Reference Card
78-19747-01B0
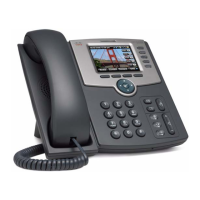
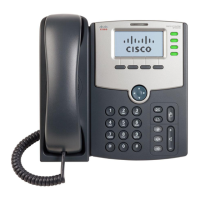
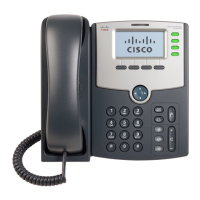
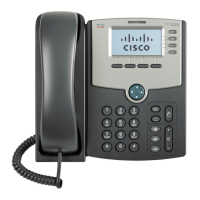
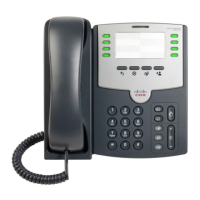
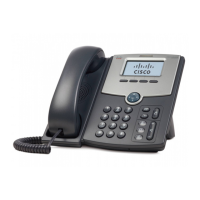
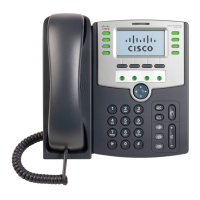
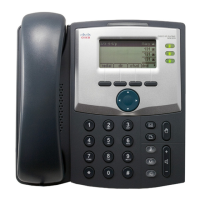
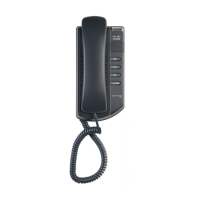
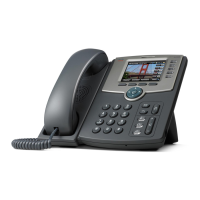
Cisco Small Business
SPA300 Series and SPA500 Series
IP Phone with Cisco Unied
Communications UC320W
This guide helps you to get started using your IP
Phone with the Cisco Unie d Communications System
UC320W. For details, see the phone user guide (links
in the Where to Go from Here section of this guide).
N OTE Available features depend on the phone model
and the phone setup at your site. Some features may
be unavailable on your phone.
• Some functions require pr essing a phone button,
such as .
• Some functions require pressing keys on the
keypad, such as .
• For some functions, you can use the softkeys on the
phone screen, such as .
• The LED buttons next to the phone screen may
be used as line buttons for a call, or as feature
buttons for special functions (see the Using
Feature Buttons section).
Placing a Call
1. Lift the handset, press to use the speaker, or
press to use a headset (not included).
2. Press a line button (optional). If you do not
choose a line button, the rst line button is used.
3. Dial an extension number or an external number.
#
Redial
Dialing an External Number
• Use an outside line (if allowed): Select the line
button , and enter the phone number, including
any long-distance prex required by your phone
service. No access code is needed.
• Use a personal extension (if allowed): Enter the
access code, such as 9. Enter the phone number,
including any long-distance prex required by your
phone service. Check with your phone administrator
for details.
Making a Conference Call
• Create a conference call: During a call with one
party,
press (SPA301), (SPA501G) , or
(other models). Dial the extension or
phone number of the thir d party. When the party
answers, press the button again.
• End the conference for everyone: Hang up, or
press .
• Exit the conference while the other parties
continue: Press . Not available on
SPA301 or SPA501G.
Transferring a Call
• SPA301 and SPA501G: Press (SPA301) or
(SPA501G). Dial the extension or phone
number. Anytime after the call starts ringing, press
the button again.
• Other models:
– Attended
Transfer: Press or
. Dial the extension or phone number.
After speaking to the other party, press
or again.
– Immediate Transfer with softkey: Press
or . Dial the extension or
phone number.
– One Button Transfer (if available): If your phone
has an Auto-Dial or BLF feature button for a user,
you can press this button during a call to
immediately transfer the call to that user. The
transfer is non-consultative.
Holding and Resuming Calls
• SPA301: To hold a call, press . To resume a
held call, press twice.
• Other m
odels: To hold a call, press or
. To resume a held call, press the ashing
line button or .
FLASH
Conf
End Call
Join
FLASH
Transfer
Xfer
Transfer
Xfer
Bxfer BlindXfer
FLASH
FLASH
Hold
Resume
Handling Missed Calls
If you miss a call, an alert appears on the phone
screen, along with two soft keys.
• Return a missed call: Press (Last Call
Return) or to view information for the most
recent missed call. To return the call, press
.
• View a list of missed calls: Press . You
can use the navigation button to choose a call, and
then press .
Note: The Call History is available at any time. Press
, and then choose Call History > Missed Calls to
view or return missed calls.
Using Your Voicemail Box
• Set up your voicemail: Press . Enter the default
password, 12345 , followed by . Follow the
prompts to change your password and record your
greetings.
• Check messages for your primary personal
extension (if enabled): Press . Enter your
password, followed by .
• Check messages outside the oce: Call your own
extension. When the call goes to voicemail, press
for the menu. Enter your password, followed by
.
Using a Group Voicemail Box
• Use the Messages button: Press . Press for
the menu . Enter the mailbox number, follow
ed by
. When prompted, enter the password (default
12345 ), followed by .
• Use a feature button (if available): Press the
feature button , which displays the letters VM
and the name of the group or line. Press
. Enter
the password (default 12345 ), followed by . (If
the mailbox is not yet set up, follow the prompts.)
LCR
Call Rtn
Dial
Miss
Dial
#
#
#
#
#
#
#
#