www.cisco.com
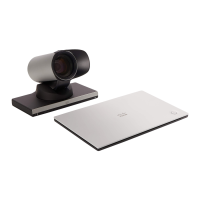
Connecting the EX90
Connect the cables as shown. Sockets are located behind the rear cover. If you have
one LAN connection only—and need that for your PC—the EX90 has a built in Gigabit
ethernet switch that enables you to connect your PC to the EX90 to access the LAN
through the EX90.
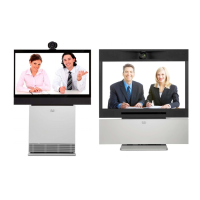
Connecting for use as PC screen
Your EX90 has an HD display, which also
may serve as your PC screen.
Connect your PC to the sockets on the
rear panel as shown below.
Connect your PC video to
and PC audio to
A resolution of 1920 × 1200 is recommended. For a list of other
screen resolutions supported, see “Setting the screen resolution”
on page 9.
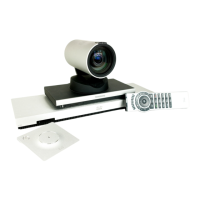
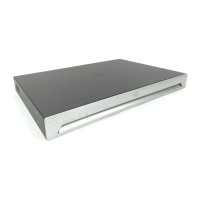
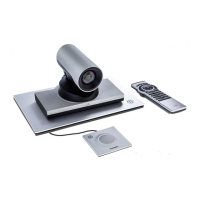
Connecting
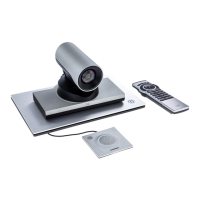
The EX90 parts
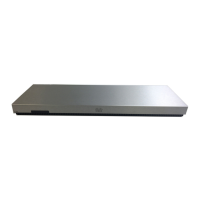
Rear sockets access
Connect your PC here if you need to share a single LAN connection with the EX90.
Connect your EX90 to the LAN.
USB socket (for future use).
Connect the touch screen controller.
HDMI In (inner socket) and HDMI Out* (outer socket).
Connect power here.
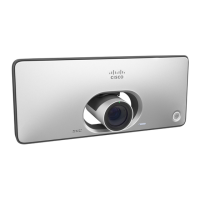
The Cisco Telepresence
touch screen controller
Camera with built-in privacy shutter.
Remove cover to get access to
the connector sockets.
The cover is vented in the lower
left corner (external view) due to
the rear mounted loudspeaker.
When mounting the cover
back on, make sure the vents
are where the speaker is (as
shown).
Cover vents
Sockets
Pull out
Connect
headphones
and external
microphone here.
* HDMI out is used when connecting an extra monitor (typically for presentations)—see the next
page for more.
7
Cisco TelePresence System EX90 User guide
D14724.03 User guide EX90, November 2010.
All contents are Copyright © 2010 Cisco Systems, Inc. All rights reserved.

 Loading...