Cisco WAP150 Quick Start Guide 5
WARNING Insecure mounting might damage the device or cause injury.
Cisco is not responsible for damages incurred by insecure wall-
mounting.
Placement Tips
• Ambient Temperature—To prevent the Cisco WAP150 from
overheating, do not operate it in an area that exceeds an ambient
temperature of 104°F (40°C).
•Air Flow—Be sure there is adequate air flow around the device.
• Mechanical Loading—The Cisco WAP150 should be level, stable, and
secure to prevent it from sliding or shifting out of position.
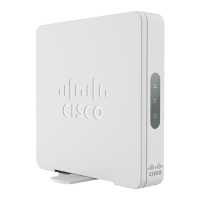
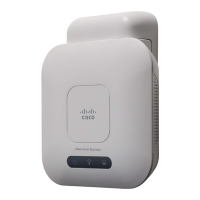
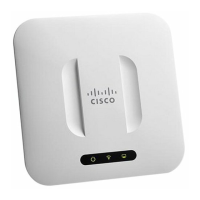
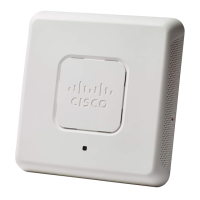
Connecting the Cisco WAP150
You can perform the initial configuration using either a wired or wireless
connection. The default configuration of the Cisco WAP150 has the Wi-Fi
radio turned on.
To connect the Cisco WAP150 to the wired network:
STEP 1 Connect the Ethernet cable to the Ethernet port of a switch, a router,
or a PC.
STEP 2 Connect the other end of the network Ethernet cable to the
Ethernet port of the Cisco WAP150.
STEP 3 If PoE is not provided, plug in the supplied power adapter to
provide power to the Cisco WAP150.
This wireless default configuration will not allow traffic between WiFi and
Ethernet; users will need to go through the setup wizard to resume the
traffic between WiFi and Ethernet.
To connect the Cisco WAP150 to the network wirelessly:
STEP 1 Use wireless clients to locate the WAP150’s SSID (CiscoSB-Setup).
STEP 2 Use the ‘cisco123’ passkey to access the access point.
NOTE The system provides a one-time-only access to configure the
access point using a wireless connection.