4
Connecting The Printer To A EF+ Module
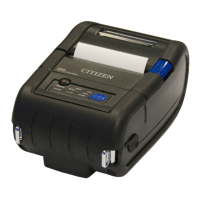
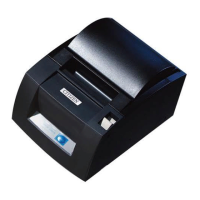
The Portable Audit Printer connects to the Serial Port on the bottom of the EF+ Module. The Serial Port
will be indicated by the “PRINTER” on the decal above the connector. Using the Data Cable supplied in
the kit, you make the serial connection to the EF+ Module. Follow the instructions for printing a report
below.
CONNECTION OF PORTABLE AUDIT PRINTER TO EF+ MODULE
EF+ Module
Data Cable
(supplied)
Connecting The Printer To A GXP Controller
Important - The GXP cannot be equipped with a receipt printer AND a portable audit printer. To connect
the portable audit printer, remove the Control Module cover. A decal identifying all connections on the
Controller is located inside the cover. Find the connector labeled “Printer”, the connector on the board is
also marked with a small piece of blue tape. Connect the Data cable into the GXP Controller connector.
Connect the other end of the “data cable” (see picture above-gray cable) to the communication cable (black
cable) supplied with the printer. Connect the other end of the communication cable to the printer. Connect
the printer power supply into an available outlet in the GXP.
PRINTING AN AUDIT
Step through the available menu’s until you find the “AUDIT” menu. Step into this menu until you come to
“Print Audit?” Answer yes and the audit will print.
 Loading...