8
5.
()~ERATIONS.
,
, · , · .
Basic Operations
Note:
•
Refer to the diagrams
in
"3. CONTROLS"
when reading this chapter.
When
the
unit
Is
turned
on,
starting
and
stopping
the
engine
with
its
volume
raised
to
the
maximum
level
may
harm
your
hearing.
Be
careful
about
adjusting
the
volume.
Power on
I
off
Notes:
•
Start the engine before using this unit.
•
Be
careful
about using this unit for a
long
time without running the engine.
If
you
drain the battery too far, you may not be
able
to start the engine and this can reduce
the service
life
of the battery.
1.
Start the engine. The power button
I
knob
illumination
on the unit
will light
up.
~
EngineON
~position
2.
Press the
[<!>
1
SRC]
button on the front
panel
or the remote
control
to turn on the
power under standby mode. The unit goes
back to the
last
status after power on.
3.
Press and
hold the
[<!>
1
SRC]
button on the
front
panel or the remote
control
to turn off
the power.
Mute
Press the [MUTE] button on the remote
control
to mute the
volume
from the unit.
Note:
Doing the operation above again or adjusting
volume will release
muting.
CZ205
Volume adjustment
Rotate the
[VOLUME]
knob on the front
panel
or
press the [
&
]
or
[
..,.
] button on the remote
control.
The adjustable range of
volume
is
0 to
40.
While
driving,
keep
the
volume
level
at
which
external
sounds
can
still
be
heard.
Playing source selection
Press
[<!>
1
SRC]
button on the front
panel or
remote
control
repeatedly to choose desired
playing source.
Note:
Playing
source
selection means selecting which
mode, such
as
DISC mode,
RADIO
mode and
AUXmode.
Display system time
Press the
[DISP]
button on the front
panel
or
remote control
to change the
display
information
from
clock,
station information (radio mode),
or
track information (CD mode).
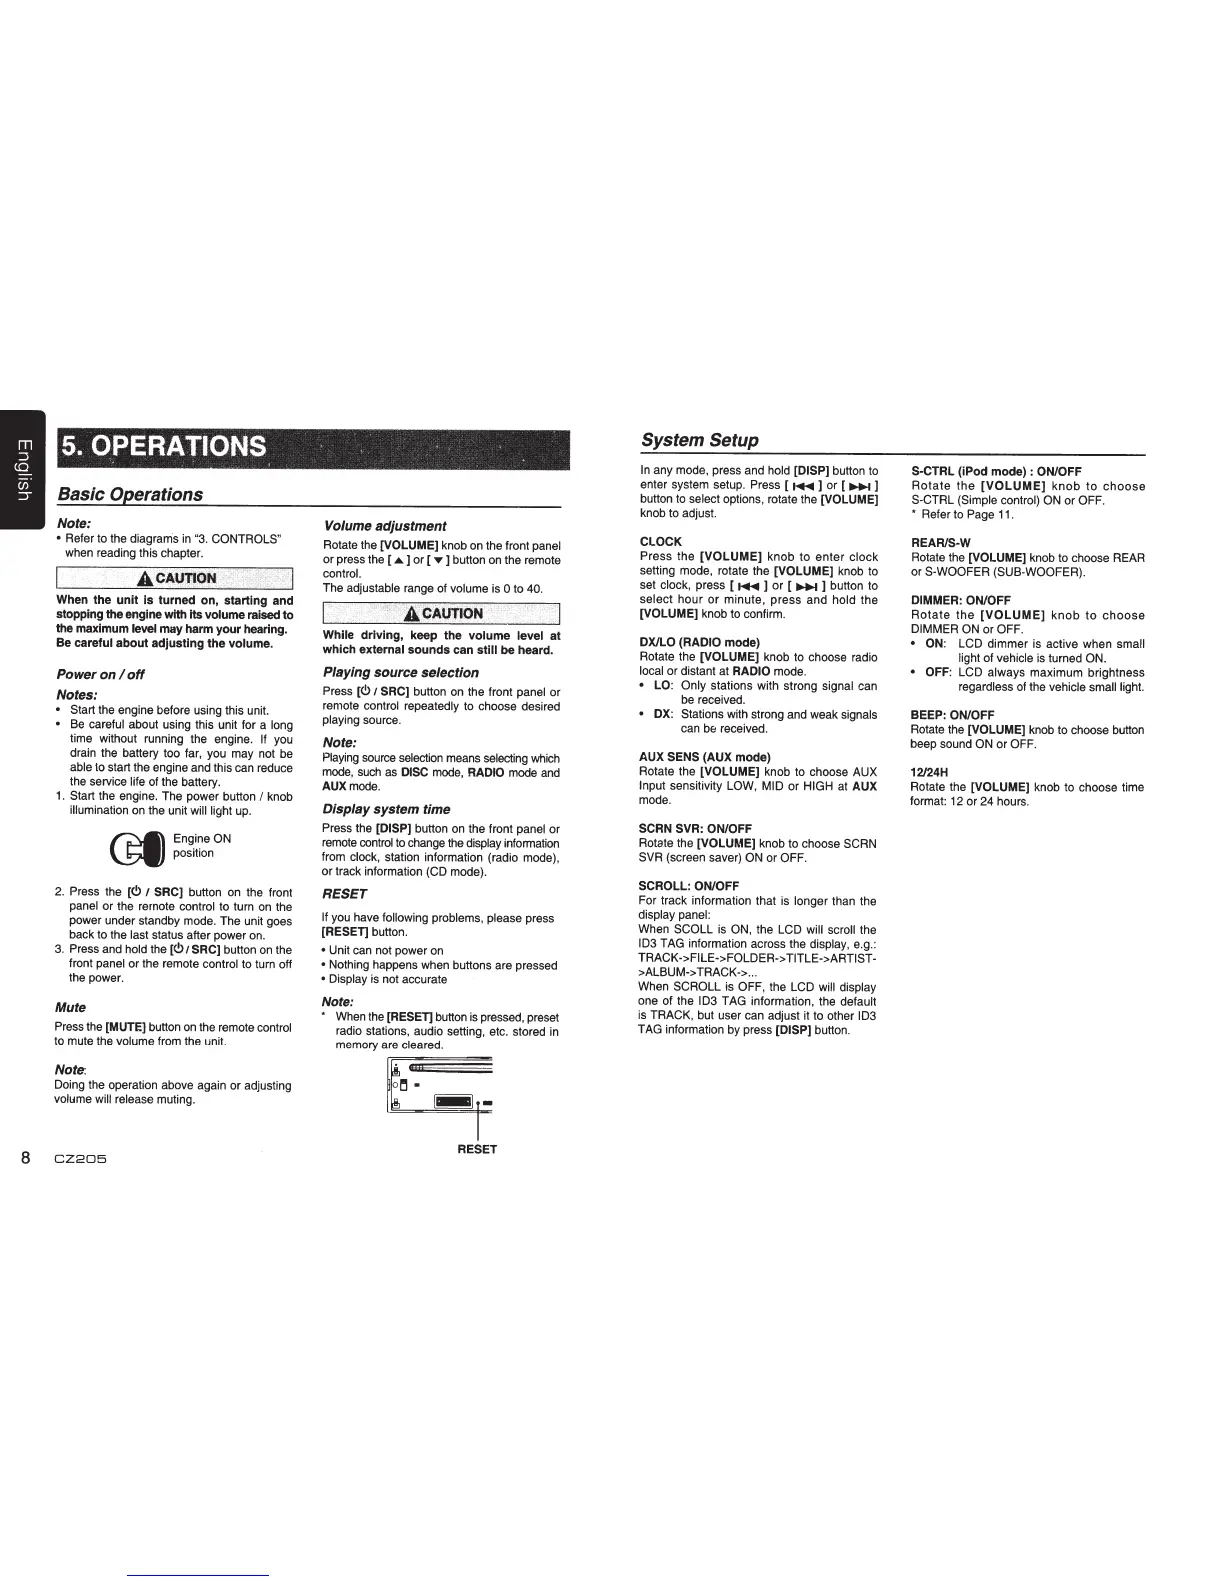
RESET
If
you have
following problems, please
press
[RESET]
button.
•
Unit can not power on
•
Nothing happens when buttons are pressed
• Display
is not accurate
Note:
*
When the
[RESET]
button is pressed, preset
radio stations, audio setting, etc. stored
in
memory are
cleared.
~
I~
RESET
System Setup
In
any mode, press and
hold [DISP]
button to
enter system setup. Press [
...._
] or [
~
]
button to
select
options, rotate the [VOLUME]
knob to adjust.
CLOCK
Press
the
[VOLUME]
knob
to
enter
clock
setting mode, rotate the
[VOLUME]
knob to
set
clock,
press [
...._
]
or
[
~
] button to
select
hour
or
minute,
press
and
hold
the
[VOLUME] knob to confirm.
DX/LO (RADIO
mode)
Rotate the
[VOLUME]
knob to choose radio
local
or distant at
RADIO
mode.
• LO: Only
stations with strong signal
can
be received.
•
OX:
Stations with strong and weak
signals
can
b&
received.
AUX
SENS
(AUX
mode)
Rotate the
[VOLUME]
knob to choose AUX
Input
sensitivity
LOW, MID
or
HIGH
at
AUX
mode.
SCRN SVR: ON/OFF
Rotate
the
[VOLUME]
knob to choose SCRN
SVR (screen saver)
ON
or
OFF.
SCROLL: ON/OFF
For track information that is
longer
than the
display panel:
When
SCOLL
is
ON,
the
LCD will scroll the
ID3
TAG information across the
display,
e.g.:
TRACK->FILE->FOLDER-> TITLE->ARTIST-
>ALBUM-> TRACK->
...
When
SCROLL is
OFF, the
LCD will display
one of the ID3
TAG information, the
default
is TRACK, but user can adjust it to other
ID3
TAG information by press
[DISP]
button.
S-CTRL
(iPod
mode)
:
ON/OFF
Rotate
the
[VOLUME]
knob
to
choose
S-CTRL
(Simple
control) ON
or
OFF.
*
Refer to Page
11
.
REARIS-W
Rotate the [VOLUME] knob to choose REAR
or
S-WOOFER
(SUB-WOOFER).
DIMMER: ON/OFF
Rotate
the
[VOLUME]
knob
to
choose
DIMMER ON
or
OFF.
• ON: LCD
dimmer is active when
small
light
of
vehicle
is turned
ON.
• OFF: LCD always
maximum brightness
regardless of the
vehicle small light.
BEEP:
ON/OFF
Rotate the
[VOLUME]
knob to choose button
beep sound
ON
or
OFF.
12/24H
Rotate the
[VOLUME]
knob to choose time
format: 12 or 24 hours.
 Loading...