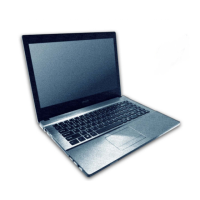
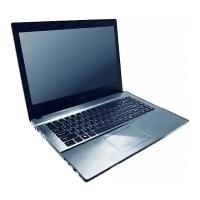
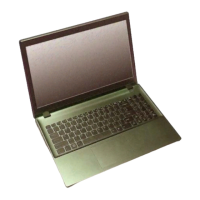
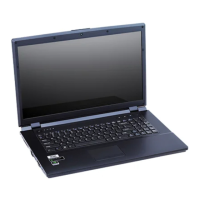
Disassembly
2 - 10 Removing the Hard Disk Drive
2.Disassembly
Removing the Hard Disk(s) in the Secondary HDD Bay
1. Turn off the computer, and turn it over and remove the battery.
2. Locate the component bay cover and remove screws - and the cover.
3. The hard disk will be visible at point on the mainboard
(Figure 6b).
4. Remove screws
- (Figure 6c).
5. Grip the tab and slide the hard disk in the direction of arrow
(Figure 6d).
6. Lift the hard disk assembly out of the compartment (Figure 6e).
7. Remove the screws
- to release the hard disk(s) and hard disk mylar from the case .
8. Reverse the process to install any new hard disk(s).