15
Installation
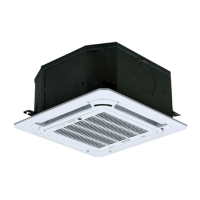
1 Using the paper template provided, make a 640mm x
640mm hole in the ceiling.
2 The midpoint of the ceiling opening must correspond
to the centre of the indoor unit’s casing.
Ceiling
Pipes
Unit body
Hole in the centre of
the ceiling opening
Fig. 7
3 Reinforce the ceiling where necessary to stop it from
sagging.
4 Determine the length and direction of the pipes to be
installed and the wiring.
5 After choosing the installation position, put the
refrigerant piping, the drainage pipes and the internal
and external electrical lines in their respective
connection points before installing the appliance.
6 Locate and mark the position of the anchor rods in the
4 corners using the paper template provided.
7 Based on the type of ceiling and depending on the
weight of the indoor unit, provide a suitable rod
support system:
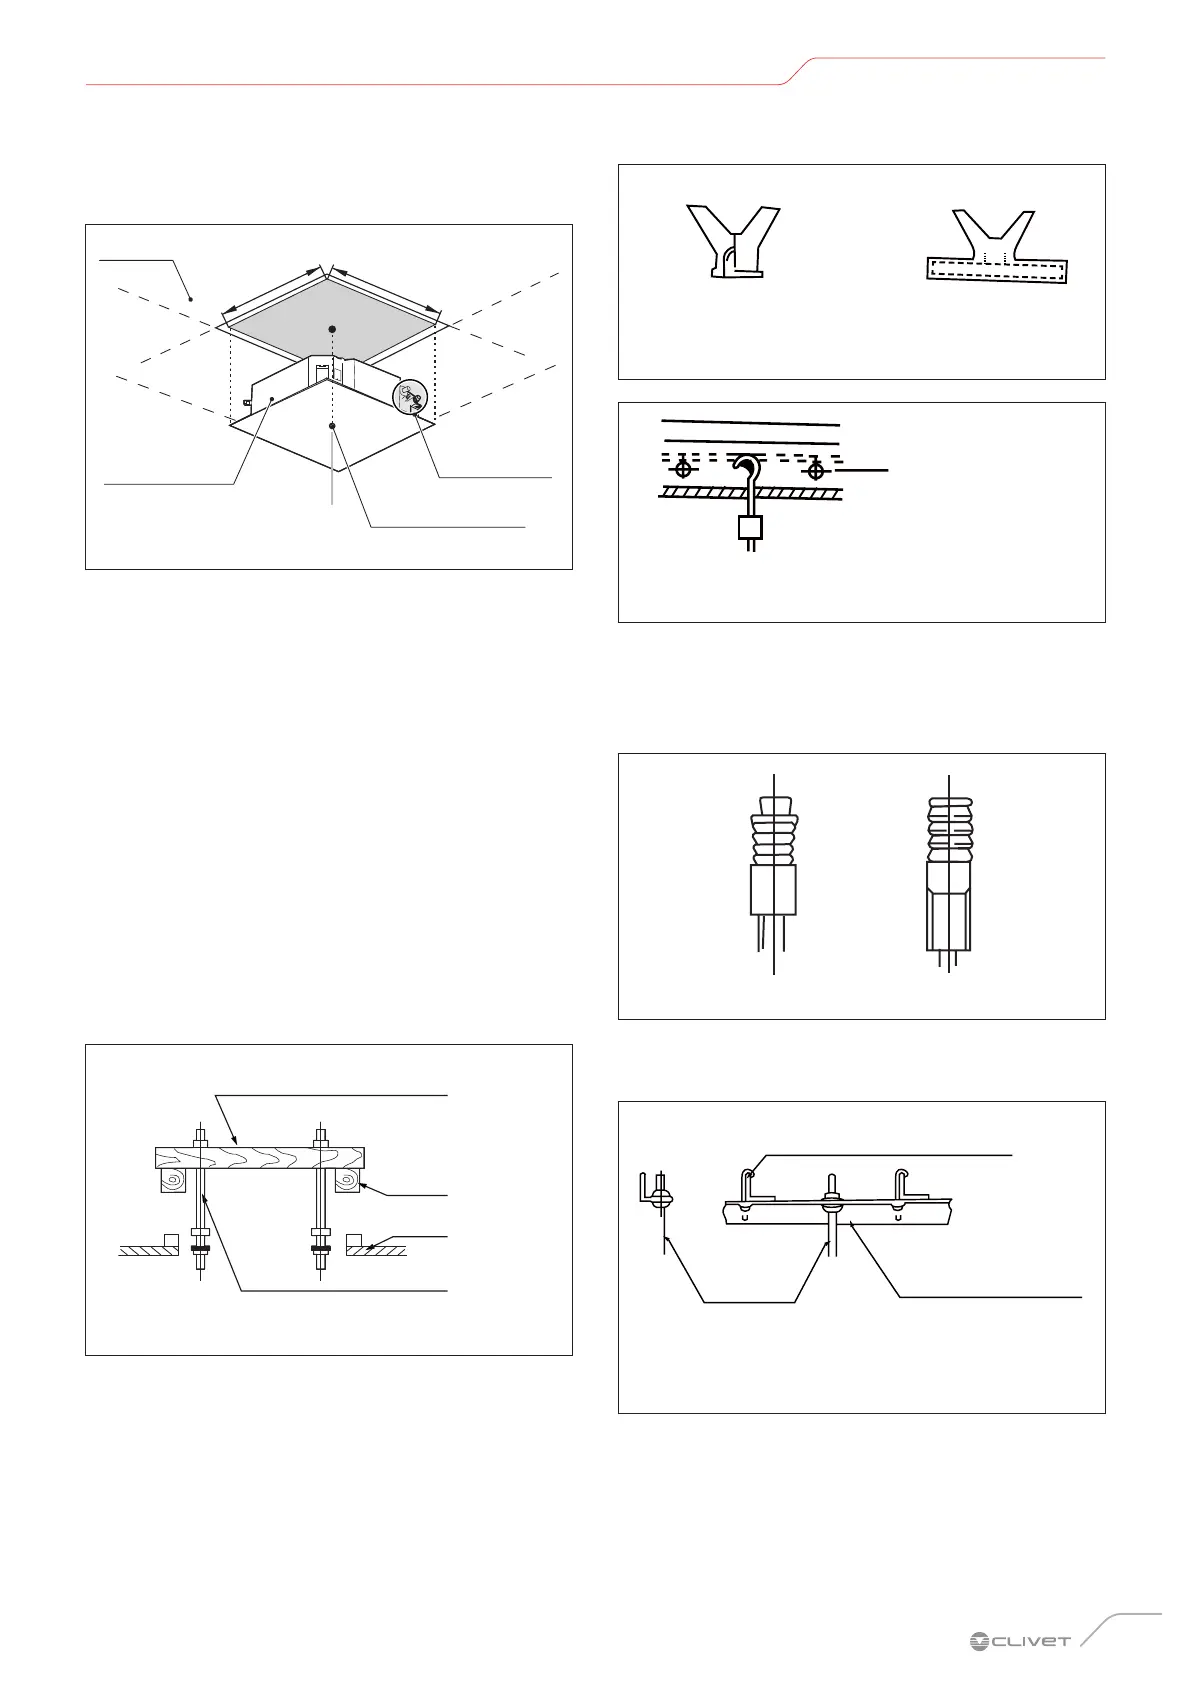
– Roof with wooden structure
Place the wooden assembly panel crosswise over
the roof beam, then install the anchor rods
Wooden assembly panel
Roof
beam
Ceiling
Anchor rod
Fig. 8
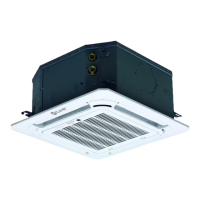
– New concrete slab
Embed the anchor rods.
(Insert with wings) (Sliding insert)
Fig. 9
Steel bar
Embedded anchor rod
Fig. 10
– Existing concrete slab
Install the suspension hook with expansion
anchor 45~50 mm deep in the concrete to prevent
it from loosening.
Fig. 11
– Roof with steel structure
Install and use the angled steel brackets
Suspension bolt
Anchor rod
Angled steel
support bar
Fig. 12
 Loading...