16
Installation
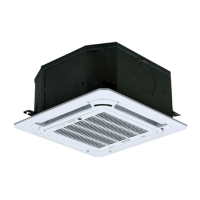
8 Install the four anchor rods (M10).
9 Determine the length of the rods based on the height
of the ceiling. Remove the surplus part.
Fig. 13
a
CAUTION DANGER
The unit body must be aligned exactly with the
hole. Before proceeding, check that the hole
is the same size as the unit.
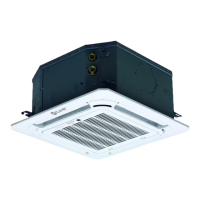
10 Assemble the indoor unit. Two people are needed
to lift and fasten the unit. Insert the anchor rods into
the unit’s attachment holes. Fasten them with washers
and hexagonal nuts.
Fig. 14
l
WARNING
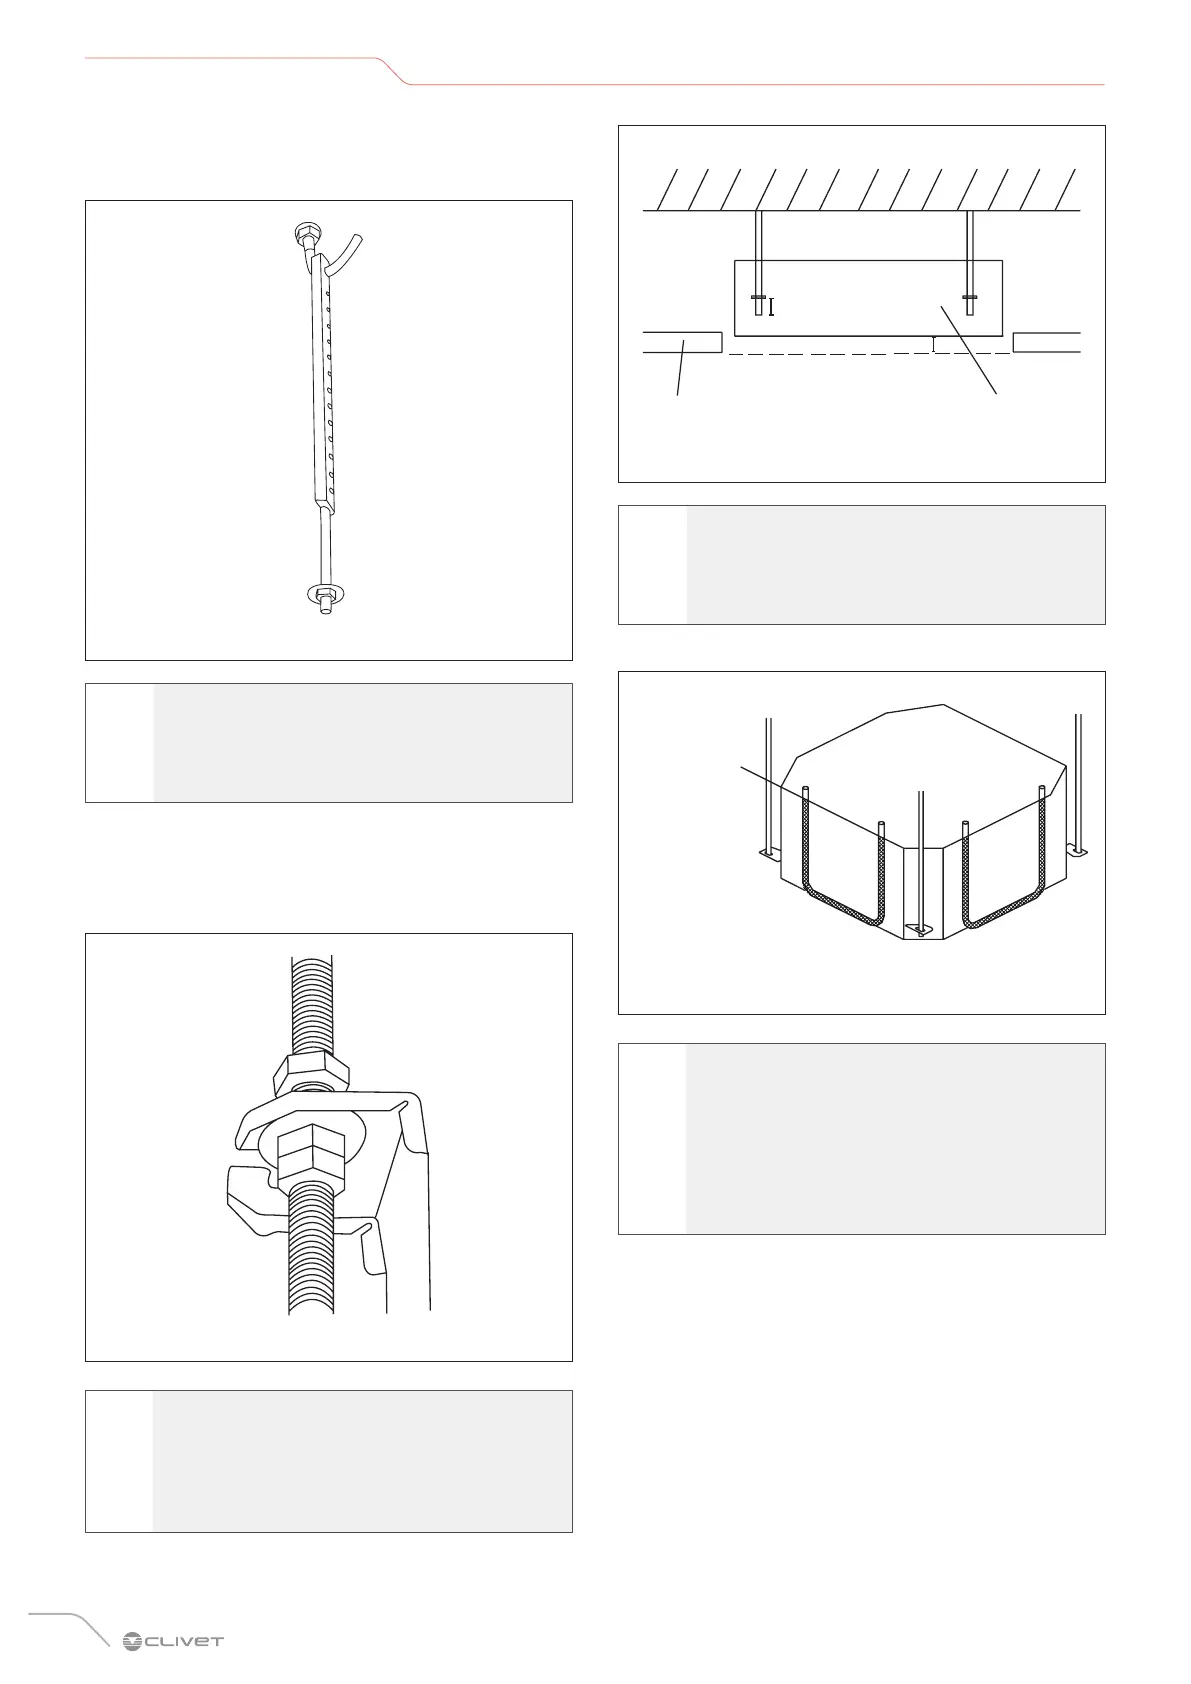
The bottom of the unit must be 10-12 mm higher
than the false ceiling. In general, measurement
“L” must be half the length of the anchor rod or
be long enough to stop the nuts from coming off.
Main body
Wall
10-12mm
False ceiling
L
Fig. 15
a
CAUTION DANGER
Check that the unit is completely horizontal.
Incorrect installation can cause the drain pipe
to go back into the unit or possible water leaks.
Water level
Fig. 16
l
WARNING
Check that the indoor unit is horizontal.
The unit has a drain pump and a float switch. If
the unit tilts in the opposite direction to that of
the condensate flow (with the drain pipe side
raised), the float switch may not work properly
and cause a water leak.
11 Use the hexagonal nuts on the four assembly hooks
to adjust and ensure that the unit’s casing is level.
12 Adjust the position of the unit’s casing and ensure that
the gap with the ceiling is even on all four sides.
13 Once the position of the casing has been adjusted,
tighten the nuts to secure the unit.
 Loading...