11
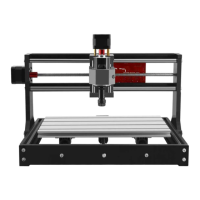
①First, we operate the XY axis through manual control, and move the principal axis close to the initial point;
Install a flat base pointed knife.
②Turn off the power switch of electric cabinet (the phase step motor will not be self-locked when the power
is cut off), and then slowly wring the hand wheels for fine control on three stepping motor, to move the tool
nose to the initial point.
●Step three: Lead in tool path code
Import G code and the test file of "shidiao-1.cn" in the random CD to Mach3 software. Now we will do the first
engraving practice with this file;
●Step four: Begin to engrave
①Click "Zero X, Zero Y, Zero Z" respectively, to reset the coordinate of X, Y, Z axial (important);
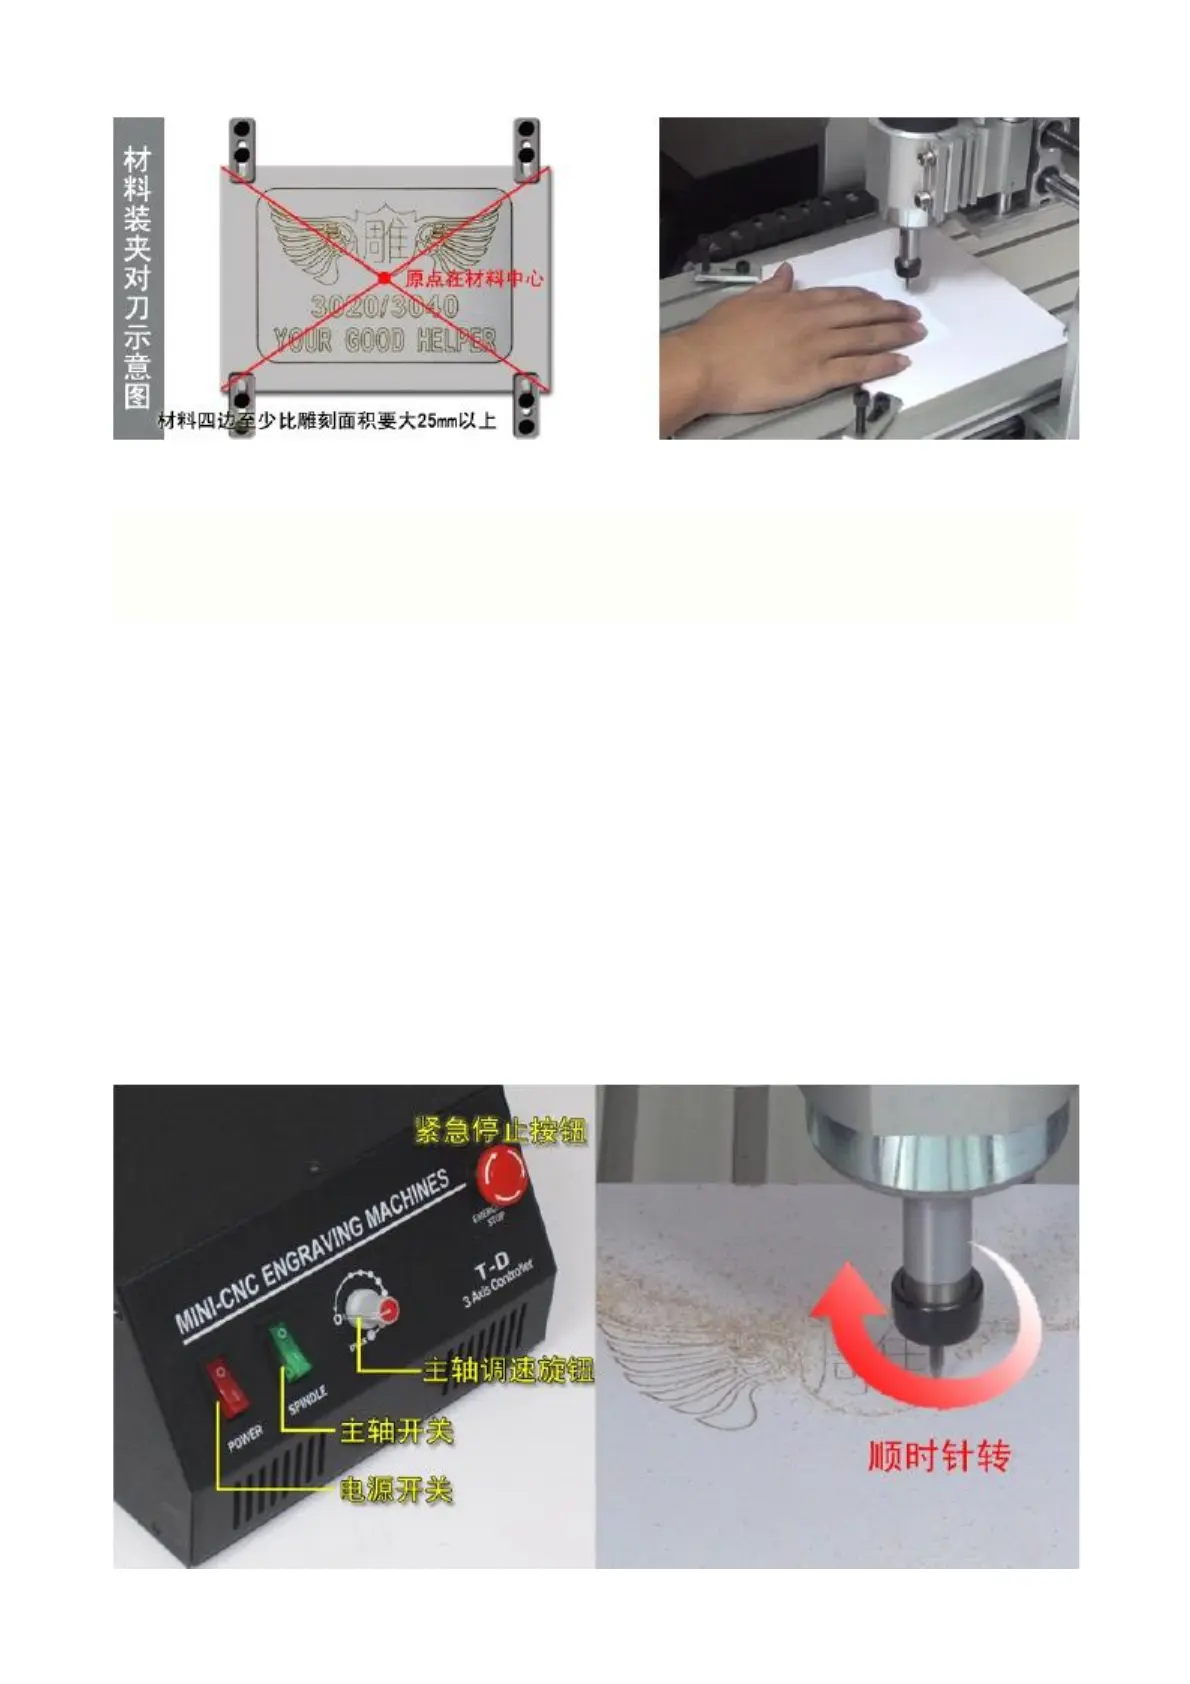
②Turn on the "POWER" switch on the electrical cabinet, and then turn on the "SPINDLE" switch, now the
spindle motor may begin to move slowly; Pay attention that when the principal axis moves clockwise, it is
correct (if not, please contact with the dealer). Then, slowly turn the speed adjustment button on the
electrical cabinet in clockwise direction to the maximal speed, and now the spindle motor will run in the full
speed (about 11000 cycles).
③Click the "Cycle Start" button in Mach3, and it will begin to engrave.
 Loading...