Operating Your Radio
Time Adjust
All VHF, DSC, and GPS activities use a 24-hour clock and Universal Coordinated Time (UTC)
which was formerly known as Greenwich Mean Time (GMT). Time Adjust uses your built-in
GPS to gather time input. Time Adjust will allow the radio to display the time as Local time
or UTC time. For time input to be converted to local time, you need to enter the hour offset
of your local time zone from Greenwich. (See world city time zone chart on page 88). You
can also choose to have the time displayed in a 12 or 24 hour format.
To Change The Time Offset/Adjustment:
1. Enter the Settings menu and scroll to TIME ADJUST
with the Up/Down soft keys or the Up/Down channel
buttons.
2. Highlight the TIME OFFSET option in the menu.
3. Press the ENTER key and observe the current setting.
4. Use the Up/Down soft keys or the UP/Down channel buttons
to change the setting for your local time zone.
5. Press the ENTER soft key to select the setting. Or press the
EXIT soft key to EXIT without making changes to the Local
Time Zone setting.
6.
The radio will return to the Time Adjust menu. The radio will
remember the saved Local Time Zone setting when powering off
the radio. If a
TIME OFFSET
is saved the time will be displayed
in local time.
To Select 12 or 24 Hour Format Time Display:
1. Enter the Settings menu and scroll to TIME ADJUST
with the Up/Down soft keys or the Up/Down channel buttons.
2. Highlight the 12H/24H TIME DISP option in the menu.
3. Press the ENTER key and observe the current setting.
4. Use the Up/Down soft keys or the UP/Down channel
buttons to change the setting for how the radio will
display the time (12 Hour or 24 Hour format).
5. Press the ENTER soft key to select the setting. Or press the
EXIT soft key to EXIT without making changes to the
time format display setting.
6. The radio will return to the Time Adjust menu. The radio
will remember the saved 12 or 24 hour radio display
setting when powering off the radio.
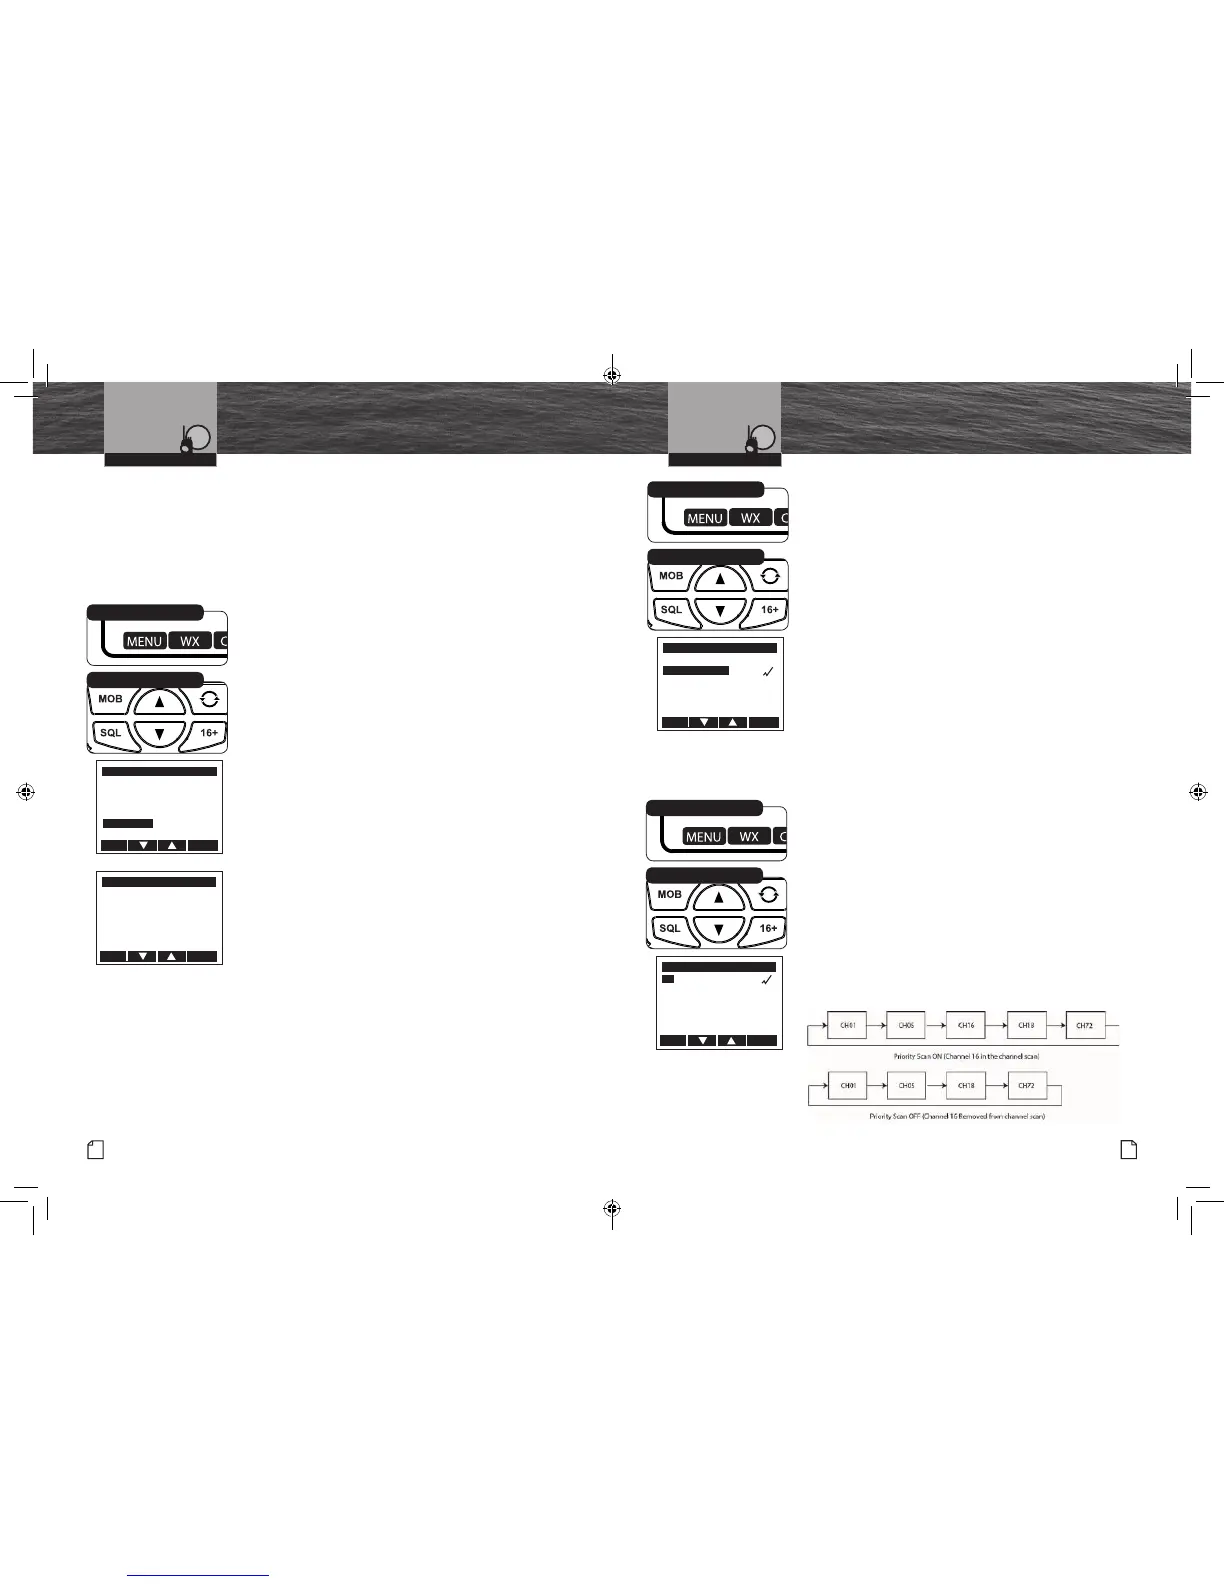
Priority Channel
This setting will allow you to choose whether channel 16 is or is not included when
channel scanning.
To Turn The Priority Channel On Or Off:
1. Enter the Settings menu and scroll to PRIORITY
CHANNEL with the Up/Down soft keys or the Up/Down
channel buttons.
2. Press the ENTER soft key and observe the current priority
channel setting — ON or OFF.
3. Use the Up/Down soft keys or the Up/Down channel
buttons to switch to the setting you want.
4. Press the ENTER soft key to select the setting. Or press the
EXIT soft key to EXIT without making changes to the
priority channel setting.
MENU
LAMP ADJUST
CONTRAST ADJUST
KEY TONE
UIC CHANNEL MODE
TIME ADJUST
PRIORITY CHANNEL
EXIT ENTER
Channel Up/Down Buttons
Menu Soft Key
TIME OFFSET
SET LOCAL OFFSET
-06:00
EXIT ENTER
12/24 HOUR TIME DISPLAY
12 HOUR FORMAT
24 HOUR FORMAT
EXIT ENTER
Channel Up/Down Buttons
Menu Soft Key
PRIORITY CHANNEL
ON
OFF
EXIT ENTER
Channel Up/Down Buttons
Menu Soft Key
MRHH600_ENG_MANL.indd 20-21 4/3/17 5:03 PM

 Loading...