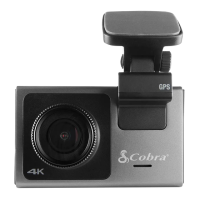
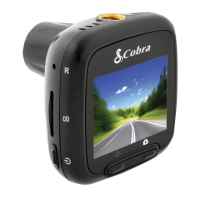
FIRMWARE UPDATES
Ensure the camera is connected to a constant power source during the update
process. Failure to do so could result in your unit becoming non-functional. Your
vehicles cigarette lighter socket or a household outlet work best
Using the Drive Smarter App
• Power up your camera by connecting to constant power source such as your vehicles CLA
adapter or a household outlet.
• When you Connect your camera, the app will check if a newer firmware update is available
on the server.
• Press ‘Download’ on the notification to download the latest Firmware.
• Follow the instructions on the Drive Smarter Mobile Application. If successful, the camera’s
LED’s will begin blinking while the firmware is being installed.
• To check that the Firmware update was successful, you can check the ‘About’ screen in your
camera’s settings menu
Using a Mac or PC
For optimal performance, check www.cobra.com periodically for software updates.
• Connect the Dash Cam to your computer using the included USB to Micro-USB cable.
• The camera will be listed in Windows Explorer/Finder.
• Download the update file from www.drivesmarter.com and save it to your computer. It will
end with “.bin” as the file extension. Note: You do not need to double click or open this file
on the computer.
• Copy/paste or drag the update file you downloaded .bin file into the root directory of the
Camera’s SD Card.
• Wait for the file to transfer and then safely disconnect the Dash Cam from the computer. The
Dash Cam will turn off.
• Plug the Micro USB cord into a reliable power source such as your home’s outlet or your
vehicle’s CLA adapter. The Dash Cam will turn on and automatically boot into the Firmware
Update Menu.
• Follow the directions on the camera display to update firmware if the unit has one. Units
without displays will update automatically.
• You can check if your camera is up to date by checking the firmware in your camera’s ‘About’
setting submenu in the camera or via the app.
 Loading...