Coby Electronics Corp. [10] www.cobyusa.com
Preparing Photos for DP-152 Display
Computer Functions
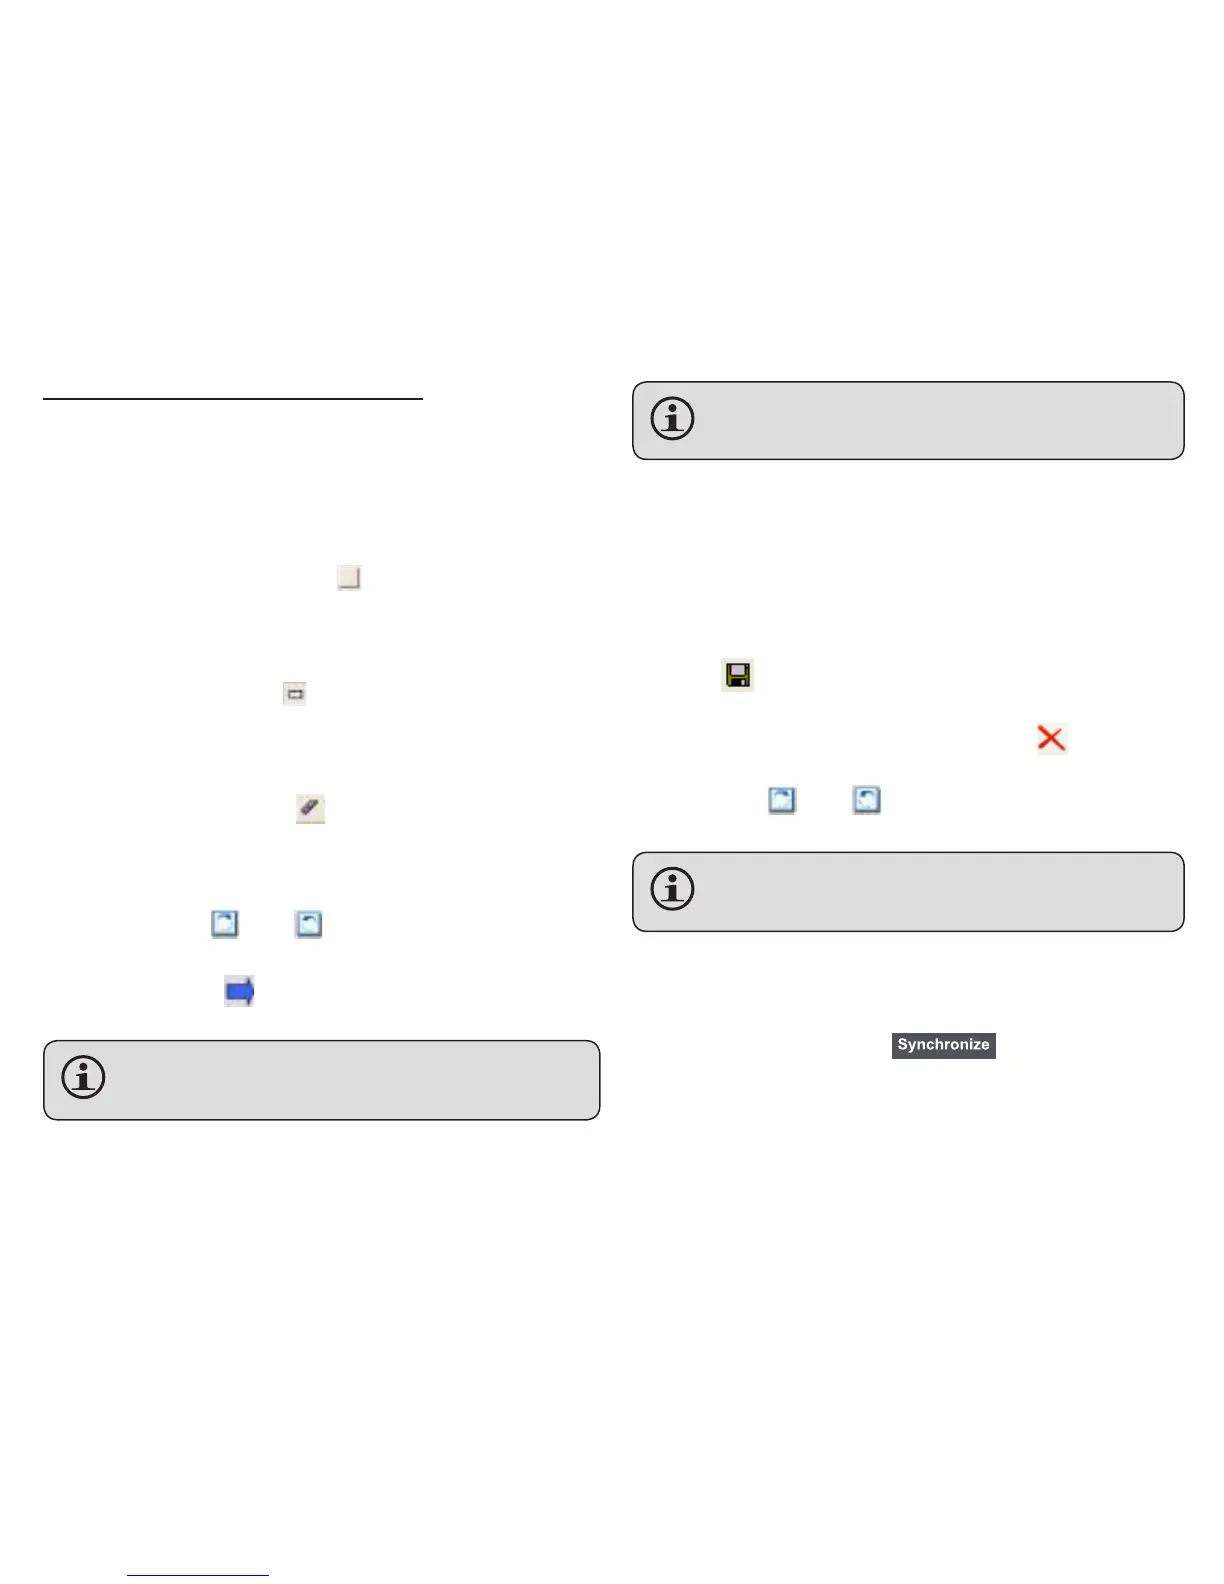
Adjust the size, rotate, or crop the photo shown in the Photo
Preview pane [3]. Select a photo using the Computer Folder
Explorer [2] and then:
Select Entire Image: Click [ ] to display the entire
photo on the DP-152 without cropping. If the original
image is not square, black bars may appear around
the image.
Select Region: Click [ ] to display the red crop box.
Click and drag the red crop box to frame the desired
portion of the image. Only the area within the box will
be displayed on the DP-152.
Clear Selection: Click [ ] to clear the red crop box.
Click and drag on the preview photo to create your
own crop box. This box can be of any size and in any
location that you choose.
Rotate: Click [ ] or [ ] to rotate the photo
clockwise or counter-clockwise, respectively.
Transfer: Click [ ] when you are nished to save the
adjustments and add the photo to the “Device Panel”.
Photos are not transferred to the DP-152 until you
click the “Synchronize” device function button.
●
●
●
●
●
To select multiple photos, hold “Shift” or “Ctrl” on the
keyboard while clicking with the mouse.
Device Functions
Save photos from the DP-152 to your computer, delete
photos from, or rotate photos on the DP-152.
To save photos from the DP-152 to your computer: a)
select the photos on the DP-152 to transfer, then; b)
click [ ].
To delete photos on the DP-152: a) select the photos
on the DP-152 to delete, then; b) click [ ].
To rotate photos on the DP-152: select a photo and
then click [ ] or [ ] to rotate it clockwise or
counter-clockwise, respectively.
To select multiple photos, hold “Shift” or “Ctrl” on the
keyboard while clicking with the mouse.
Synchronize (Transfer) Files to the DP-152
After all adjustments have been made (computer or
device functions), click the button to complete
all of the operations.
The status bar will indicate the synchronization
progress.
●
●
●
●