B
Operation
WARNING: Incorrect operation of the Cocoon FPV HD Camera Drone may result in severe injury,
loss of property or nes. Winplus Australasia does not take any responsibility if local rules and
regulations are not followed. Winplus Australasia does not take any responsibility for the loss of
the Cocoon FPV HD Camera Drone and it is NOT covered by warranty.
We recommend that users test their drone in a large, safe indoor environment before attempting
to y the drone outdoors. Do not y above 3 metres until you can accurately and condently
control the Cocoon FPV HD Camera Drone.
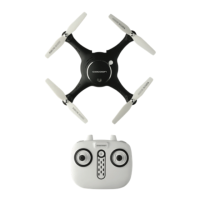
3.1 Turning ON and Pairing the Remote Control with the Drone
To commence pairing, make sure you have switched both the remote control and drone ON by
pressing the ON/OFF button on both devices. You will notice the ON/OFF buttons on both devices
will ash red. To pair:
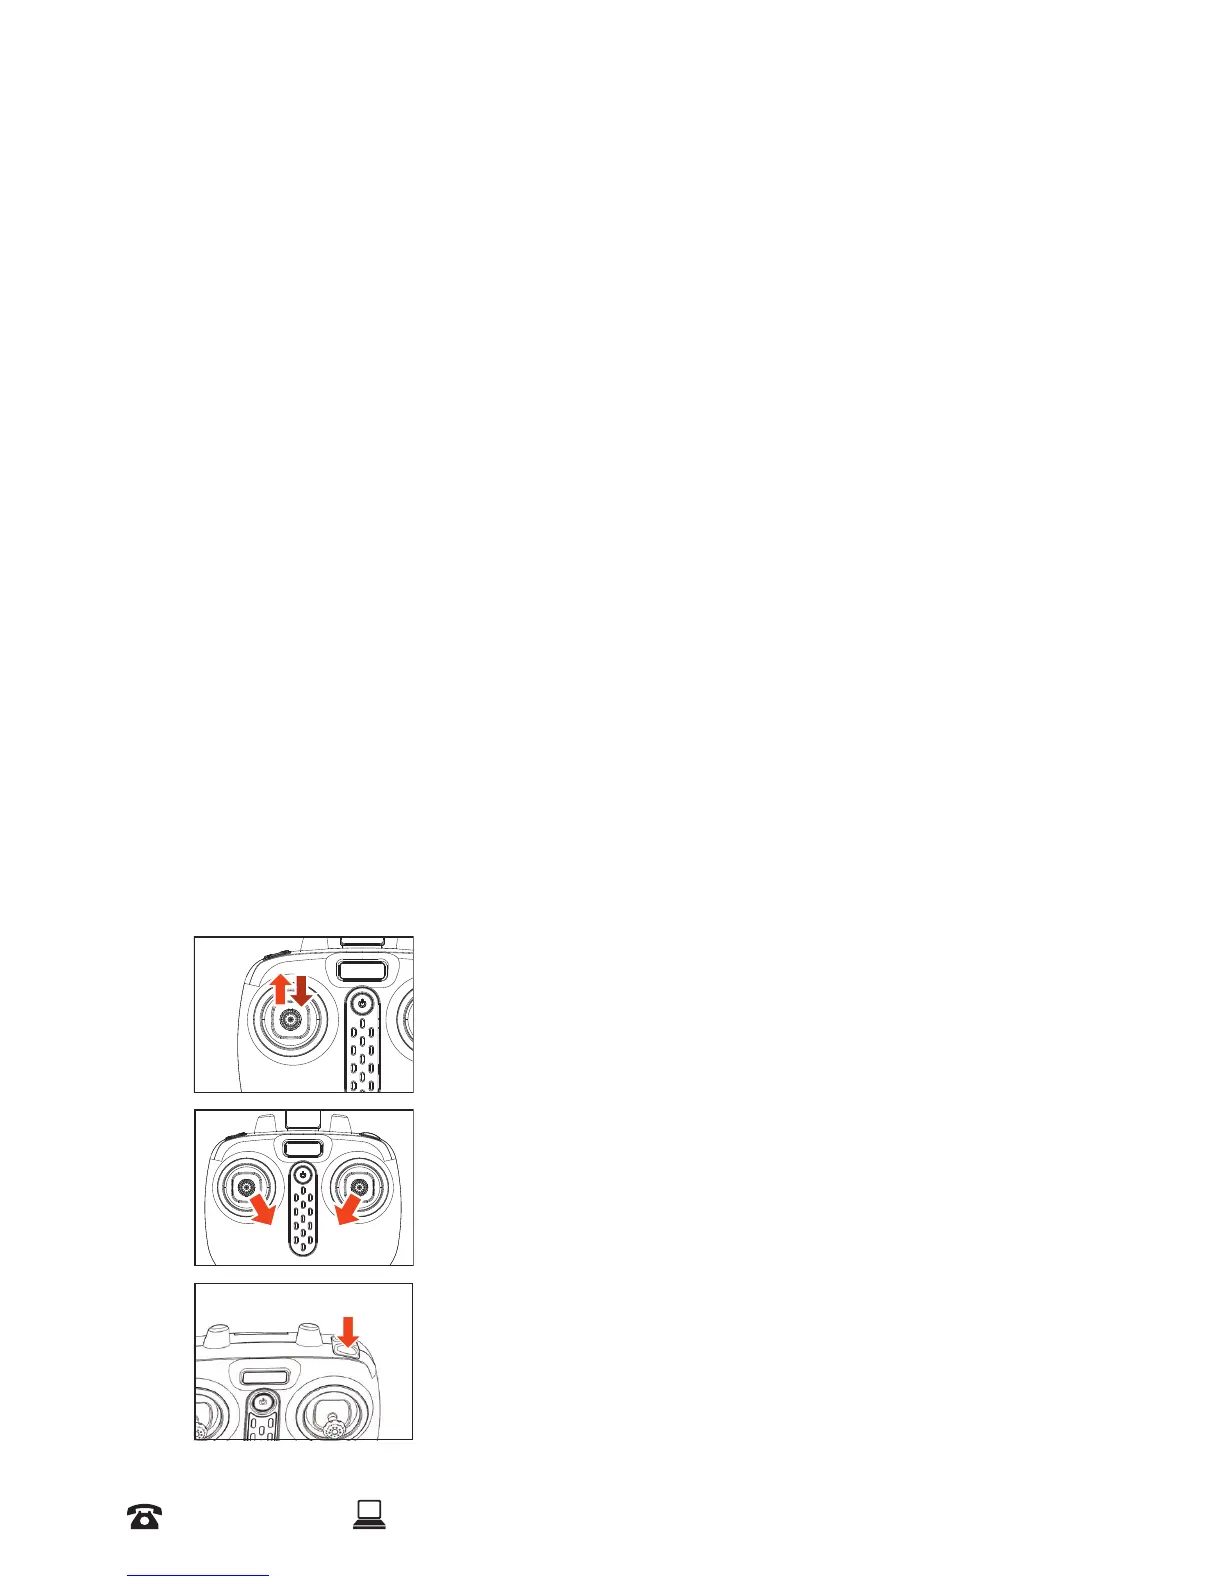
a. Move the left thumb stick up then down. You will hear two beeps
b. The ON/OFF buttons on both devices will then change to solid red once paired
c. The LED lights underneath the drone will also ash. Orange indicates the head of the drone,
while green indicates the tail of the drone
Engaging the Propellers
To start the propellers and y the drone, there are three methods that can be used, however each
operate slightly dierently:
Method 1 - Push the left thumb stick up to the highest point
and then allow the thumb stick to reset to the centre
Method 2 – Move the left and right thumb sticks inwards and
hold for 1-2 seconds as illustrated
Method 3 – Press the B Button. This will start the propellers and
raise the drone automatically o the ground.