Operation
3.10 Recalibrate the Cocoon FPV HD Camera Drone
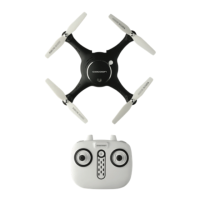
In the event the drone begins to y strangely OR after a major
impact, you can recalibrate the direction by pushing the left and
right thumb sticks for approximately 2 seconds to the far bottom
left simultaneously. You will notice the drone’s LED lights will ash
indicating the drone has been reset.
NOTE: You cannot recalibrate the drone during ight. It can only be recalibrated while ON and
positioned on the ground. Please make sure the drone’s tail is facing you
3.11 Capture Photos & Videos
Photos and videos can be captured either directly on your mobile device if connected to the FPV
Application (see page 23 Fly the Cocoon FPV HD Camera Drone using the ‘Drone Go’ App) or
using a MicroSD Card (not supplied)
a. To take a photo, press the photo button on top left shoulder button of the remote control as
illustrated on page 13 until you hear one beep
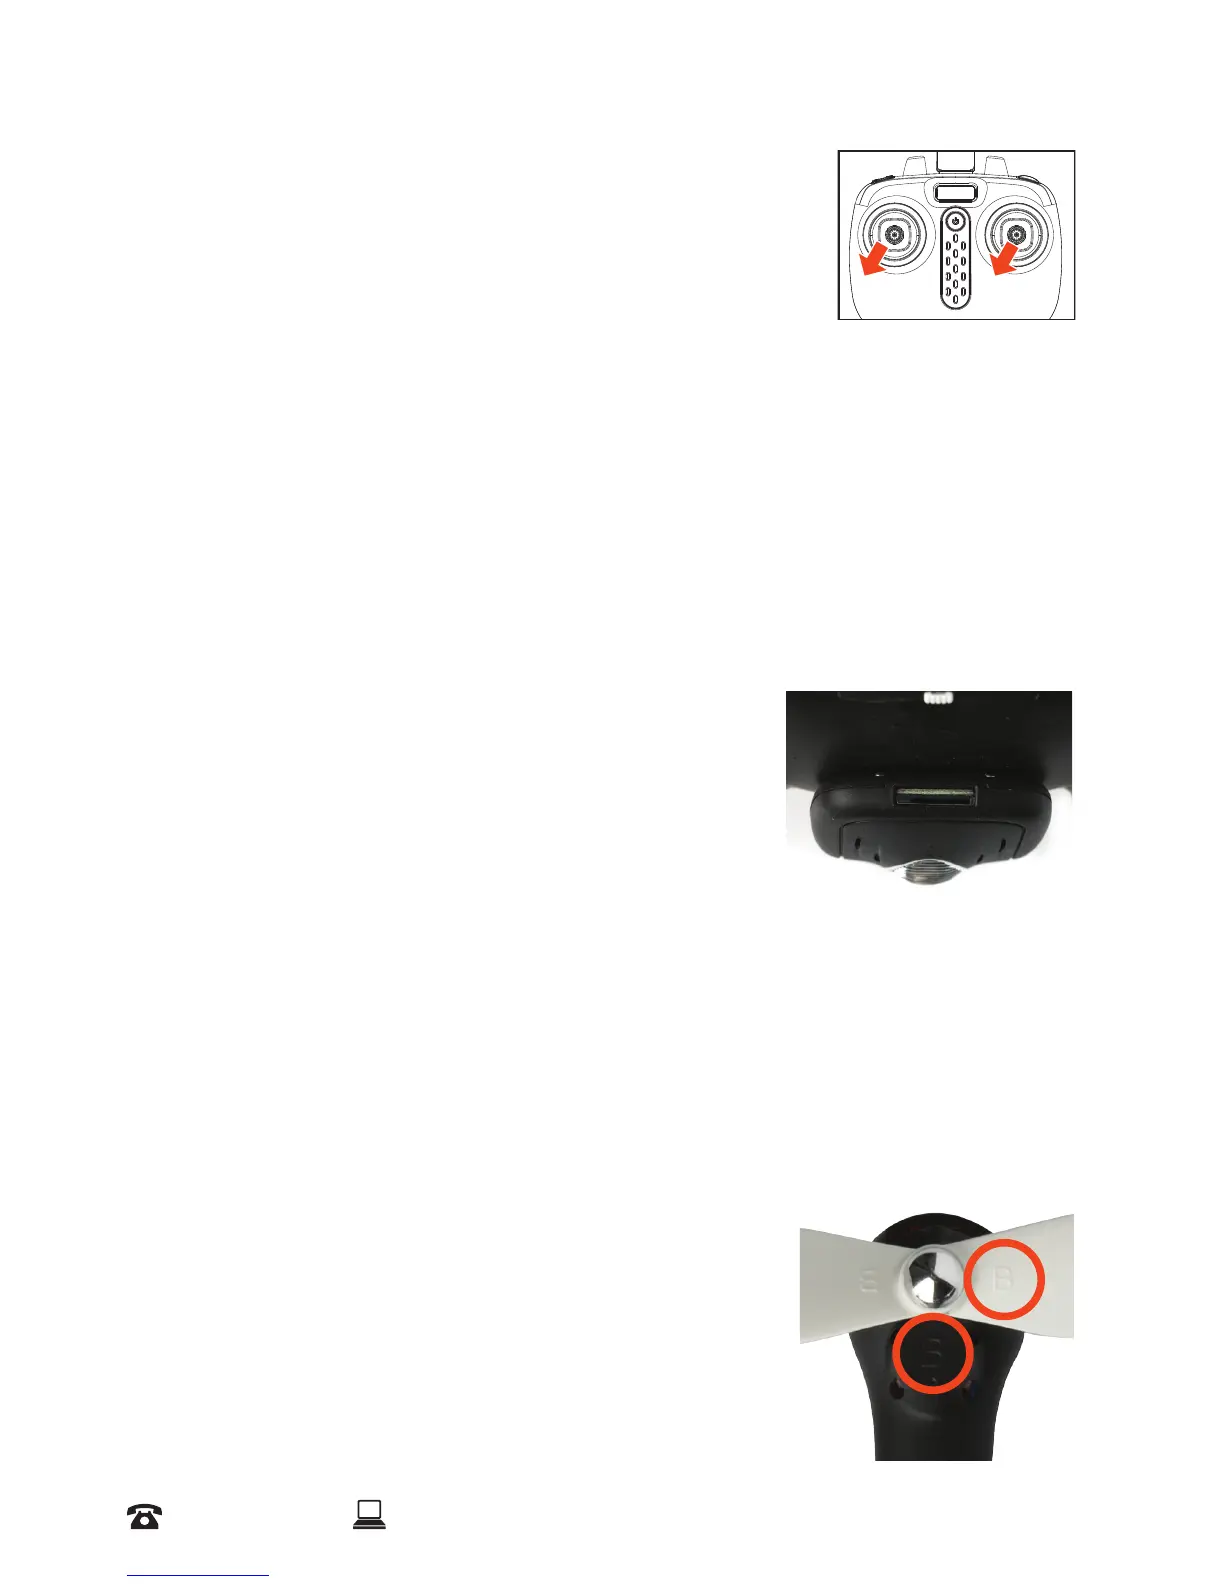
b. To take a video, press the video button located on the bottom
left shoulder button of the remote control (underneath the
photo button) as illustrated on page 13, until you hear two
beeps to indicate recording has started. To end recording,
press the same button until you hear two beeps
NOTE: Make sure you have installed the camera onto the drone. For
installation, refer to page 15
3.12 Replacing Parts
Eventually your propellers will most likely need to be replaced. Do not operate the Cocoon FPV
HD Camera Drone with damaged propellers as you may suddenly lose control of the drone during
ight. Follow the steps below to replace your drone’s propellers:
a. Position the drone on a level, horizontal surface, with the head facing forward as shown below.
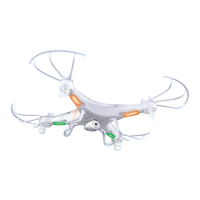
b. Determine which propellers need replacing and note the
propeller warning text side (left or right) by checking the top of
the propeller.
c. Using a at head screw driver, lift the cap to unsecure the
propeller
d. Replace the propeller with the same type (left or right), noted
by an “A “ or a “B”symbol