22
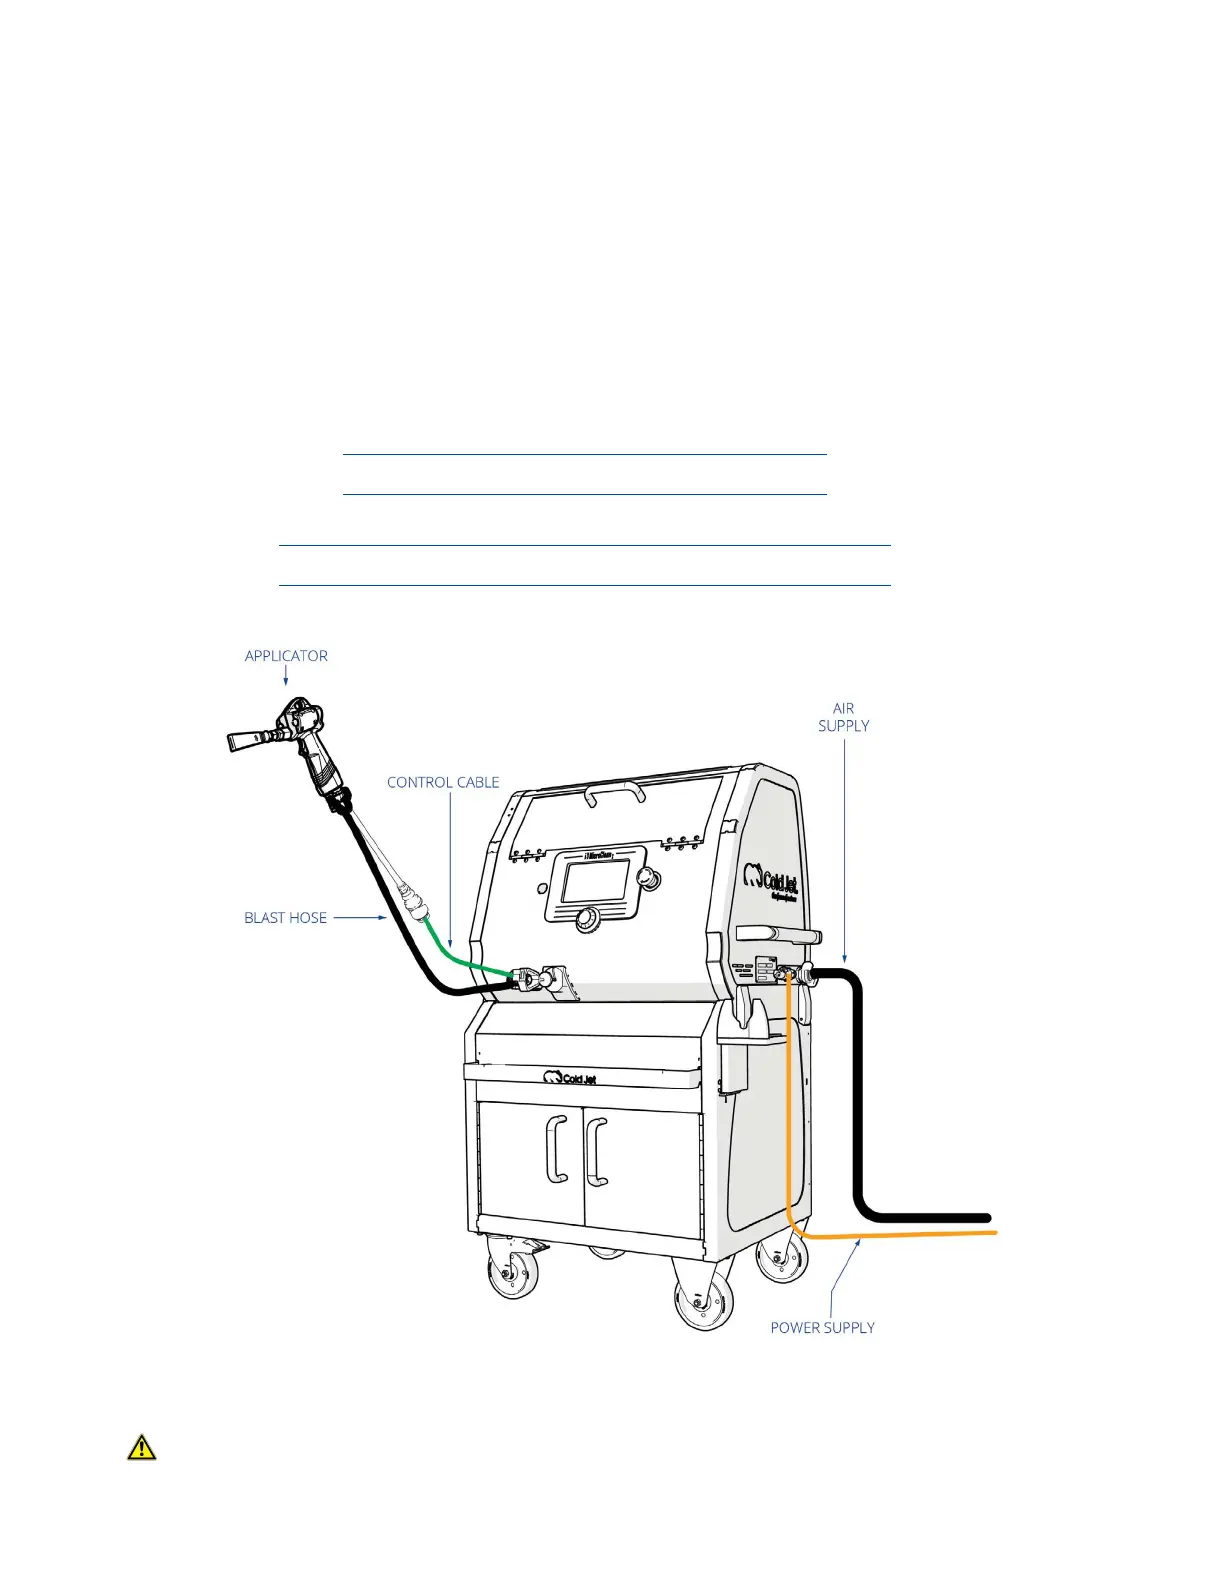
Always use two wrenches to install and remove hoses and accessories on the MicroClean 2 or the
applicators to prevent damaging the internal components.
4. Attach a nozzle to the applicator.
5. Connect the static ground reel to the target surface.
6. Attach the power cord to the MicroClean 2 and then to the appropriate electrical outlet (see
“MicroClean 2 Data” on page 8). The machine will go into a calibration mode which will
take less than a minute.
7. Attach the air supply hose to the side of the MicroClean 2. The MicroClean 2 has a QDC
connection for the air supply connection. If a claw style is necessary, there is an adaptor in
the drawer of the MicroClean 2 cabinet.
Maximum air supply pressure is 145 psi (10 bar)
8. Turn the air supply on and allow the air hose to pressurize.
The MicroClean 2 automatically bleeds air pressure when idle
9. Once the MicroClean 2 is set up, go to “Starting the MicroClean 2” on page 24.
Figure 5: Setting Up the i
3
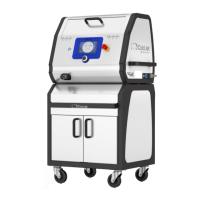
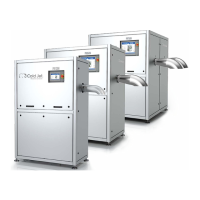
MicroClean 2
WARNING Do not use the applicator body or handle for leverage when tightening the the
blast hose to the applicator. Always use two wrenches to prevent damaging
the applicator and ttings.