Do you have a question about the Coleman 9392-133 and is the answer not in the manual?
Assemble poles by connecting sections and inserting spring clips into hub ports, one pole at a time.
Drape canopy, extend poles, insert hooks, secure with hook-and-loop closures, and stake down.
Dry shelter before storage, avoid packing stakes inside, do not leave telescoped poles, and keep away from flame.
| Brand | Coleman |
|---|---|
| Model | 9392-133 |
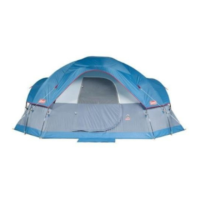
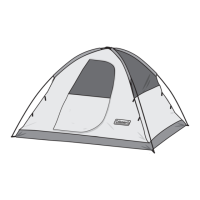
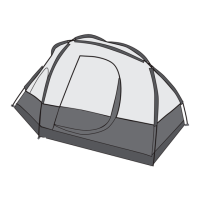
| Product Type | Tent |
| Capacity | 4-person |
| Shape | Dome |
| Setup Time | 10 minutes |
| Number of Doors | 1 |
| Pole Material | Fiberglass |
| Center Height | 4 feet 11 inches |
| Material | Polyester |
| Included Accessories | Carry bag, stakes |