E.DO GRIPPER INSTALLATION
19
Comau Robotics Product Instruction
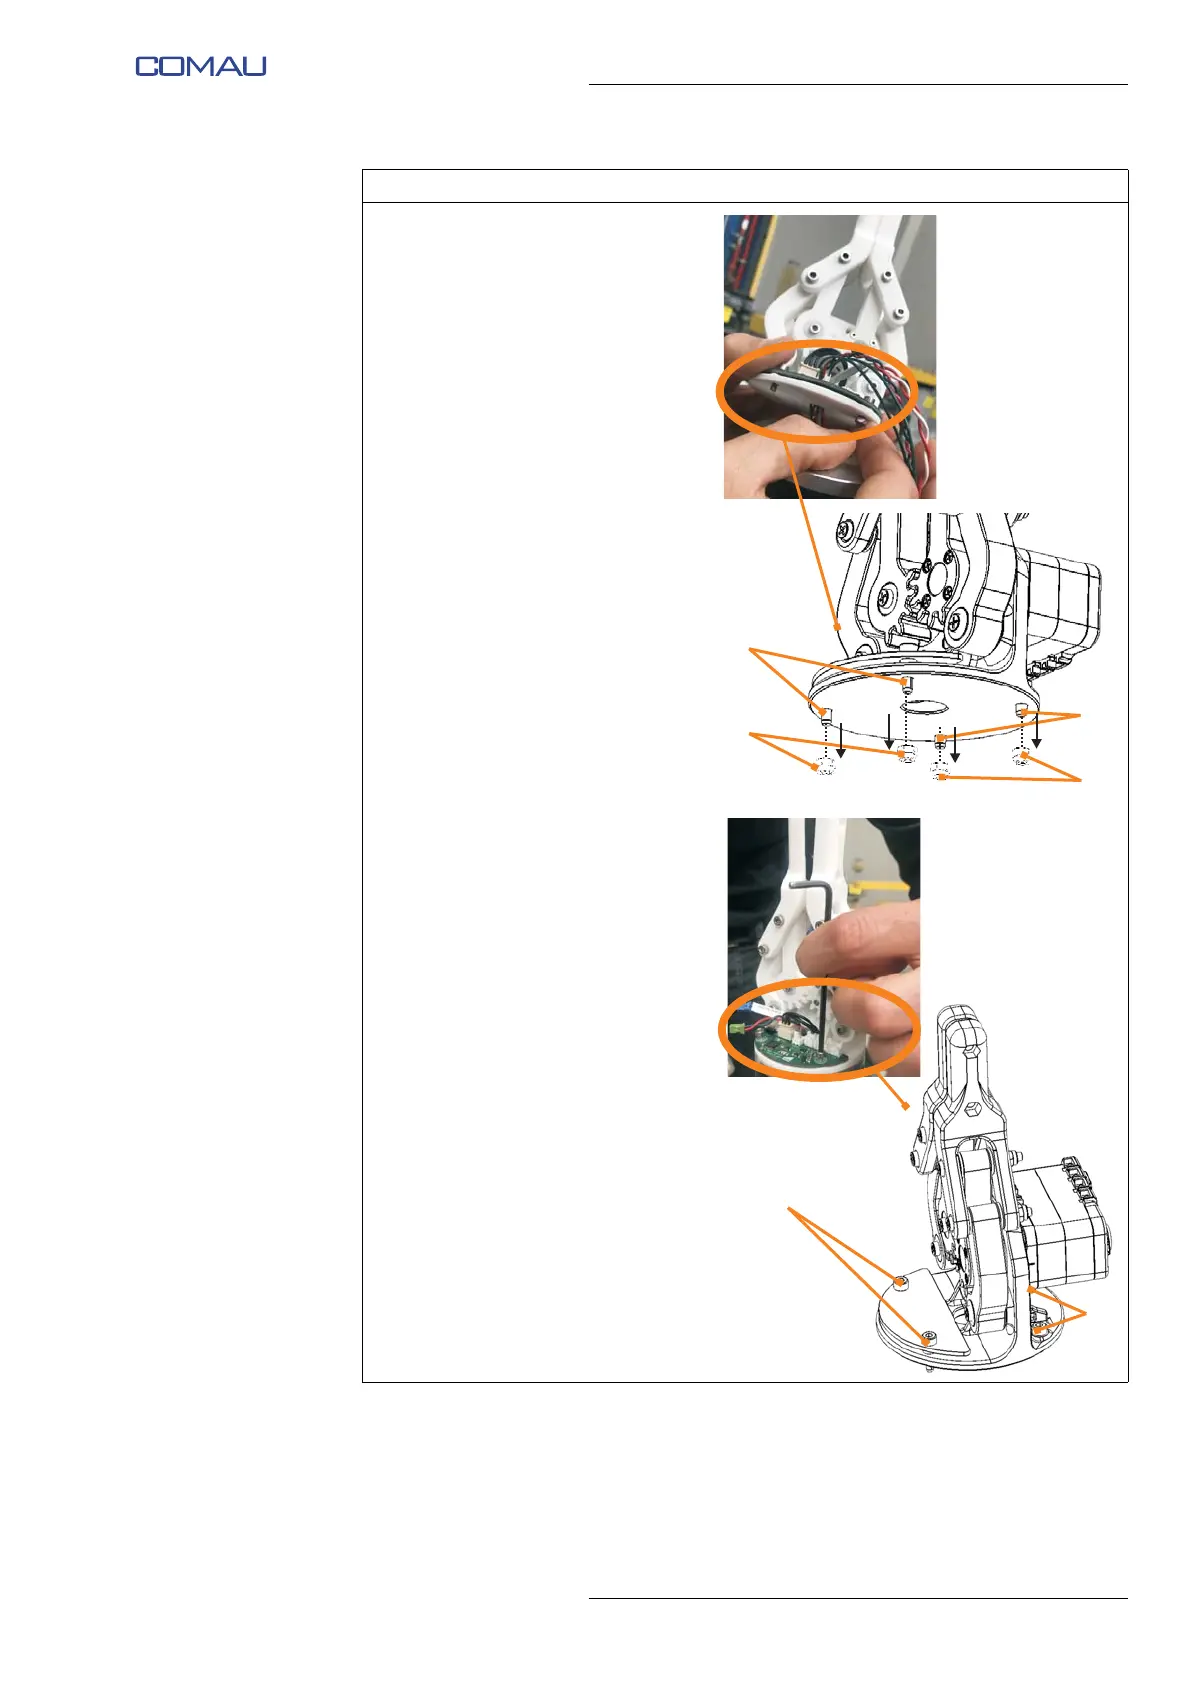
j. Remove the hex nuts H
screwed on the four fixing
screws J of the e.DO Gripper.
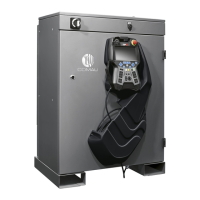
k. By means of a 2.5 mm Allen
wrench, fix the e.DO Gripper to
the last Robot joint flange using:
• q.ty 2 screws K M3x12
(electronic board PCB
side)
•q.ty 2 screws L M3x8 (side
opposite to the electronic
board PCB)
l. To avoid possible damage do
not overtighten the screws.
Operating procedure (Continued)