Section 5: Trouble-Shooting and Repair MicroBlaster MB1000
Comco Inc. 5-16 Issue Date: July 2016
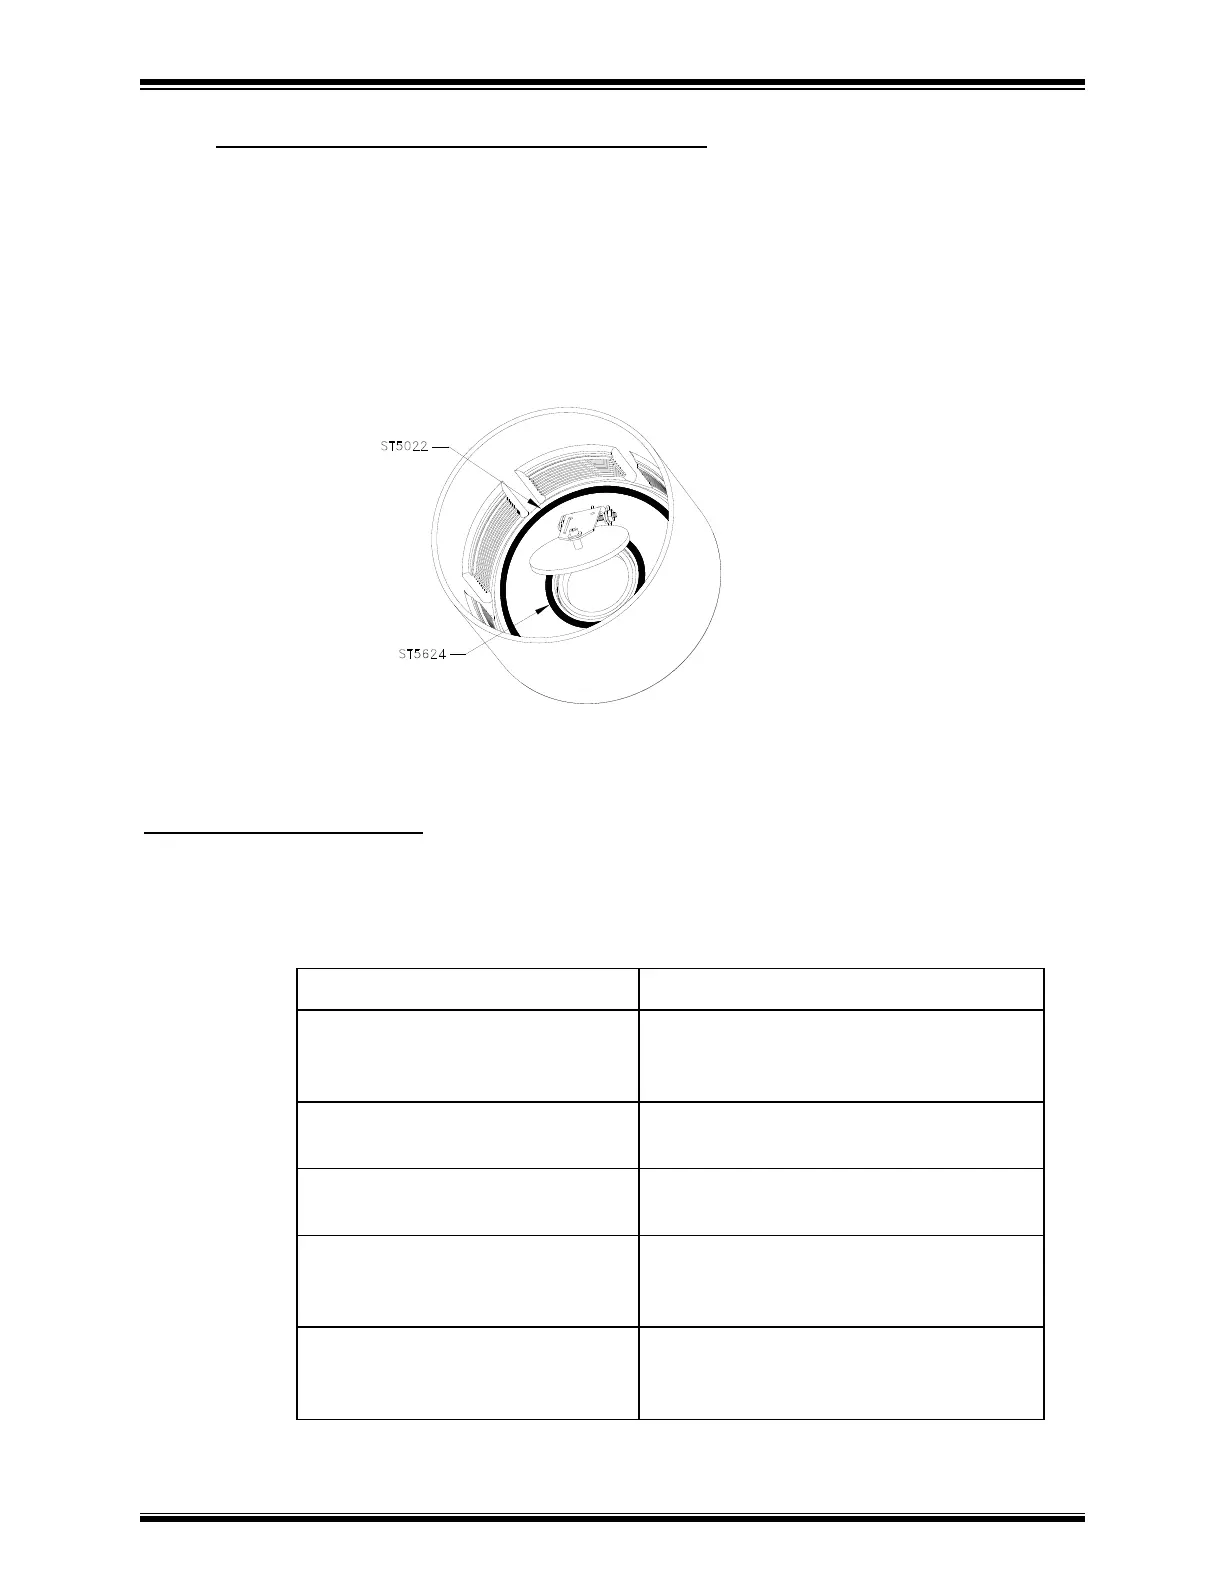
Tank Cover O-ring Replacement Procedure
1. Using long needle nose pliers, remove the 4-inch diameter O-ring from
the inner cover plate.
2. Lift the flapper valve and remove the O-ring underneath.
3. Press the new O-rings in place, as shown in Figure 2. Press directly
down on O-rings to seat them in the dovetail grooves. To prevent
stretching, do not drag your finger around the O-ring path to press it in.
Replacement Parts Lists
Lists of MB1000 replacement parts, accessories and supplies are provided in this
manual as follows:
Accessories: A listing of all
components in the accessory
kit.
Section 2, Getting Started and
Appendix A, Parts Lists
Supplies: Lists of abrasives,
nozzles, and tank orifices.
Section 3, Using the MicroBlaster
MB1000
Recommended Spare Parts:
List of normal wear items.
Major Assemblies: List of
principal parts of the
MicroBlaster with breakdown.
Appendix A, Parts Lists and
Appendix B, Drawings and
Schematics
Parts Details: Includes
functional, electrical, and
pneumatic schematics.
Appendix B, Drawings and
Schematics