18
Connections and Installation
1. Connect the HDBT OUT port of DaisyNET II 1 to the HDBT IN
port of DaisyNET II 2, connect the HDBT OUT port of
DaisyNET II 2 to the HDBT IN port of DaisyNET II 3, and
follow to daisy-chain multiple DaisyNET II through HDBT
ports by Cat cable.
2. Using quality HDMI/DP/VGA cables to connect different
sources (such as Laptop, PC, Blu-ray, satellite/cable TV, etc.)
to HDMI IN/DP IN/VGA IN port of DaisyNET II.
3. Using quality HDMI cables to connect the HDMI display
device (such as Projector, Monitor or TV) to the HDMI OUT of
DaisyNET II.
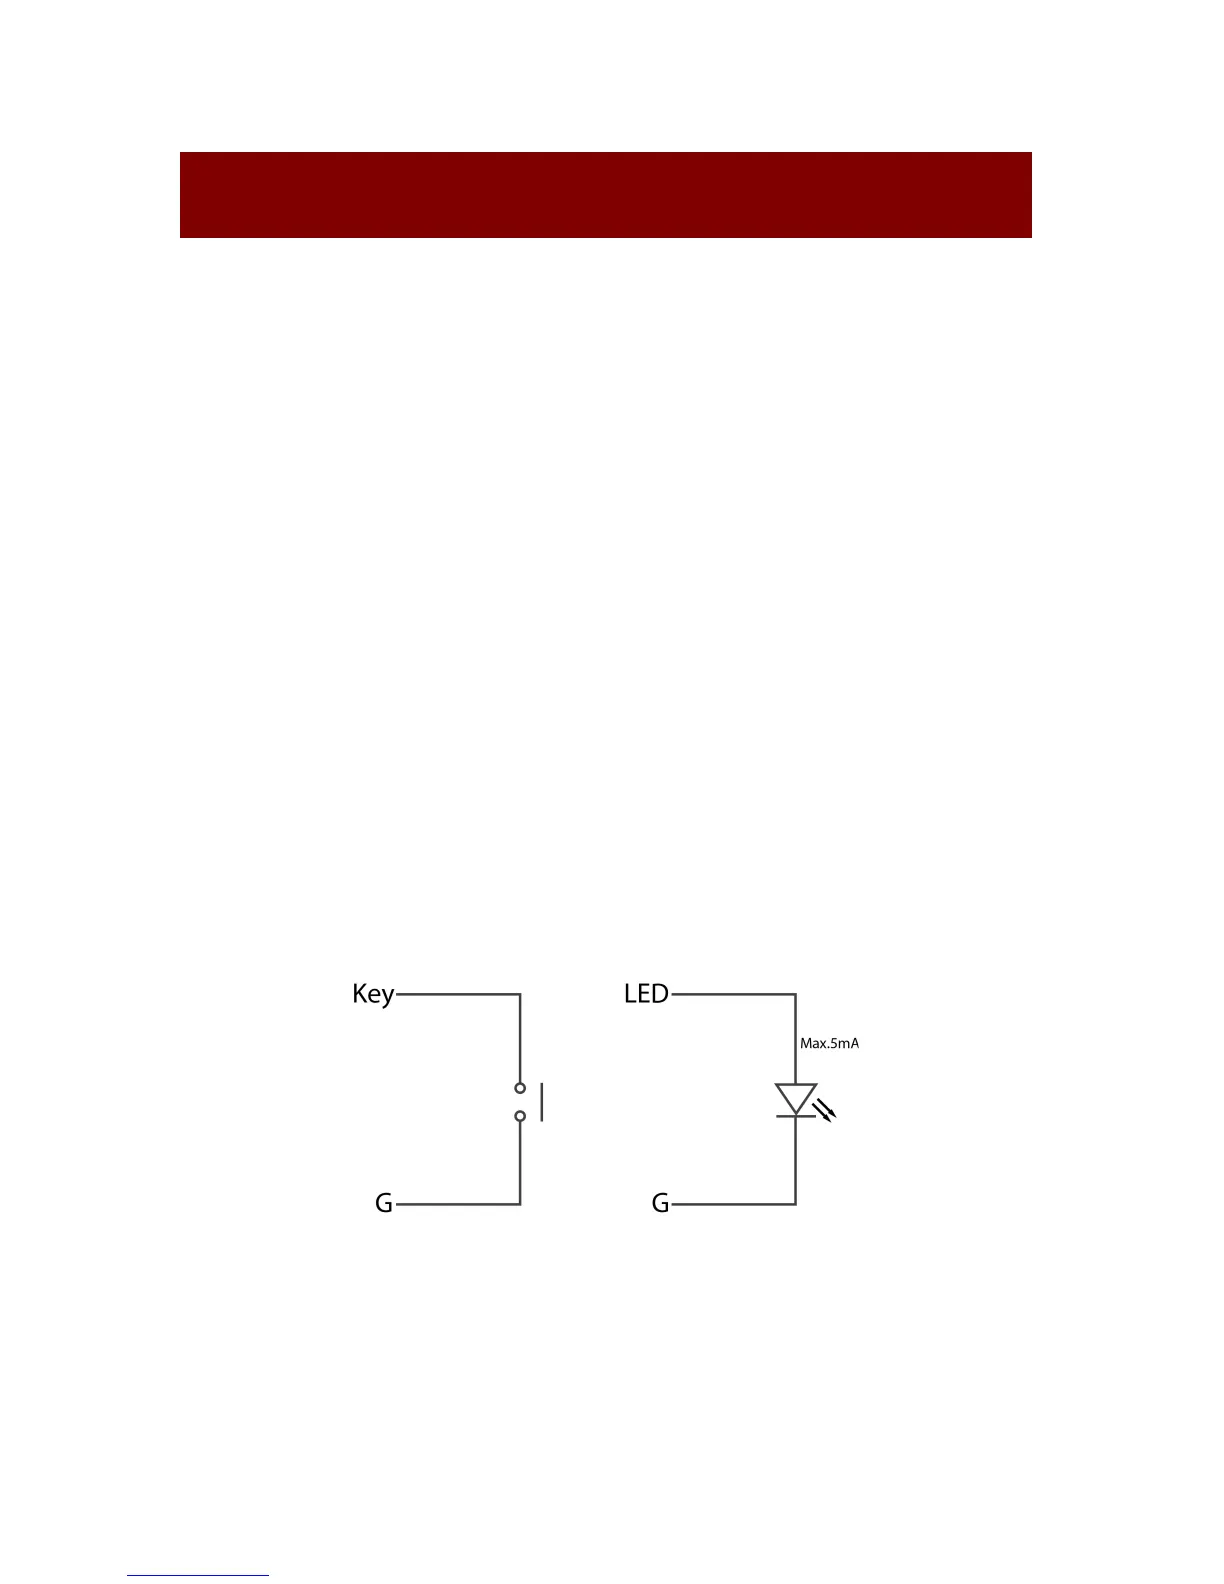
4. Connect a controller such as IP-based touch panel to an
Ethernet port of DaisyNET II, or Contact Closure-based
keypad to the ShowME/KEY/LED ports to control. Circuit
diagram of Contact Closure ports including SHOW ME, KEY
and LED without any resistors as shown:
Specs of the LED:
2.5 - 3.3 V / 5 - 8 mA
5. Power on all devices. Use the ShowMe button, Contact
Closure, WEB GUI or Telnet API command to operate the
DaisyNET II.