United States
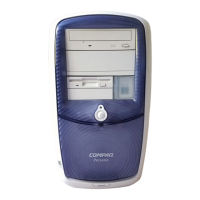
Compaq Presario Internet PC 5000 Series Computers
REMOVAL AND REPLACEMENT PROCEDURES
PRODUCT DESCRIPTION TROUBLESHOOTING ILLUSTRATED PARTS CATALOG
REMOVAL AND REPLACEMENT PROCEDURES
JUMPER AND SWITCH INFORMATION SPECIFICATIONS
ELECTROSTATIC
DISCHARGE
SERVICE
CONSIDERATIONS
PREPARATION FOR
DISASSEMBLY
SERIAL NUMBER
SIDE ACCESS PANEL
GRAPHICS CARD
EXPANSION CARD
(Modem or Network
Card)
1394 CARD
MEMORY MODULE
HARD DRIVE
DISK DRIVE
REMOVING THE TOP
DOOR
REMOVING THE CD
STORAGE DOOR
(Lower Front Panel -
Open the CD Storage
Door)
Replacing the Microprocessor/Heatsink Assembly, Continued
Replacement
Remove and discard the plastic film on the bottom of the new
thermal pad.
3.
Place the new thermal pad (plastic pad side up) onto the heatsink in
the same position as the old thermal pad.
4.
With the round portion of the screwdriver handle, rub the top of the
new thermal pad to ensure that the entire pad sticks to the
heatsink.
5.
Carefully remove and discard the plastic tab on top of the new
thermal pad.
6.
Next Step
WARNING
If the new thermal pad is not applied properly, the
microprocessor/heatsink assembly will not work properly, and you risk
damaging the system board.