36
COMUNELLO ®Copyright 2019 - All rights reserved
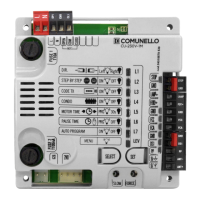
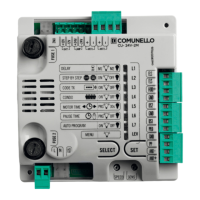
6 MENU DESCRIPTION AND PROGRAMMABLE FUNCTIONS
The control unit has a MAIN MENU and three sub-menus called EXTENDED to personalise programming and the various system functions.
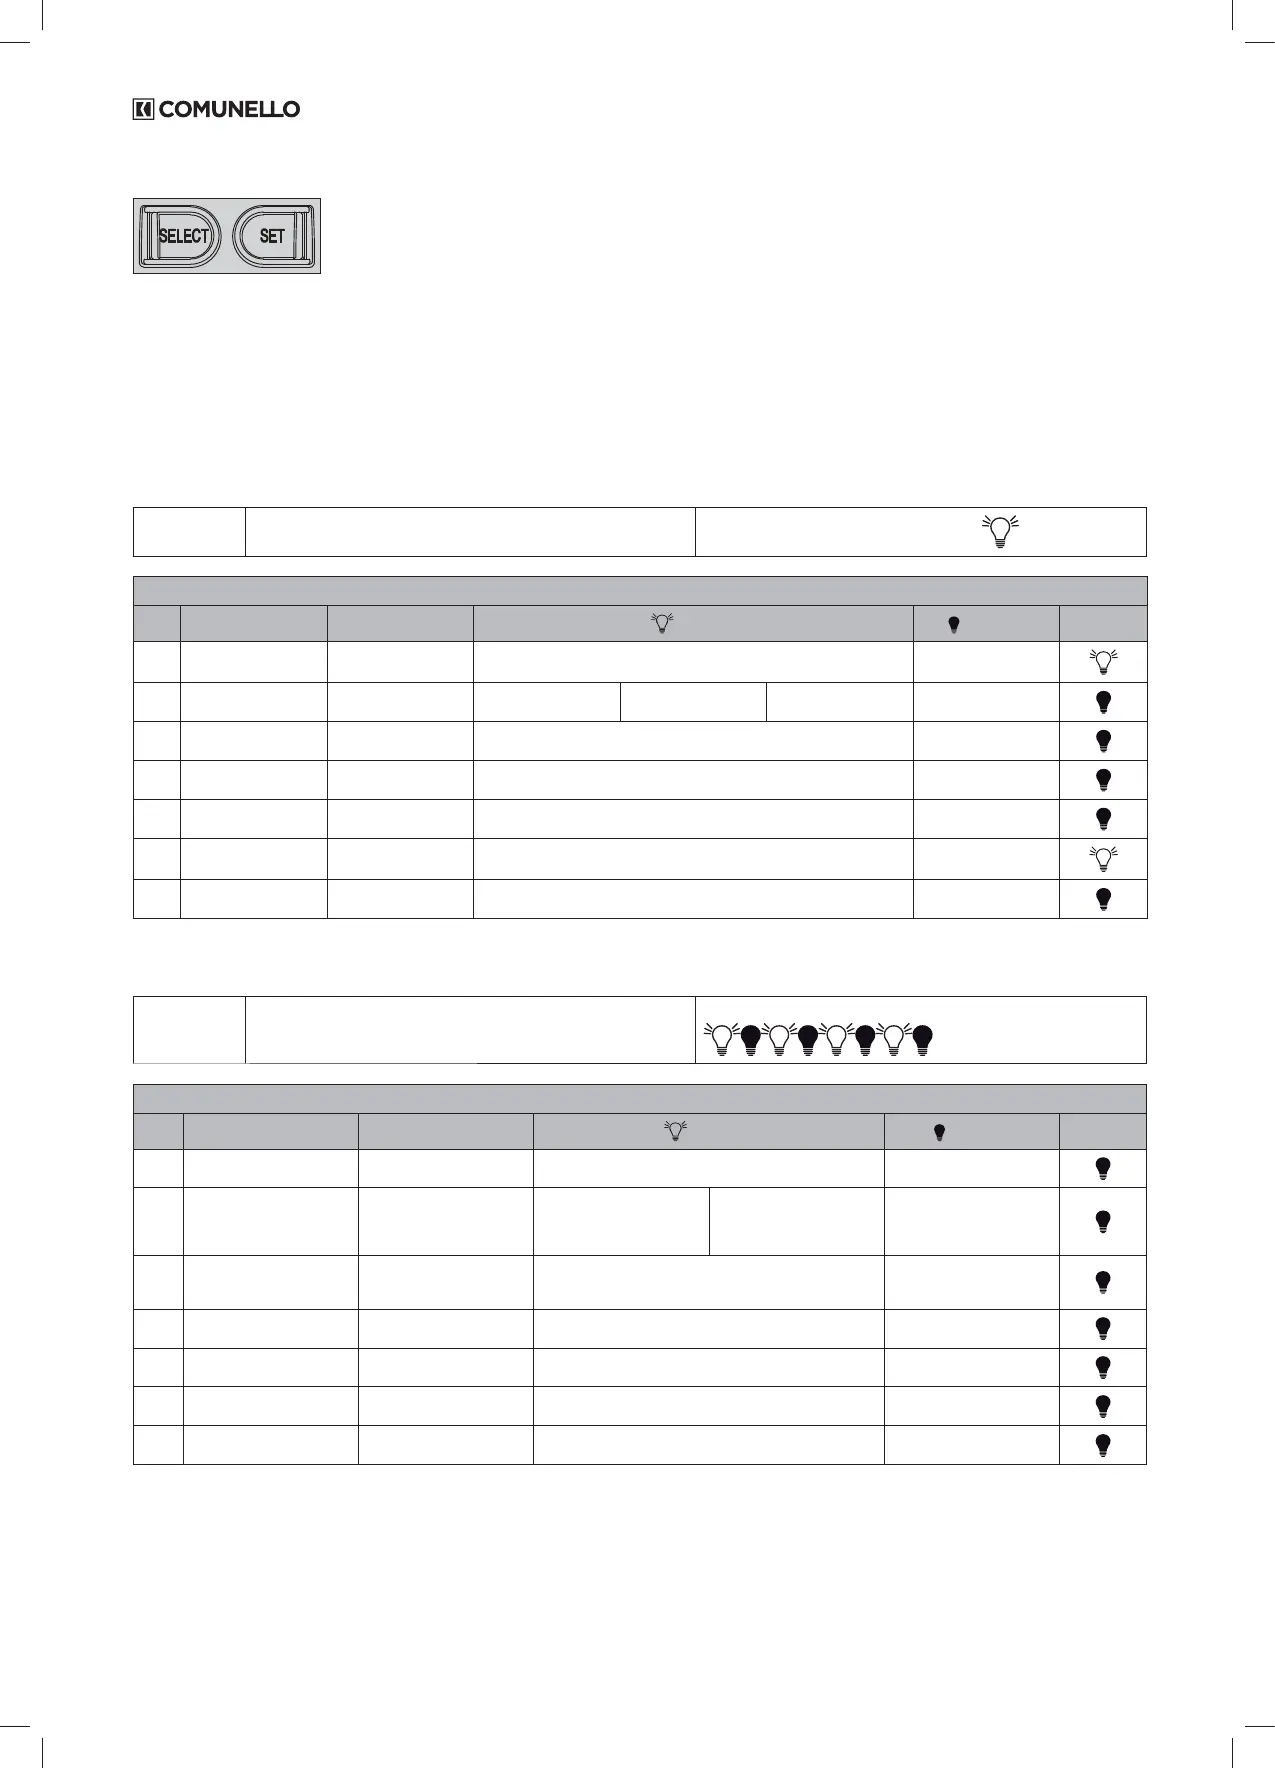
THE “LEV” LED STATUS INDICATES WHICH MENU IS ACTIVE
Pressing the SELECT button several times in succession you can scroll through the menu displayed by the 7 LEDs to choose the desired function
(ashing LED correspondingly ashing) and change its functionality with the SET button (the LED becomes xed with function enabled or, conversely,
off with function disabled).
The rst available menu is the MAIN menu summarized in Tab no. 2:
MAIN MENU
• Press the SELECT button and select the desired function
from the main menu
The LEV function LED stays on FIXED:
LIVEL 0 - MAIN MENU
LED FUNCTION DESCRIPTION LED ON LED OFF DEFAULT
L1 STEP BY STEP Selection of the opening
logic
Open-Stop-Close-Stop (it closes after the pause time in a partial opening
phase)
Automatic (Open-Close)
L2 CODE TX Storage of remote
controls
TX PP TX P.PED TX 2CH AUX. Empty storage
L3 CONDO Activate the "Condomi-
nium" function
After the rst one, the other inputs are ignored during the opening and the
pause time
Disabled function
L4 MOTOR TIME Storage of the motor
stroke with slowdowns
Stored stroke 30 seconds, without
slowdown (default)
L5 PAUSE TIME Automatic closing
setting
Automatic closing period stored Disabled function
L6 DELAY Adjustment of the delay
between the 2 leaves
Door delay enabled (Not resettable) Door delay disabled
L7 AUTO PROGRAM Self-learning of the stro-
ke with slowdowns
Memorized self-learning of the stroke Disabled function
Table 2
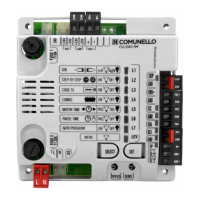
The second menu is the one dened as EXTENDED 1 and to access the programmable functions follow the instructions given in Tab. 3:
EXTENDED
MENU 1
• Press the SELECT button and scroll the LED menu until
you reach the LEV LED;
• Press SET once to access the EXTENDED menu 1.
The LED of the LEV function FLASHES with this frequency
LIVEL 1 - EXTENDED MENU 1
LED FUNCTION DESCRIPTION LED ON LED OFF DEFAULT
L1 HOLD-TO-RUN Hold-to-run input Enabled function Disabled function
L2 PEDESTRIAN /SINGLE LEAF
PUSHBUTTON
Conguration of pushbuttons
inputs PP and PPED
Opening and closing with two
different buttons
PP: Open / Close button
PPED: Single leaf
Leaf with partial / pedestrian
opening
PP: Open / Close
PPED: partial opening
Partial opening/pedestrain leaf
PP: Start / Stop
PPED: partial open of MOT1
L3 PEDESTRAIN BUTTON / DS3 Conguration of the PPED
input as partial opening or as
additional photocell input
Conguration of N.O. PPED input as DS3 N.C. photocells
input (inversion in OPEN)
Conguration of the PPED input
as N.O. Pedestrian input
L4 PHOTOTEST Perform the photocell test
before each movement
Enabled function Disabled function
L5 DS2 STOP IN CLOSE Conguration of DS2 photo-
cells input
STOP in CLOSE once the contact is open, then reversal Reversal in CLOSE
L6 DS1 PARTIAL INVERTION Conguration of DS1 photo-
cells input
Partial reversal in CLOSE Complete reversal in CLOSE
L7 BLOCK / 8K2
Conguration of N.C. STOP or
8.2 K Ohm resistive input.
8.2 K Ohm resistive input conguration N.C. STOP pushbutton
Table 3
The third menu is the one dened as EXTENDED 2 and to access the programmable functions follow the instructions given in Tab. 4: