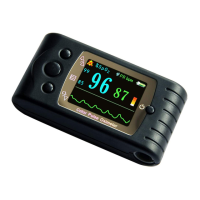
Figure 9.
On the alarm direction setting interface, Click the power button to select “SpO
2
Alm”or
“PRAlm”,then Press the button (1 sec) to enter the SpO
2
or PR direction setting interface as shown in
Figure 10:
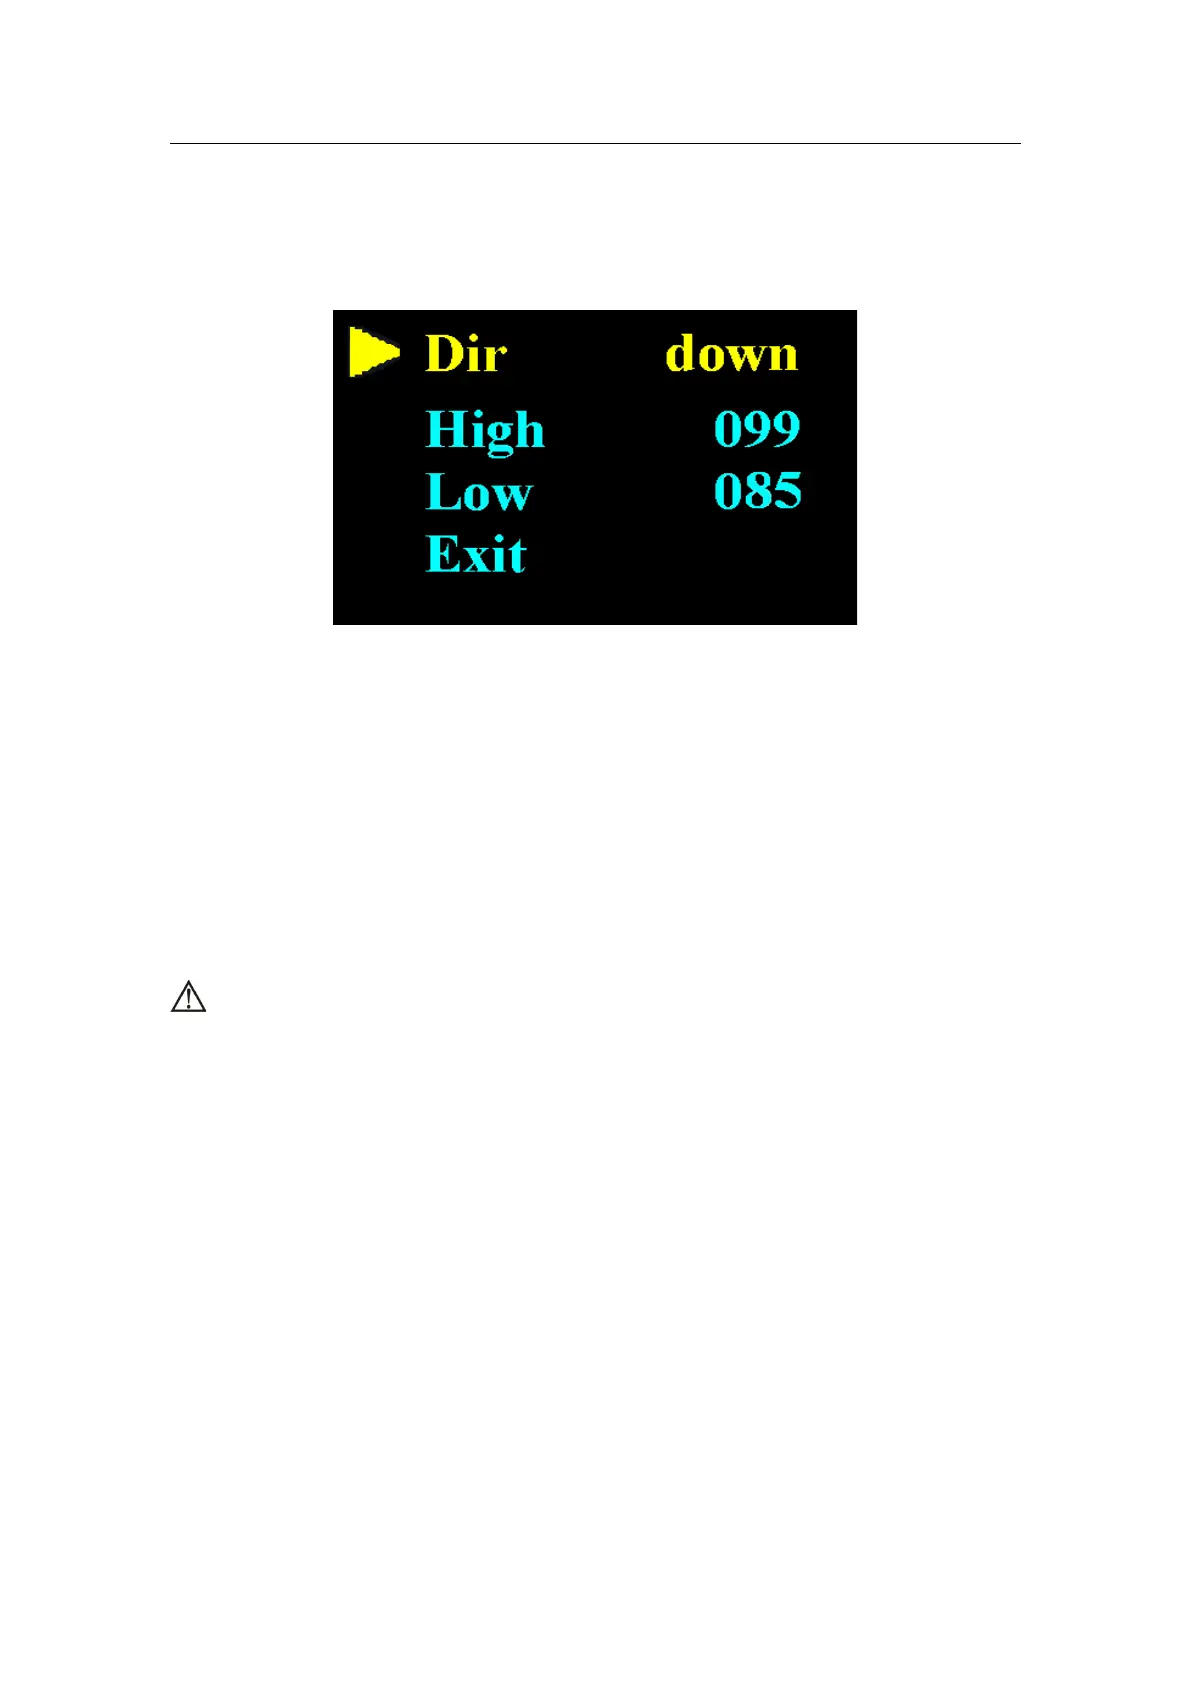
Figure 10.
Click the power button to select “Dir”, then Press the button to choose Up or Down (this will be the
direction the value of the high-low limits of SpO
2
and pulse rate will be adjusted).
To raise the SpO
2
and pulse rate limit, choose “Dir” as ‘Up’, then Click the power button to select
high limit (High) or low limit (Low),Press the power button and hold to adjust the selected limit to
the desired higher value and release the power button once the higher limit has been reached.
To lower the SpO
2
and pulse rate limit, choose “Dir” as ‘Down’, then Click the power button to
select high limit (High) or low limit (Low). Press the power button and hold to adjust the selected
limit to the desired lower value and release the power button once the lower limit has been reached.
If the alarm function is on, the device will provide medium-priority alarm signal when the
data of SpO
2
or pulse rate is beyond the limit. Intermittent alarm will occur and the measuring
value will be flashing.
Medium priority indicating that prompt operator response is required.
b. Pulse sound indication setting
On the alarm setting interface as shown in Figure 8,Click the power button to select “Psound”, then
Press the power button to choose to have the Pulse Sound (heart beat) alarm “on” or “off”.
c. The alarm state setting
On the alarm setting interface as shown in Figure 8,Click the power button to select “Alarm”, then
Press the power button to choose alarm on or off, press “ on” to turn on the alarms and “ off” to turn
off the alarms.
d. Exit the Alarm settings , the alarm direction setting , the SpO
2
or PR direction setting
Click the power button to select “Exit”, then Press the power button to exit the Menu and return to
the previous Menu .
b) Data storage setting
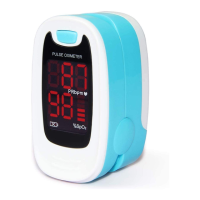
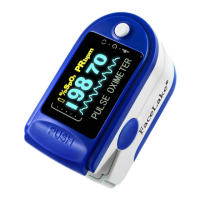
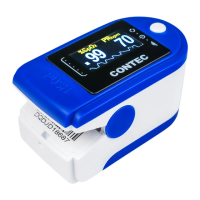
CMS-50D Plus