10
Write Config / Read Config buttons
15. To retrieve the current settings in the CICP1300NETBD2, click the Read Config button. The information
retrieved will display in the text box.
16. To write the settings to the CICP1300NETBD2, click Write Config button.
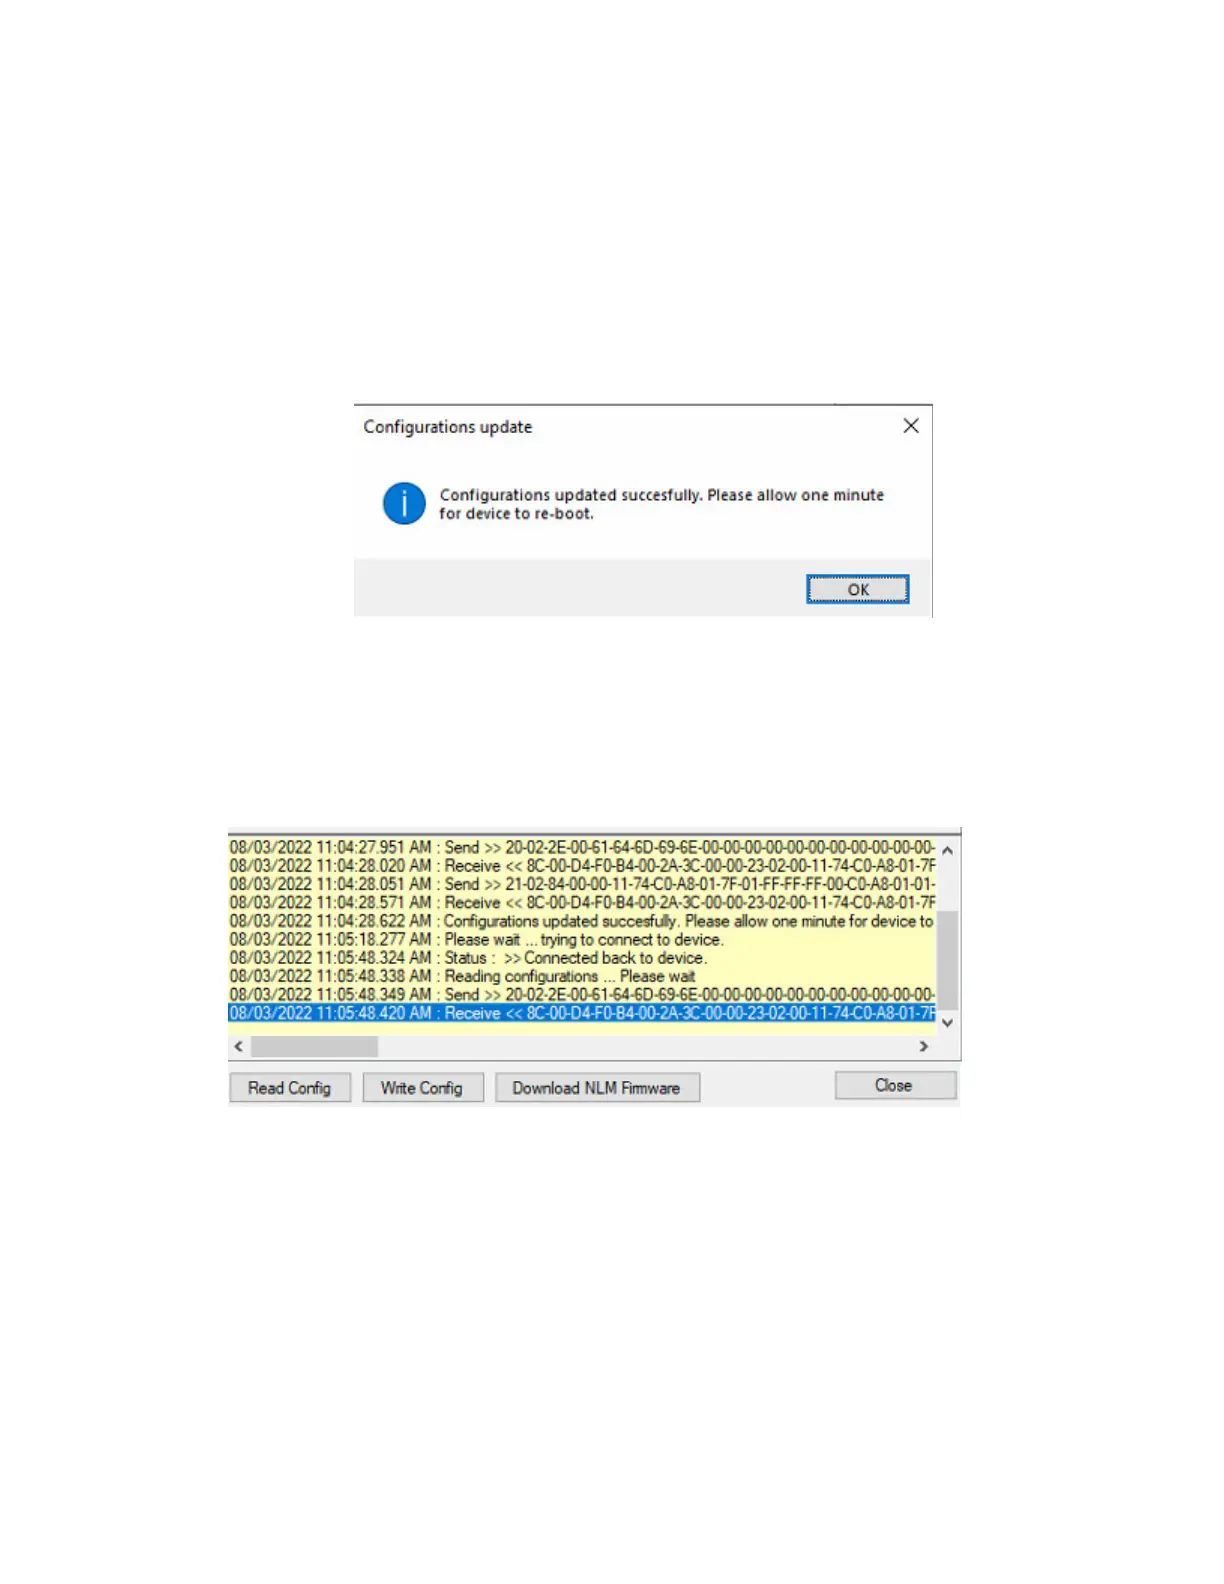
17. Upon clicking the Read Config or Write Config buttons, it will take a minute to perform the command and
reboot the device (refer to Figure 13).
Figure 13.
18. Upon clicking the Read Config or Write Config buttons, the data retrieved or written to the device, will
display in the text box (refer to Figure 14).
Very Important: If the data in the text box is RED, this represents an ERROR. Please read the text
carefully to determine what went wrong.
Figure 14.
View the Device IP Address information
19. By default, the CICP1300NETBD2 will default to DHCP. The Device IP Address will be provided by DHCP
(refer to Figure 15). If it displays DHCP, you must change it to Static and program in a Static IP Address.
VERY IMPORTANT: The IP Address of the device must never change. Please contact the Network
Administrator for the static IP information.