13
TESTING
Testing
Getting Ready to Test
Read your CONTOUR
®
NEXT LINK 2.4 user guide, your MiniMed insulin pump
user guide, the lancing device insert and all instructional materials provided in your meter kit
before testing. Please follow all instructions for use and care exactly asdescribed.
Examine product for missing, damaged, or broken parts. If the test strip bottle is open
inside a new box of strips, do not use those strips. Contact Customer Service for
replacement parts. Please see back cover for contact information.
CAUTION: Your CONTOUR
®
NEXT LINK 2.4 meter only works with CONTOUR
®
NEXT test
strips and C
ONTOUR
®
NEXT control solutions.
Use a new lancet each time you test because it is no longer sterile after use. Read the
lancing device insert for complete instructions. If you are using a different lancing device,
see that manufacturer’s instructions for use. For Alternative Site Testing instructions, see
page 18.
Getting Ready to Test
WARNING: Potential Biohazard
The lancing device is intended for self-testing by a single patient. It must not be
used on more than one person due to the risk of infection.
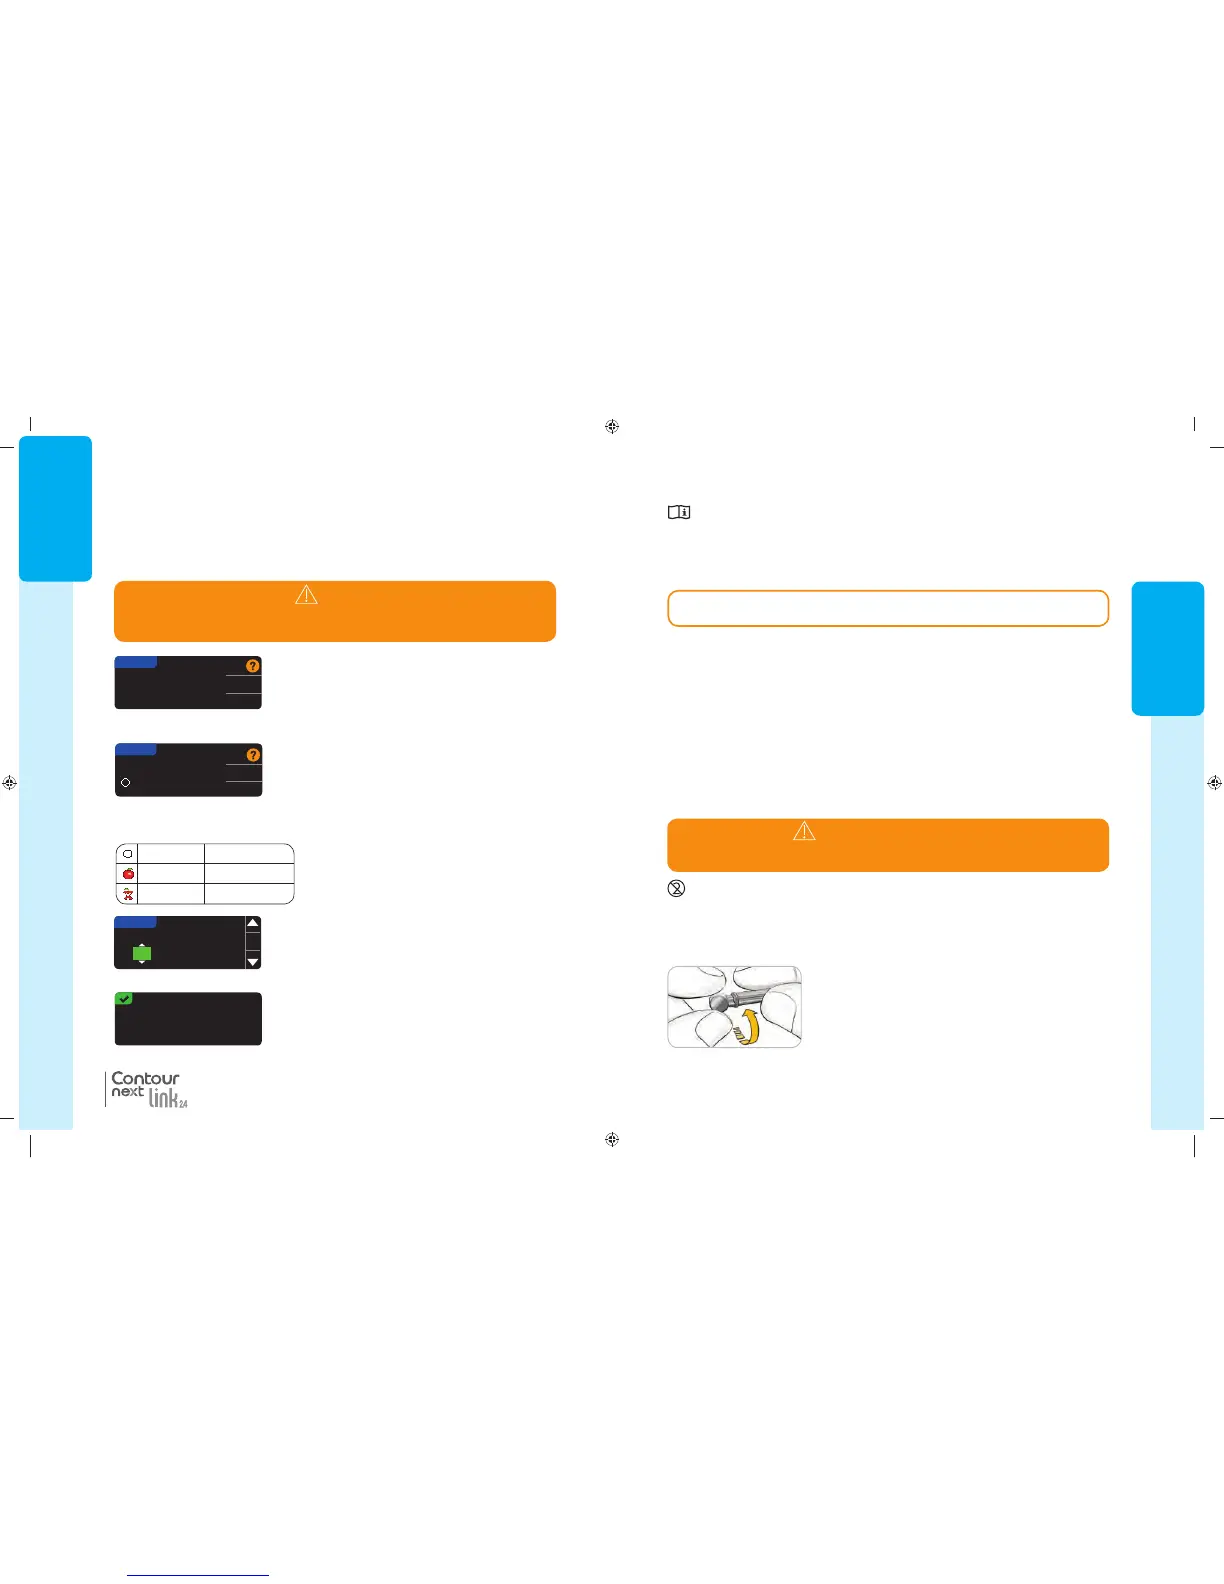
2. Loosen the round protective cap on a lancet by rotating it
¼ turn, but do not remove the cap.
1. Remove the endcap from the lancing device.
Have all the materials you need ready before you begin testing. This includes your
CONTOUR NEXT LINK 2.4 meter, CONTOUR NEXT test strips, and the lancing device
and lancets. You may also need C
ONTOUR NEXT control solution to perform a quality
control check. C
ONTOUR NEXT control solutions are available separately if not included in
the meter kit.
• Do not perform a blood glucose test when your meter is connected to an external
device, e.g., computer.
• Use only approved cables or wall charger from the manufacturer or a 5V charger
approved by certified body such as UL or TUV.
Preparing the Lancing Device
The lancing device graphics are for illustration purposes only. Your lancing device
may look different. Refer to your lancing device insert for detailed instructions on
preparing the lancing device.
85587269_CntrNextLINK_2_4_UG_EN_FpBp_v5.indd 13 11/21/16 2:35 PM
GETTING
STARTED
12
Target Ranges
Next you are asked to accept your blood sugar Targets. Targets are your personal ranges for
your blood sugar results. With AutoLog OFF, you have a single Target range. With AutoLog
ON, you have Target ranges for Fasting, Before Meal, and After Meal.
27. If AutoLog is OFF, Accept or Change the preset
blood sugar Target range. The preset range is
70 – 180 mg/dL.
Accept
Change
TARGET
70 - 180
Fasting 70 – 130 mg/dL
Before Meal 70 – 130 mg/dL
After Meal 70 – 180 mg/dL
If AutoLog is ON, Accept or Change the preset blood
sugar range for Fasting, Before Meal, and After
Meal screens. Each Target has an option to Accept
orChange.
TARGET
70 - 130
Fasting:
Accept
Change
The preset values based on ADA recommendations are:
6
Setup is complete.
Insert strip to start a
test.
Initial Setup is complete. You may now test your
blood sugar. See Testing,next page.
28. To change the Targets press the or button until
the desired Target is reached and then press
OK
.
Press Accept on confirmation screen.
You can change these settings later by going to the
Main Menu and selecting Setup. See page 49.
TARGET
75 - 180
OK
NOTE: Targets can only be set inside your selected Alert level(s). For additional
information, you may contact Customer Service. Contact information for Customer
Service is on the back cover.
WARNING
Talk to your health care professional before setting any Target ranges on
yourmeter.
®
Target Ranges
85587269_CntrNextLINK_2_4_UG_EN_FpBp_v4.indd 12 11/18/16 9:03 AM
13
TESTING
Testing
Getting Ready to Test
Read your CONTOUR
®
NEXT LINK 2.4 user guide, your MiniMed insulin pump
user guide, the lancing device insert and all instructional materials provided in your meter kit
before testing. Please follow all instructions for use and care exactly asdescribed.
Examine product for missing, damaged, or broken parts. If the test strip bottle is open
inside a new box of strips, do not use those strips. Contact Customer Service for
replacement parts. Please see back cover for contact information.
CAUTION: Your CONTOUR
®
NEXT LINK 2.4 meter only works with CONTOUR
®
NEXT test
strips and C
ONTOUR
®
NEXT control solutions.
Use a new lancet each time you test because it is no longer sterile after use. Read the
lancing device insert for complete instructions. If you are using a different lancing device,
see that manufacturer’s instructions for use. For Alternative Site Testing instructions, see
page 18.
Getting Ready to Test
WARNING: Potential Biohazard
The lancing device is intended for self-testing by a single patient. It must not be
used on more than one person due to the risk of infection.
2. Loosen the round protective cap on a lancet by rotating it
¼ turn, but do not remove the cap.
1. Remove the endcap from the lancing device.
Have all the materials you need ready before you begin testing. This includes your
CONTOUR NEXT LINK 2.4 meter, CONTOUR NEXT test strips, and the lancing device
and lancets. You may also need C
ONTOUR NEXT control solution to perform a quality
control check. C
ONTOUR NEXT control solutions are available separately if not included in
the meter kit.
• Do not perform a blood glucose test when your meter is connected to an external
device, e.g., computer.
• Use only approved cables or wall charger from the manufacturer or a 5V charger
approved by certified body such as UL or TUV.
Preparing the Lancing Device
The lancing device graphics are for illustration purposes only. Your lancing device
may look different. Refer to your lancing device insert for detailed instructions on
preparing the lancing device.
85587269_CntrNextLINK_2_4_UG_EN_FpBp_v5.indd 13 11/21/16 2:35 PM
GETTING
STARTED
12
Target Ranges
Next you are asked to accept your blood sugar Targets. Targets are your personal ranges for
your blood sugar results. With AutoLog OFF, you have a single Target range. With AutoLog
ON, you have Target ranges for Fasting, Before Meal, and After Meal.
27. If AutoLog is OFF, Accept or Change the preset
blood sugar Target range. The preset range is
70 – 180 mg/dL.
Accept
Change
TARGET
70 - 180
Fasting 70 – 130 mg/dL
Before Meal 70 – 130 mg/dL
After Meal 70 – 180 mg/dL
If AutoLog is ON, Accept or Change the preset blood
sugar range for Fasting, Before Meal, and After
Meal screens. Each Target has an option to Accept
orChange.
TARGET
70 - 130
Fasting:
Accept
Change
The preset values based on ADA recommendations are:
6
Setup is complete.
Insert strip to start a
test.
Initial Setup is complete. You may now test your
blood sugar. See Testing,next page.
28. To change the Targets press the or button until
the desired Target is reached and then press
OK
.
Press Accept on confirmation screen.
You can change these settings later by going to the
Main Menu and selecting Setup. See page 49.
TARGET
75 - 180
OK
NOTE: Targets can only be set inside your selected Alert level(s). For additional
information, you may contact Customer Service. Contact information for Customer
Service is on the back cover.
WARNING
Talk to your health care professional before setting any Target ranges on
yourmeter.
®
Target Ranges
85587269_CntrNextLINK_2_4_UG_EN_FpBp_v4.indd 12 11/18/16 9:03 AM
85587269_CntrNextLINK_2_4_UG_EN_FpBp_v5_UnMaskedPlaced.pdf:16
 Loading...