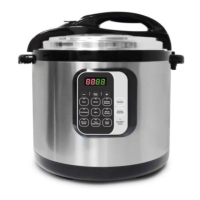
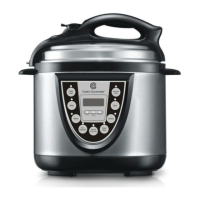
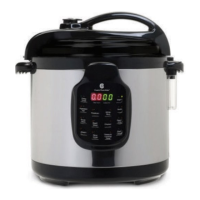
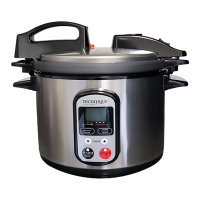
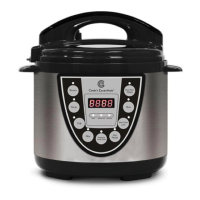
TROUBLESHOOTING
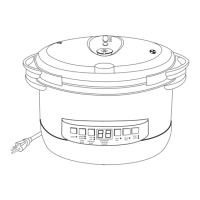
Is the Pressure
Limiting Valve (3) on
the lid (2) supposed
to be loose?
Yes even though it will have a loose fit it is safely secured. It will turn 360
degrees. When pressure has built up, and the Valve is set to “Airtight”
properly, it will resemble a bobble head.
When I choose a
Menu Button (ex:
POT ROAST), nothing
happens? What’s
wrong?
Nothing is wrong. Make sure the pressure limiting valve (3) is set to Airtight
and the Lid (2) is locked securely. Once you have selected the Menu Button,
simply leave the unit alone and it will start to heat up and build up pressure.
Once the unit has built up enough pressure, the display will change to a
countdown timer that displays your desired cooking time of the Menu
Button you selected. This is the time the unit will start cooking the food.
Pressurizing can take anywhere from 5 minutes up to 40 minutes depending
on the quantity of food you are cooking.
After I set the
pressure cooker it will
begin to heat up, but
in about 5-minutes
the unit beeps 3
times and goes to
Keep Warm and my
food did not cook
completely. What is
happening?
The unit is detecting that not enough liquid has been added to your recipe.
The pressure cooker has an automatic over-heat protection sensor that will
automatically set itself to OFF or Keep Warm when it detects that not
enough liquid is present so that it does not over-heat. Make sure all pressure
is released, open the lid and add in increments of 1/2 cups of liquid until the
unit will properly build up pressure and cook.
The unit is detecting that there is a leak in the pressure and that it is not
sealed properly. Firmly push down on the lid to help the seal form or release
any built up pressure and safely remove the lid to check the unit thoroughly.
Make sure the rubber gasket ring is in place, the lid is securely locked, and
that the Valve on top of the lid is set to the “Airtight” position. Reset the unit
by unplugging it. Wait 10-seconds and plug it back in. Program the unit
again.
Both of the above solutions will cause some liquid to have evaporated and it
is recommended to add back in any liquid that has evaporated otherwise
you will keep encountering the same issue.
Steam is being
released around the
rim of the lid during
the pressurizing
sequence. How do I
fix this?
Please note that steam escaping from the Valve (3) or around the lid is
normal for the first 5 minutes or so during the Pressurizing process. If it
continues beyond 10 minutes or steam is still releasing when the timer has
begun counting down it may mean that the Rubber Seal Ring (18) did not
form a tight seal when the Lid (2) was locked. This can happen to brand new
units. Try pressing down firmly on the Lid (2). This should allow the Rubber
Seal Ring (18) to seal and stop any more steam from releasing.
If this does not fix the issue, press the KEEP WARM/CANCEL button and
follow the instructions to release all pressure before removing the lid to
check the Red Float Valve (4) or the Rubber Seal Ring (18). See page 11 on
how to install the Rubber Seal Ring (18). Rub a wet cloth along it to make
sure it is clean of debris and it is smooth. Note that the Red Float Valve (4) is
properly assembled and you are able to pull it up and down with ease by
grasping the Float Valve Seal Ring (16). Reposition and secure the lid. Start
the cooking process again.